DESIGN PORTFOLIO
Interactive 3D Product Configurator
I developed optimized 3D models and textures for a web-based interactive product configurator, leveraging tools such as Blender, Substance Painter, and RealityCapture. I programmed the configurator using JavaScript and the Google Model Viewer Scene Graph API to enable real-time customization and interaction. The project prioritized photorealistic rendering, smooth performance across devices, and a user-friendly interface, providing an engaging and accessible product visualization experience. You can view the configurator here
3D Modelling
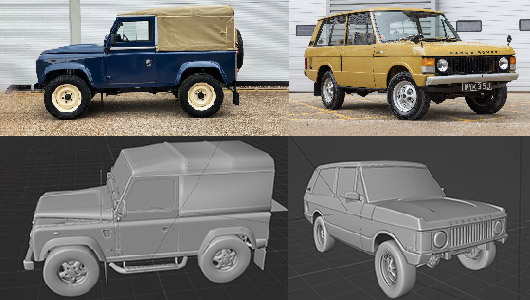
Using a combination of client-provided reference imagery, additional 3D models, and photogrammetry scans captured directly from the showroom using RealityCapture, I meticulously recreated simplified representations of the requested car models. The process included modeling accurate exterior surfaces and key internal features such as suspension and drivetrain components, ensuring a balance between realism and optimization for web use.
Details
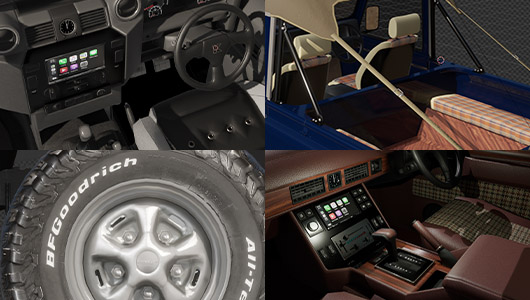
The client provided custom interiors designed by a third-party studio, which I replicated in Blender as low-poly models suitable for use in the configurator. Additionally, the client had bespoke wheel designs created to match the aesthetic of a classic car. To accurately recreate these, I used reference photos I captured during a visit to their facility, ensuring the digital models were faithful to the original designs while optimized for performance.
Coding The Configurator
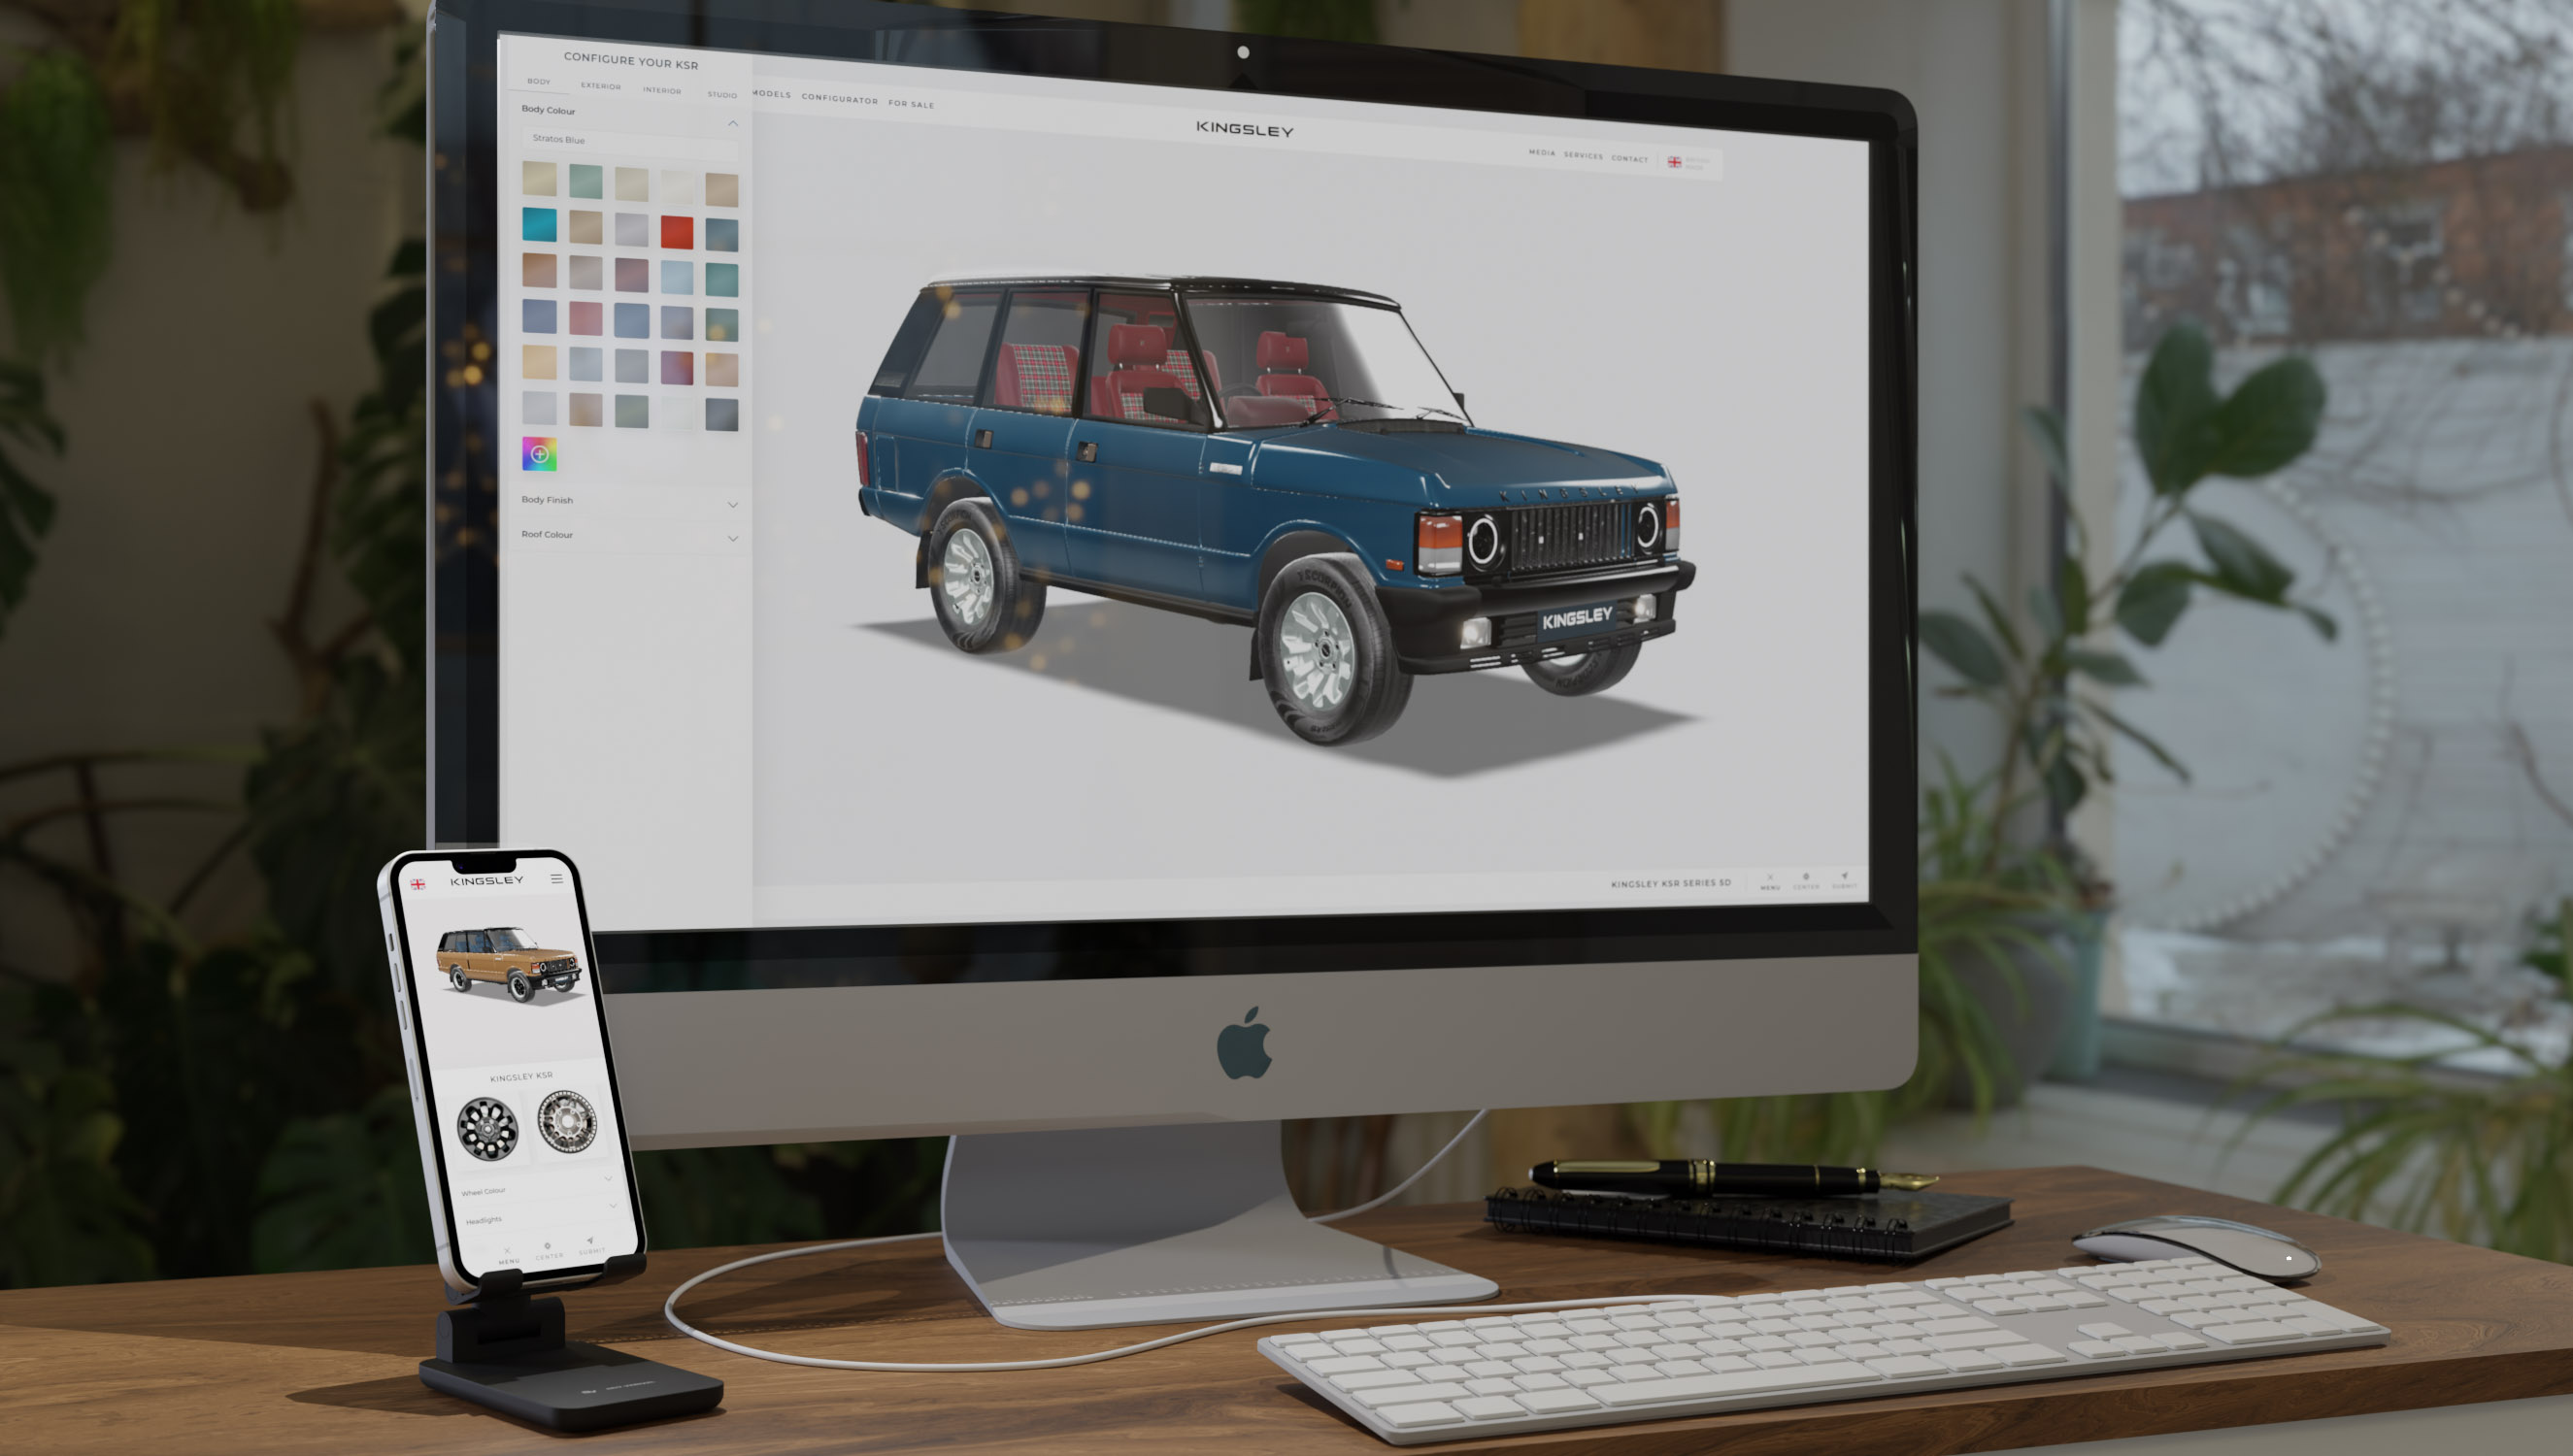
Through extensive experimentation, I successfully utilized the Google Model Viewer Scene Graph API alongside custom JavaScript to enable dynamic interaction within the 3D configurator. This allowed users to show and hide various components of the 3D models and edit their material properties and textures in real time. This lightweight approach effectively showcased the depth of the 3D assets while ensuring optimal performance. I collaborated with a colleague to style the user interface, prioritizing user-friendliness and intuitive design for an engaging experience.
The Cars
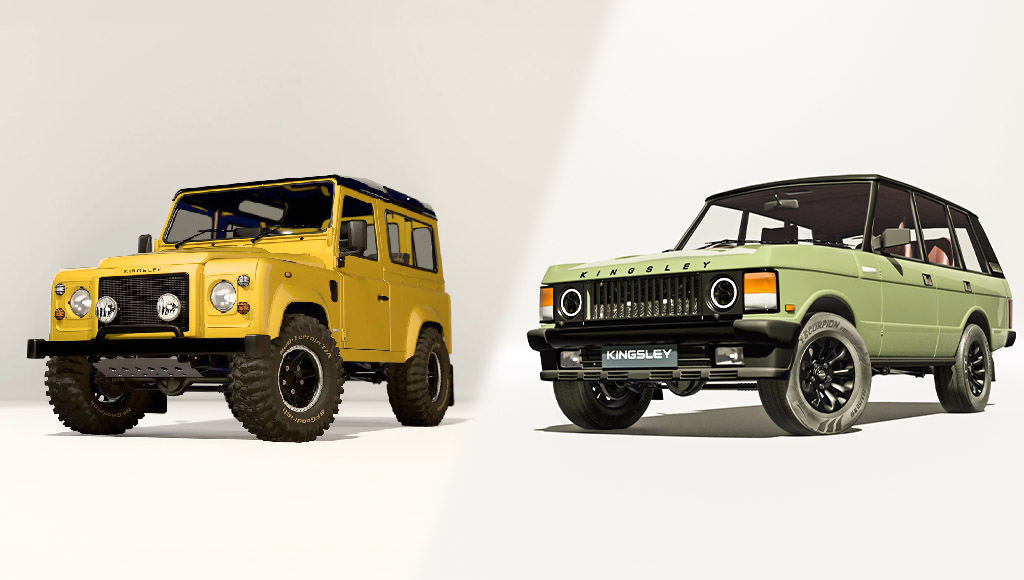
The final car models achieved a high level of detail while maintaining an impressively low poly count, thanks to careful attention to topology and optimization. I managed to reduce each model's file size to around 5MB, striking a balance between visual fidelity and performance. This project challenged me to push my skills further, refining my workflow to enhance both realism and efficiency, and ensuring the models were perfectly suited for a real-time web-based configurator.
Personal Projects
Some of the projects I have worked on during my downtime to hone my skills
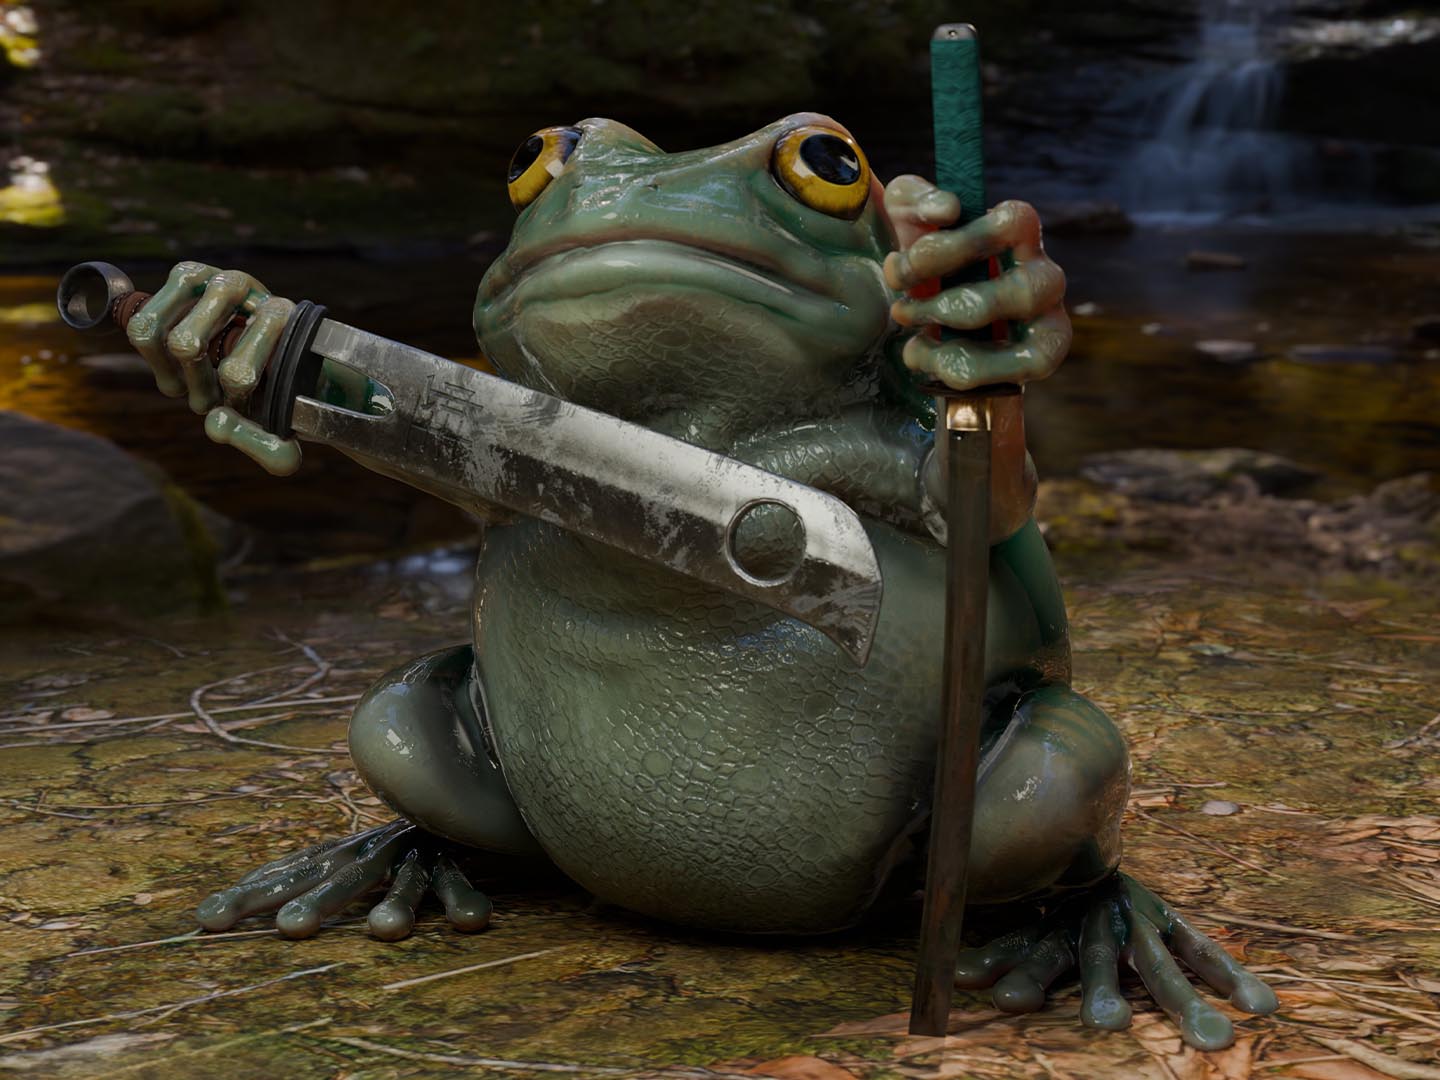
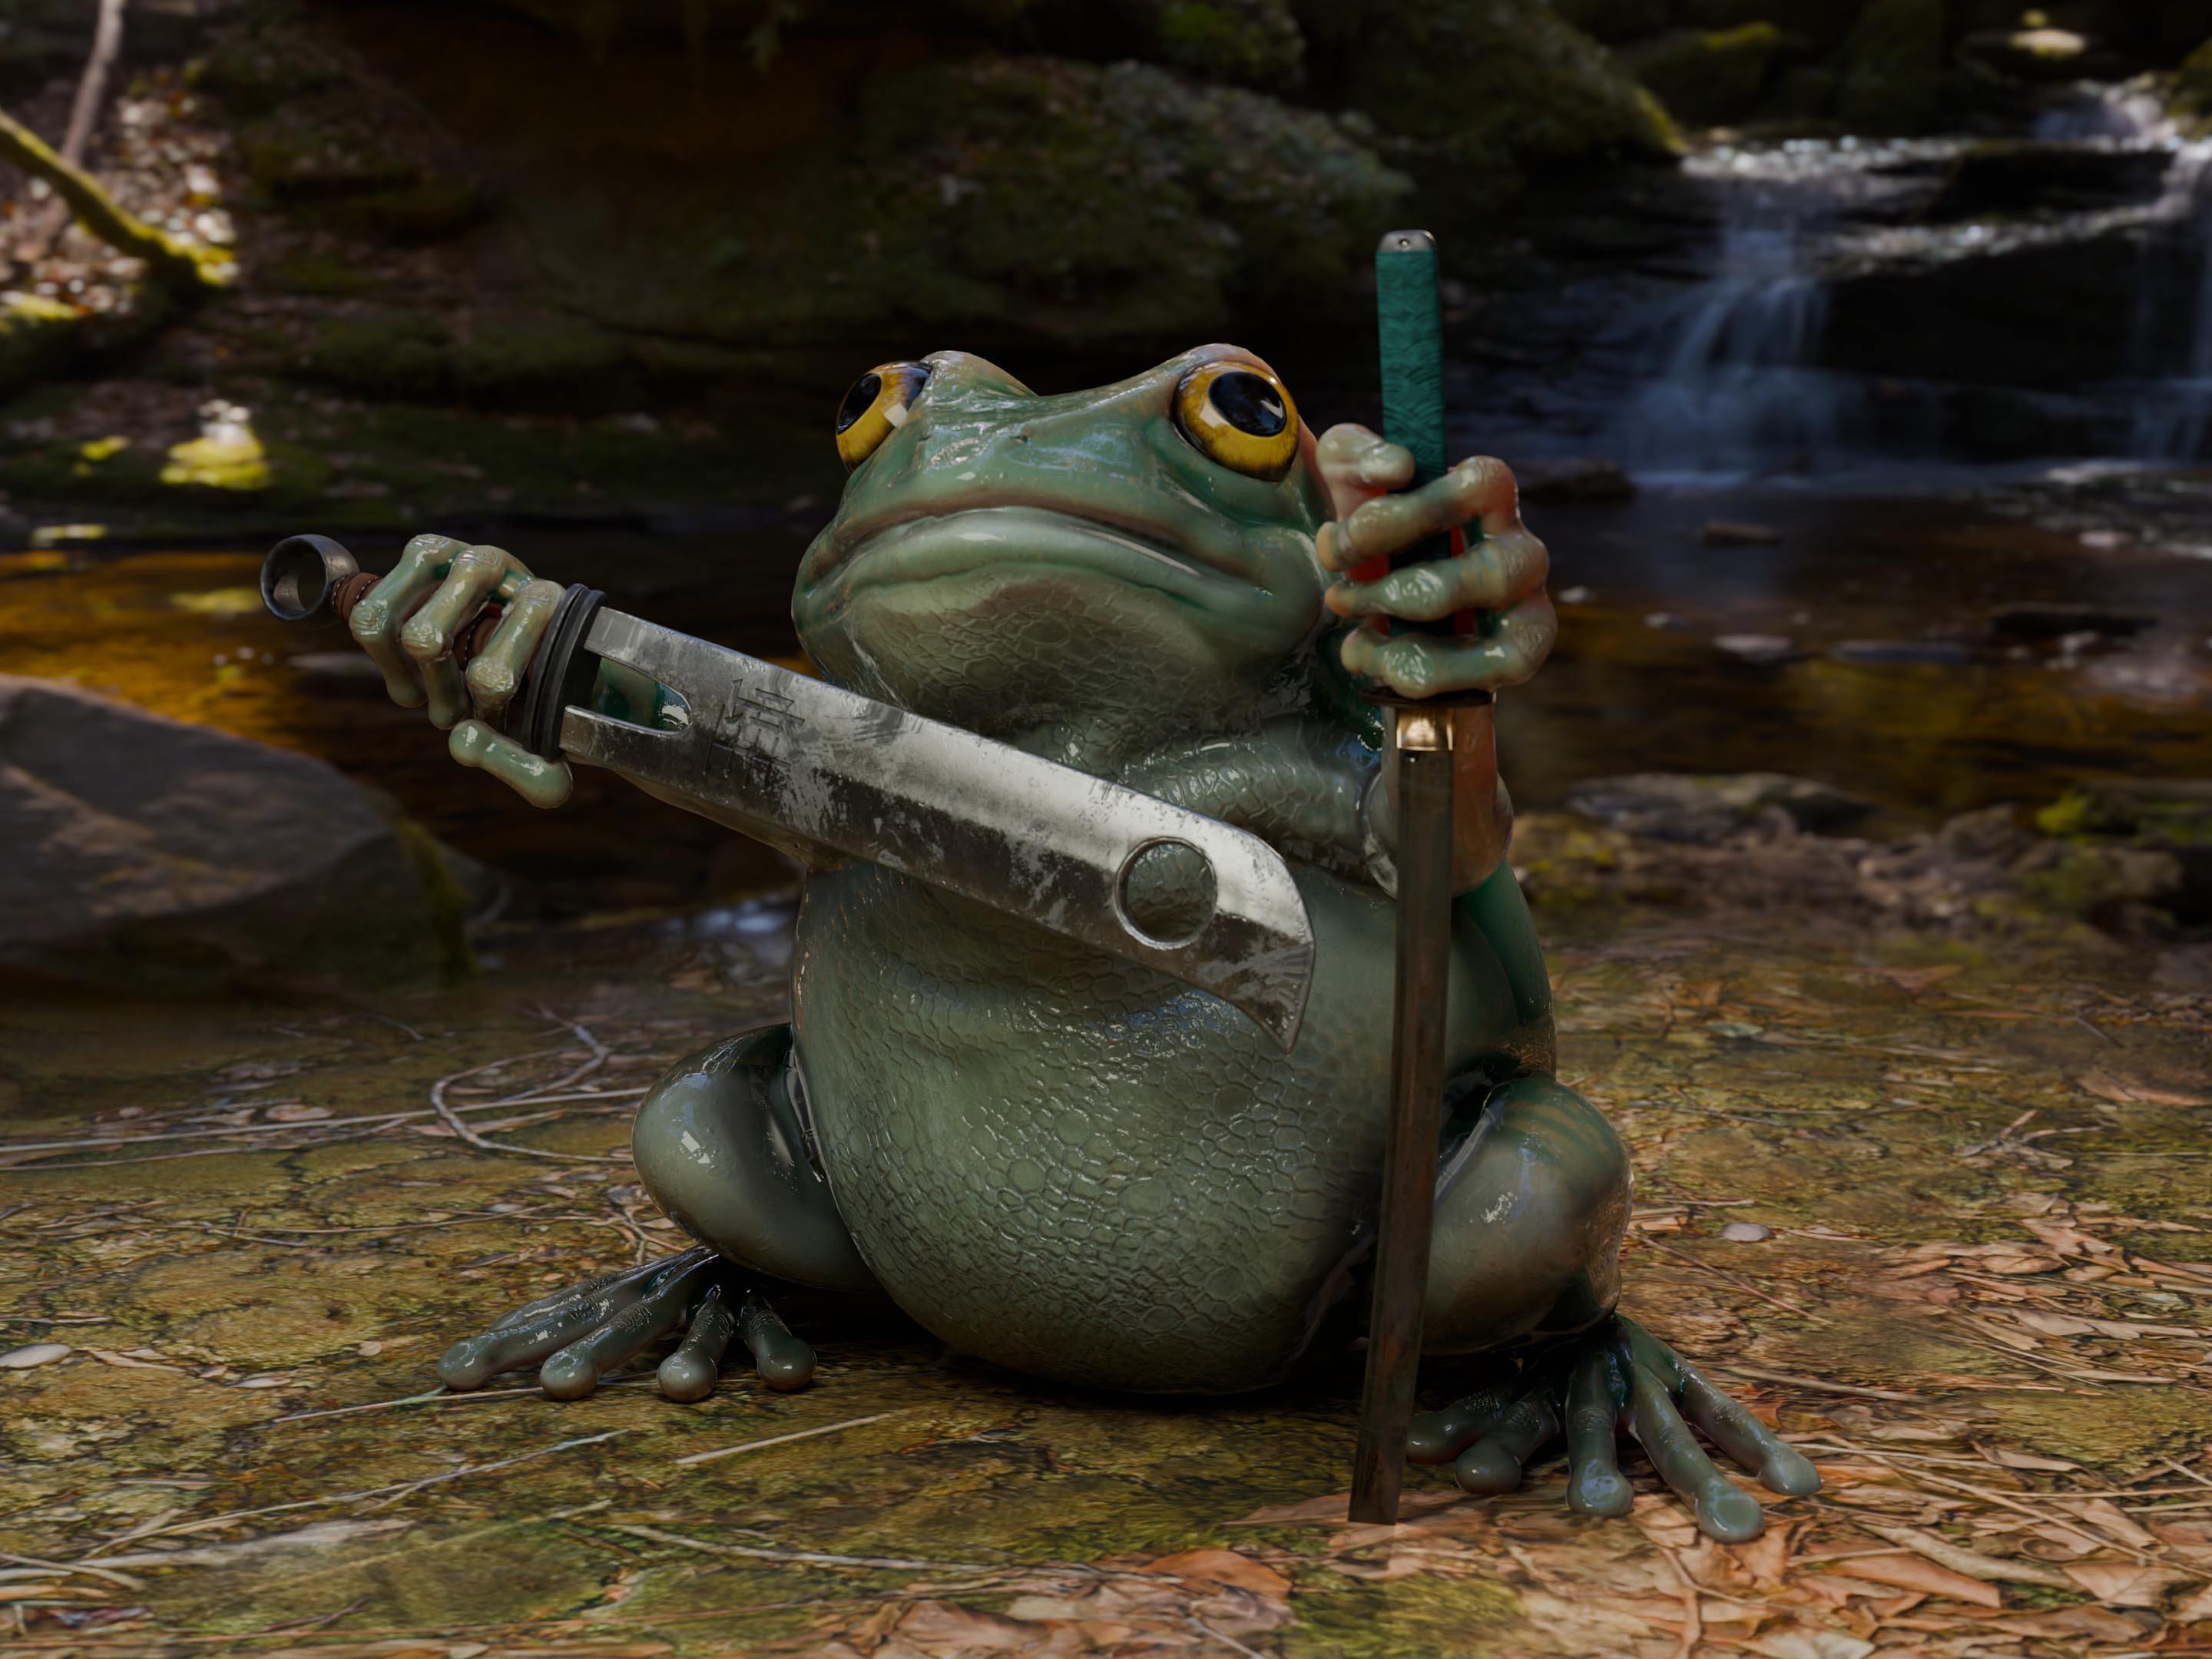
Amphibian Assassin
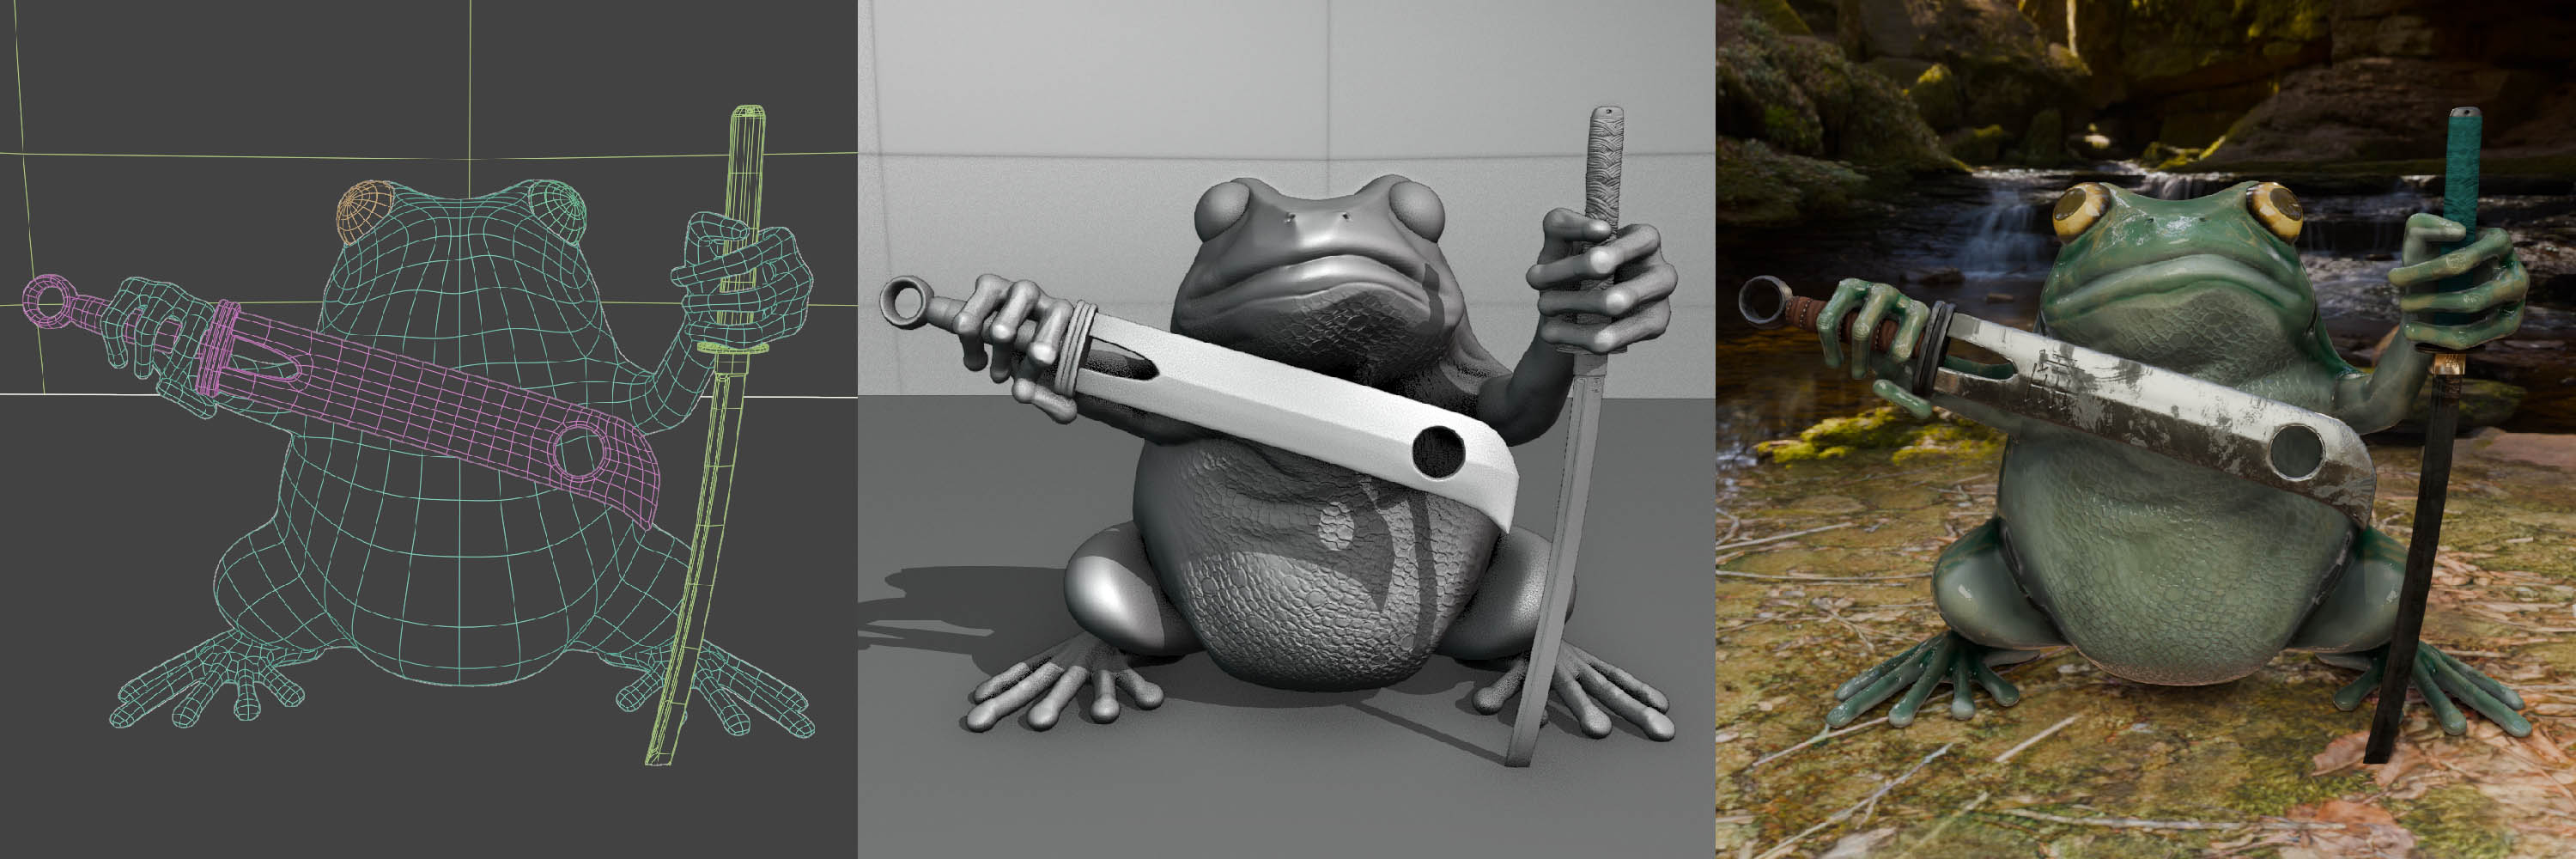
Realtime model of a defensive little frog. Sculpted in Nomad. Retopologized in CozyBlanket, textured in Substance Painter. lighting & rendering in Blender.
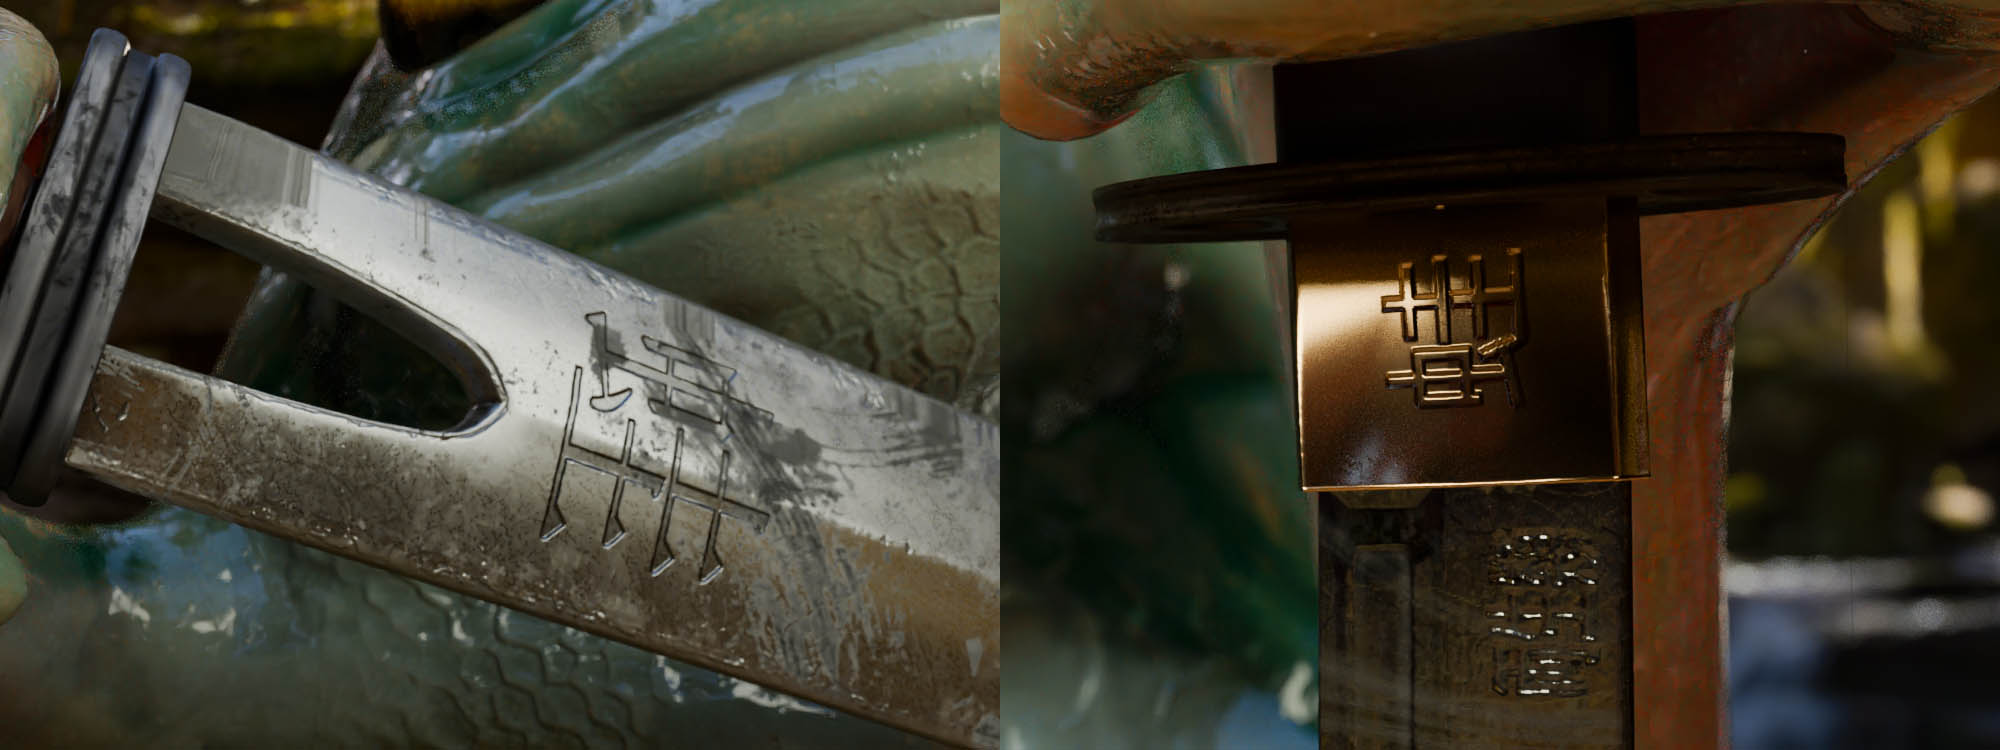
Details
The Swords say "Frog" in Kanji
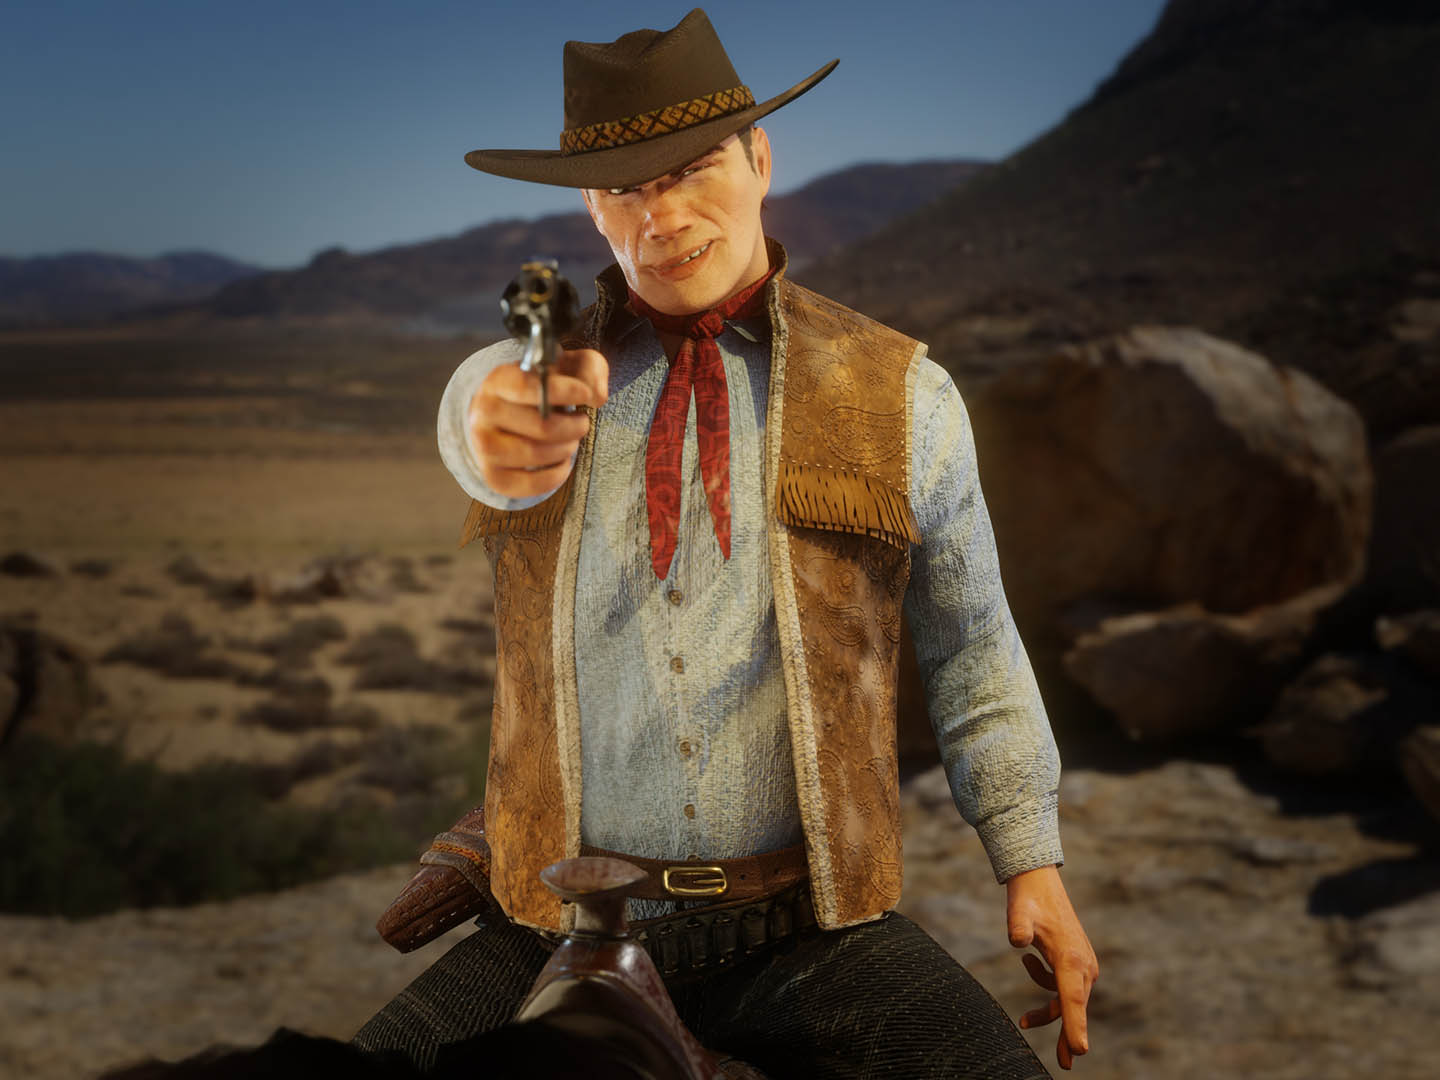
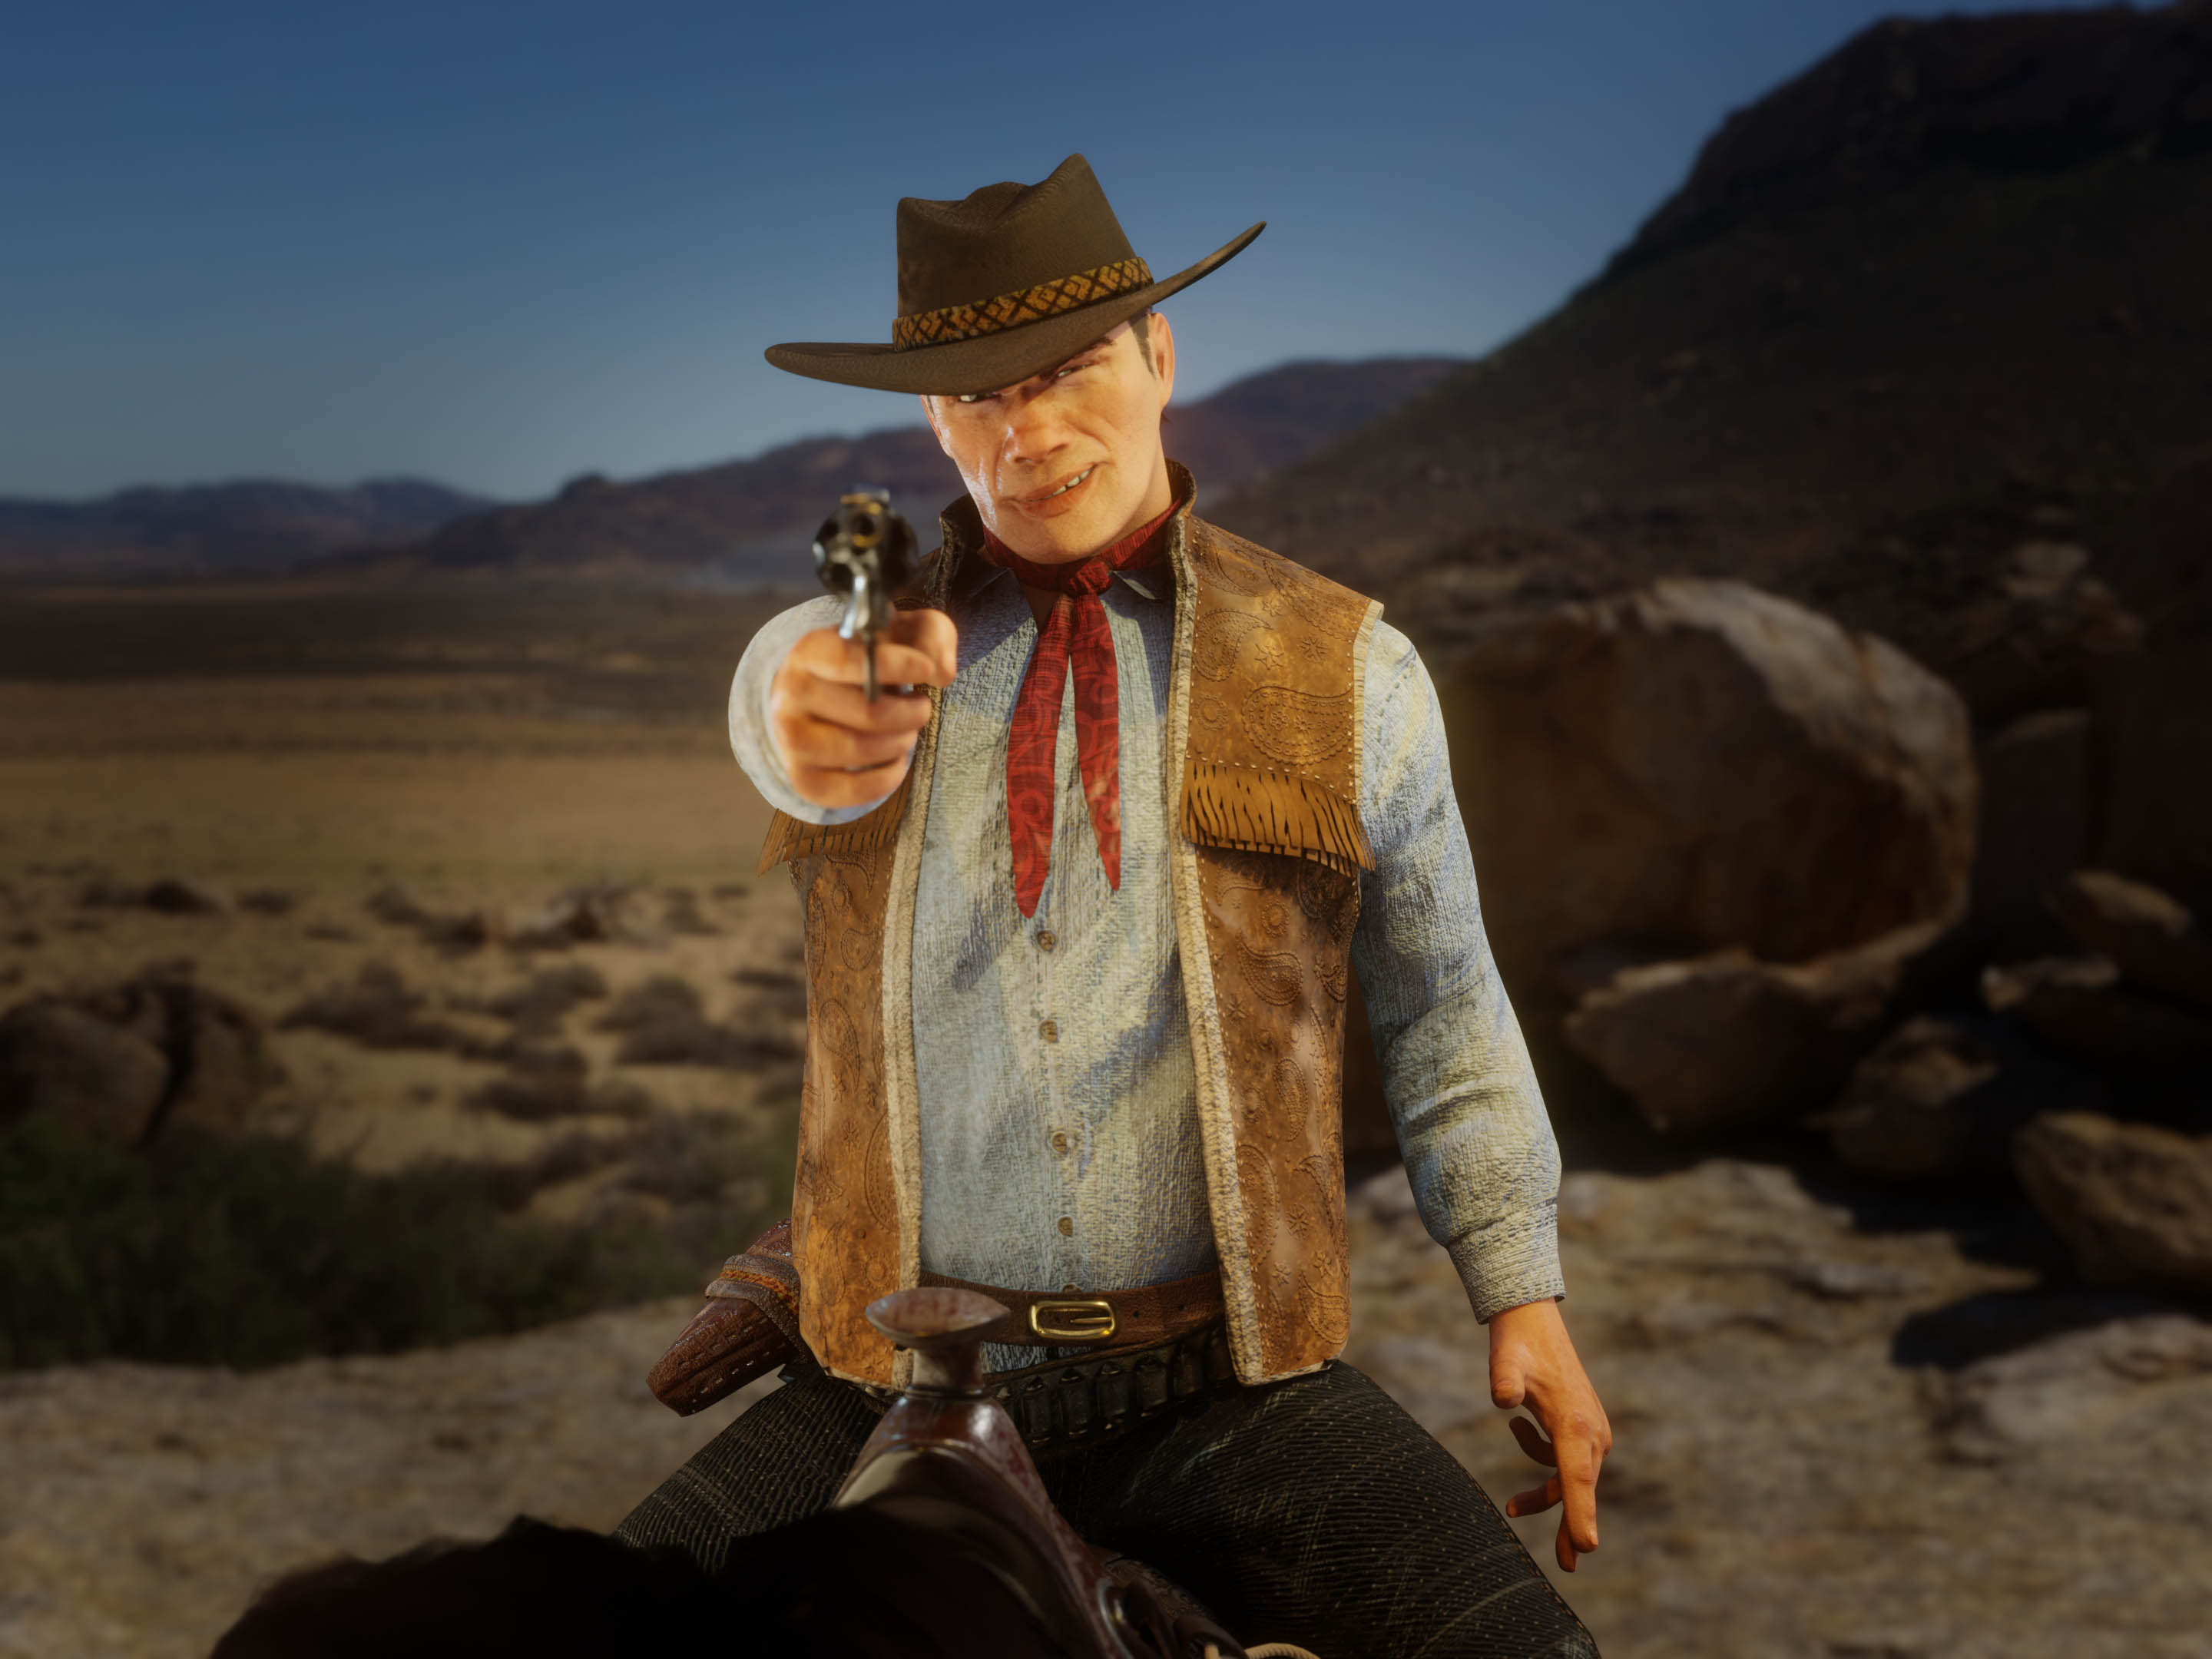
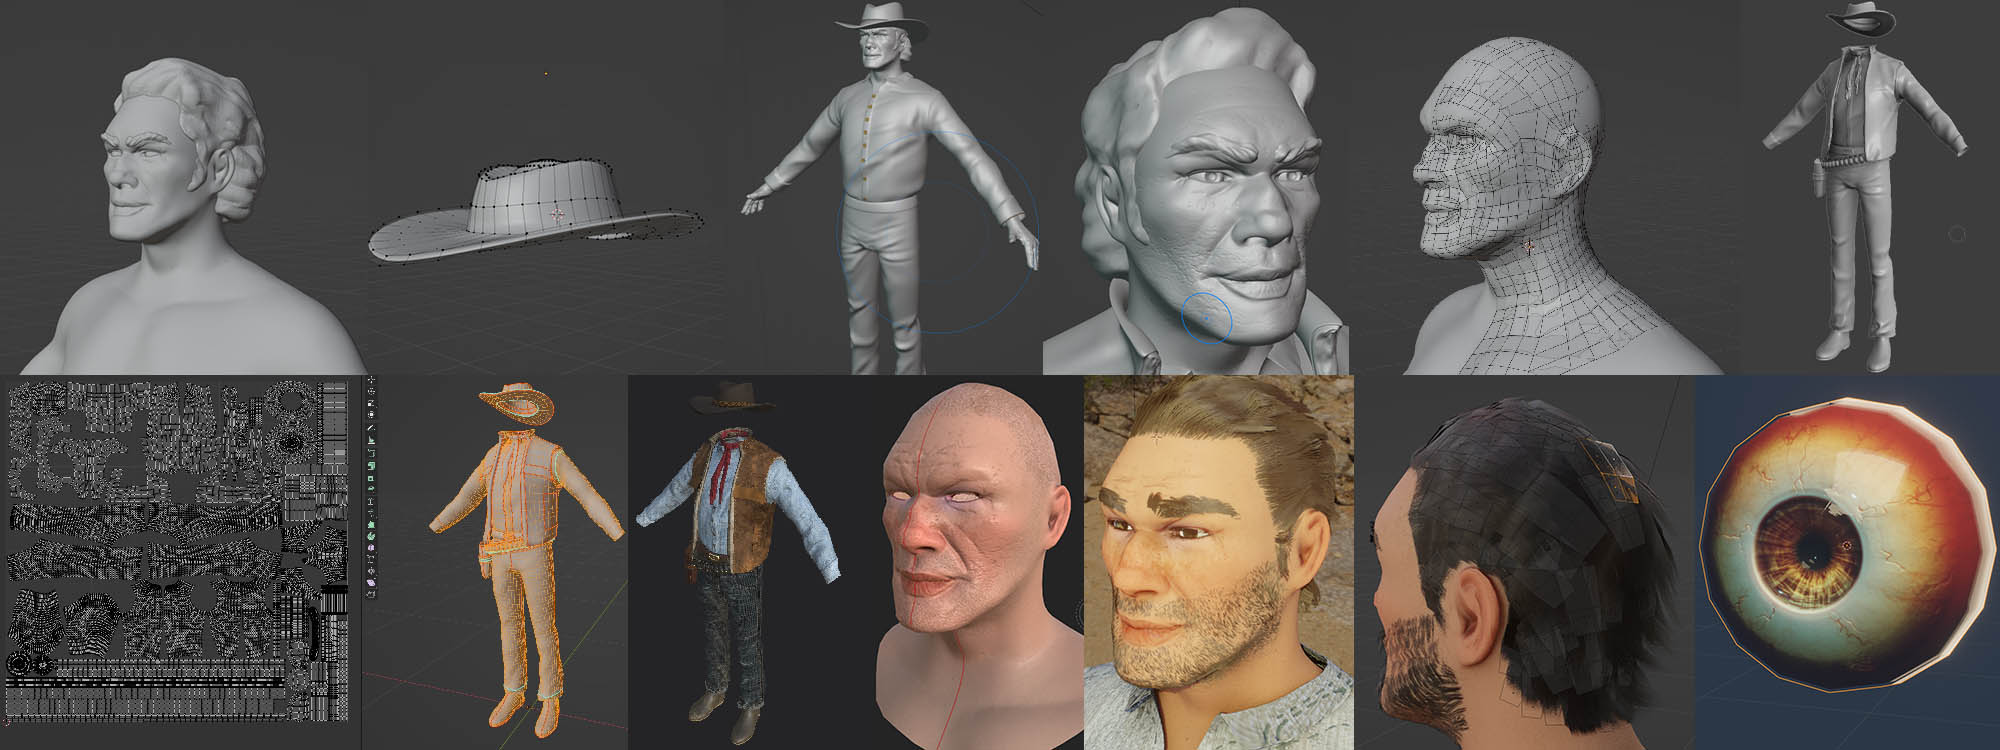
The Cowboy
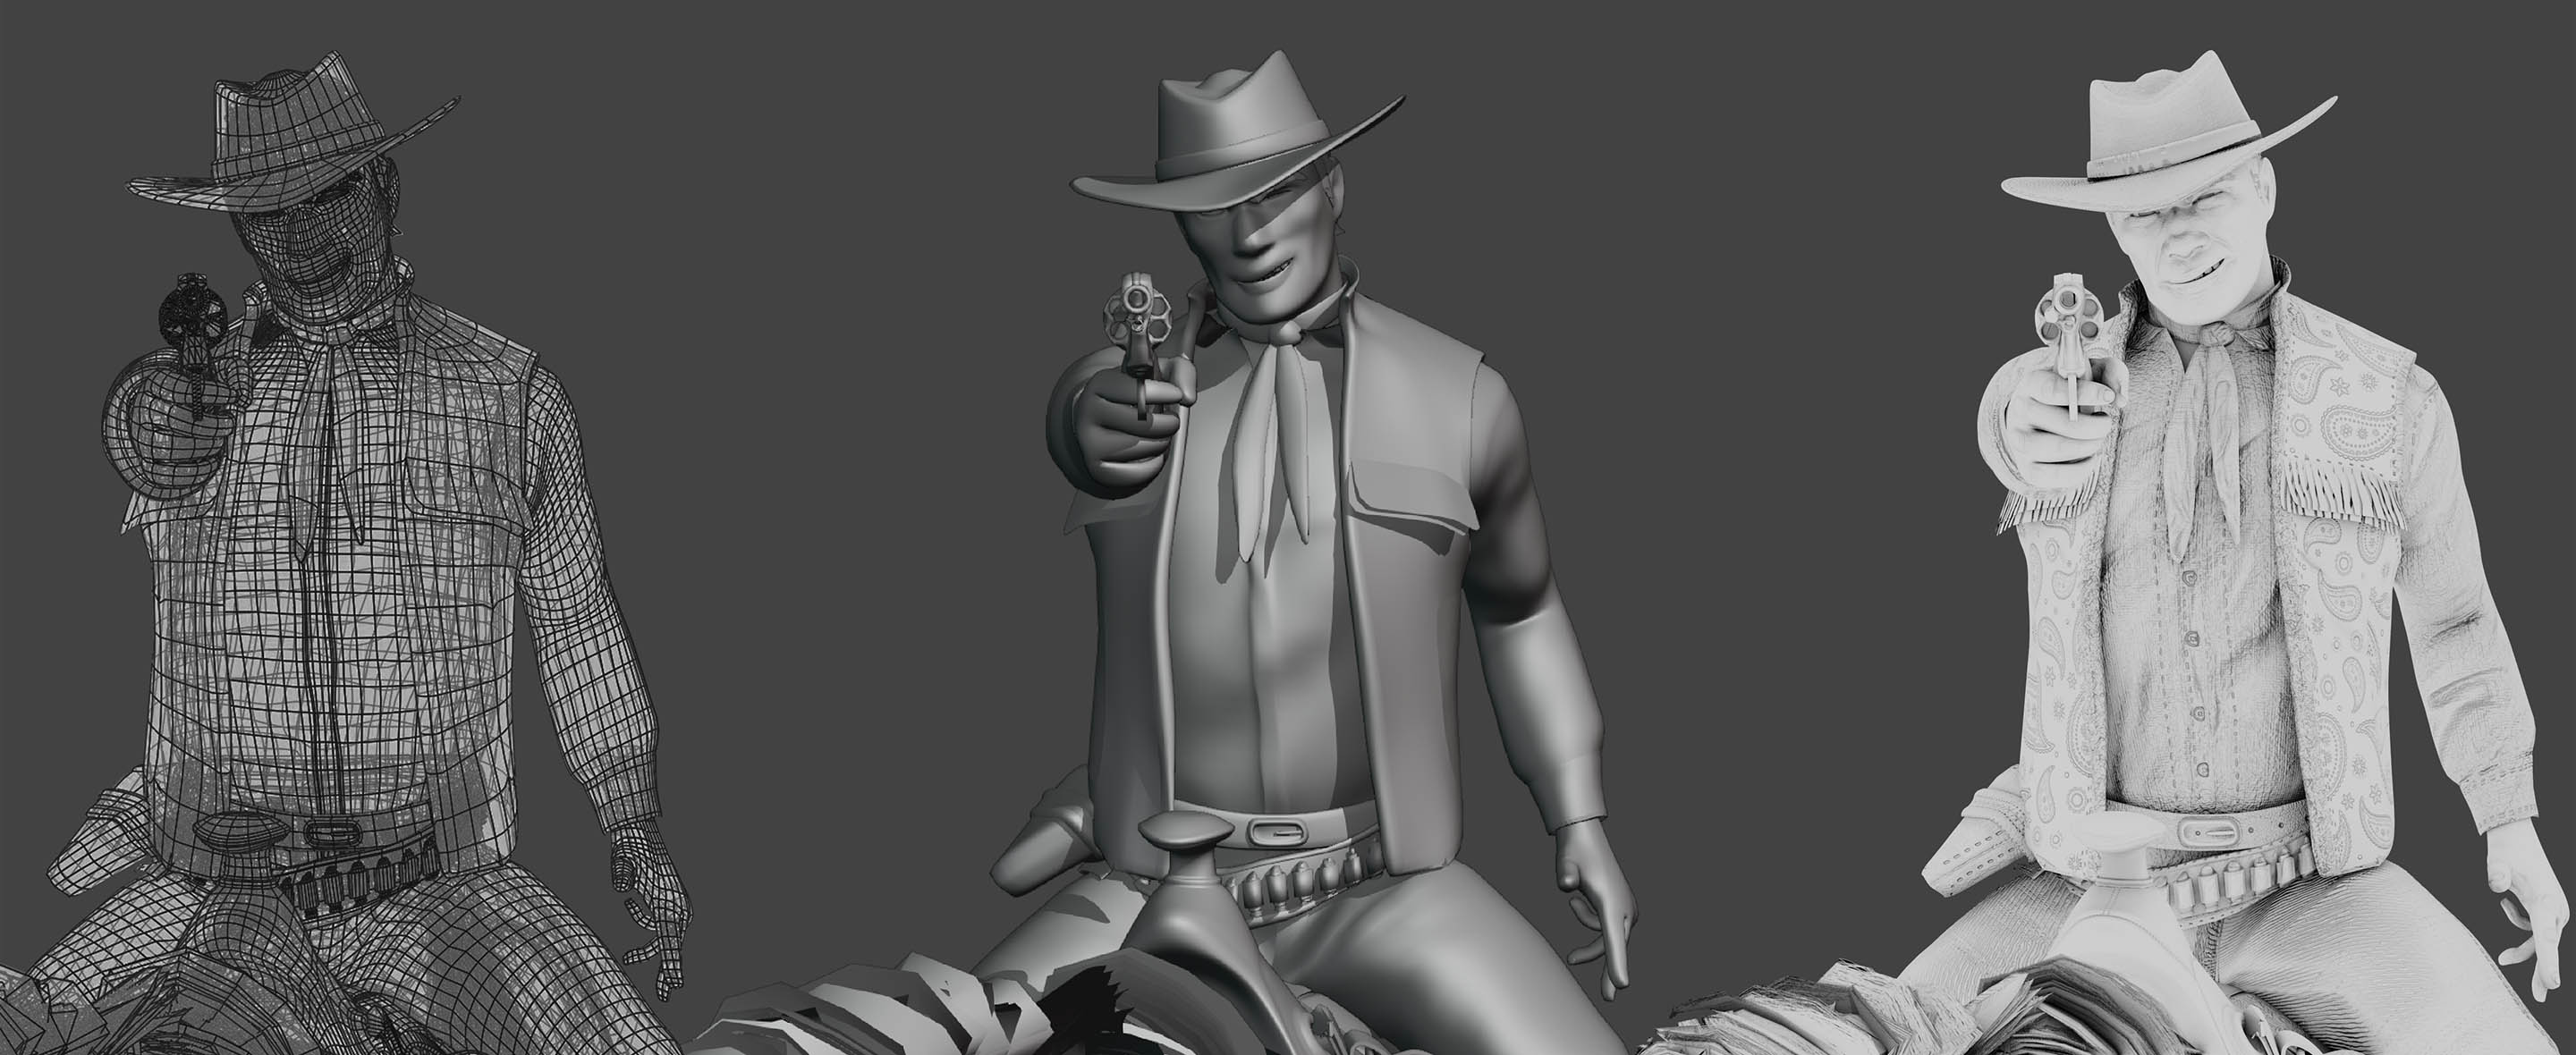
Realtime model of a rancher. Sculpted in Nomad, retopologized in Blender, textured in Substance Painter & photoshop. Lighting, rigging & rendering in Blender.
Process Breakdown
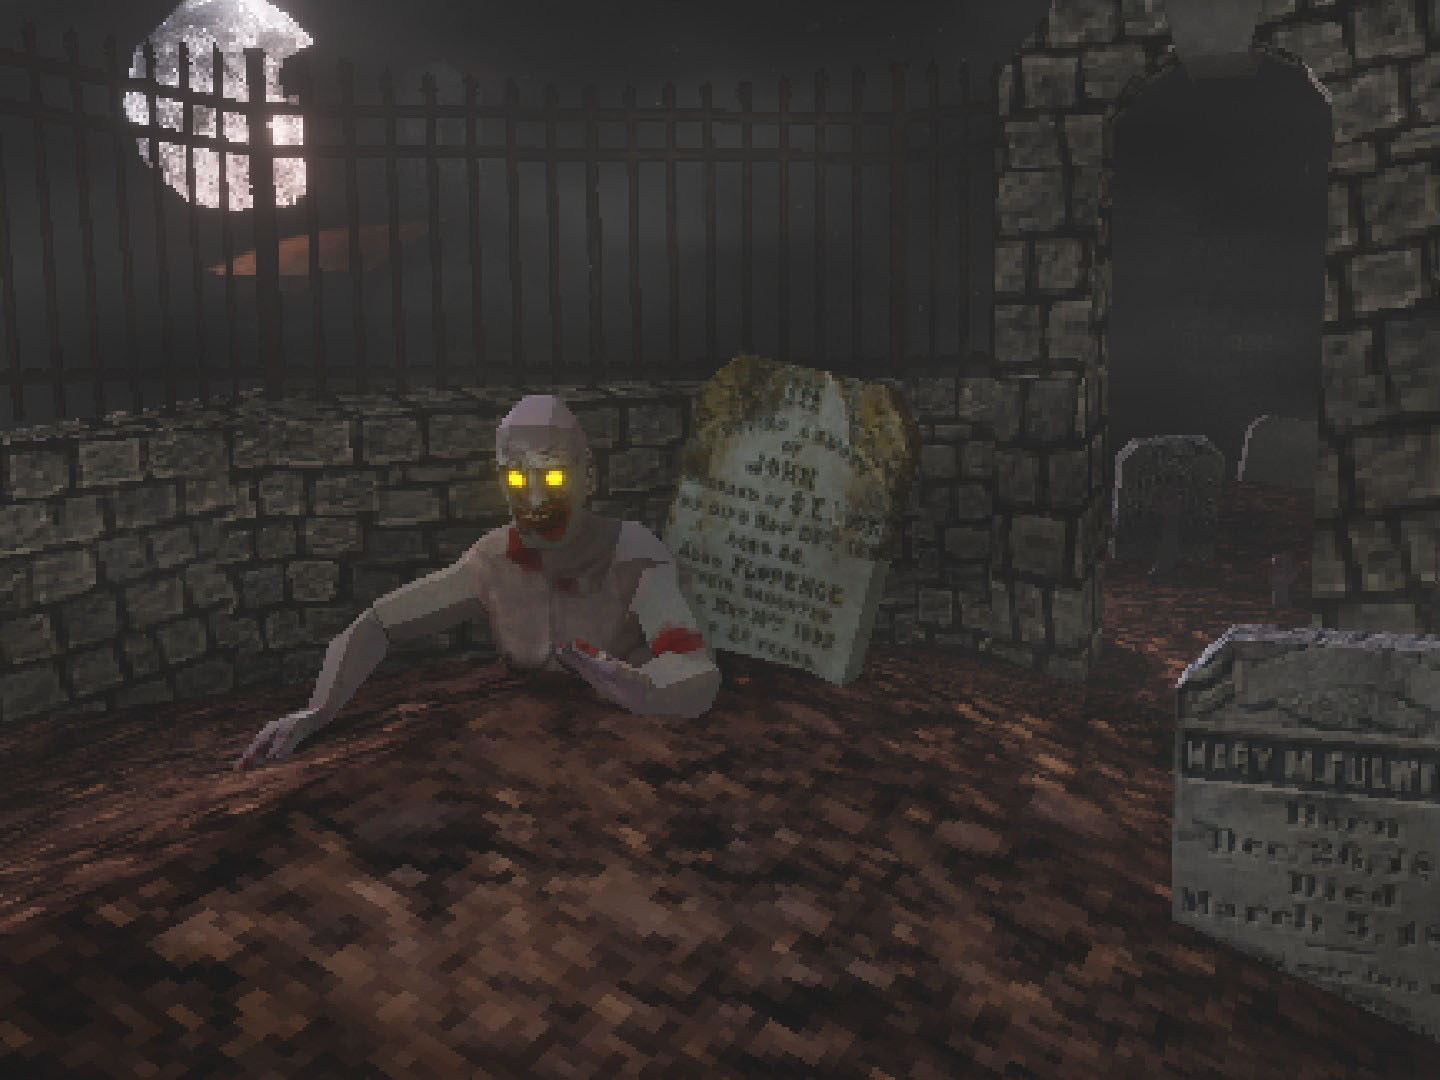
Retro Zombie Project
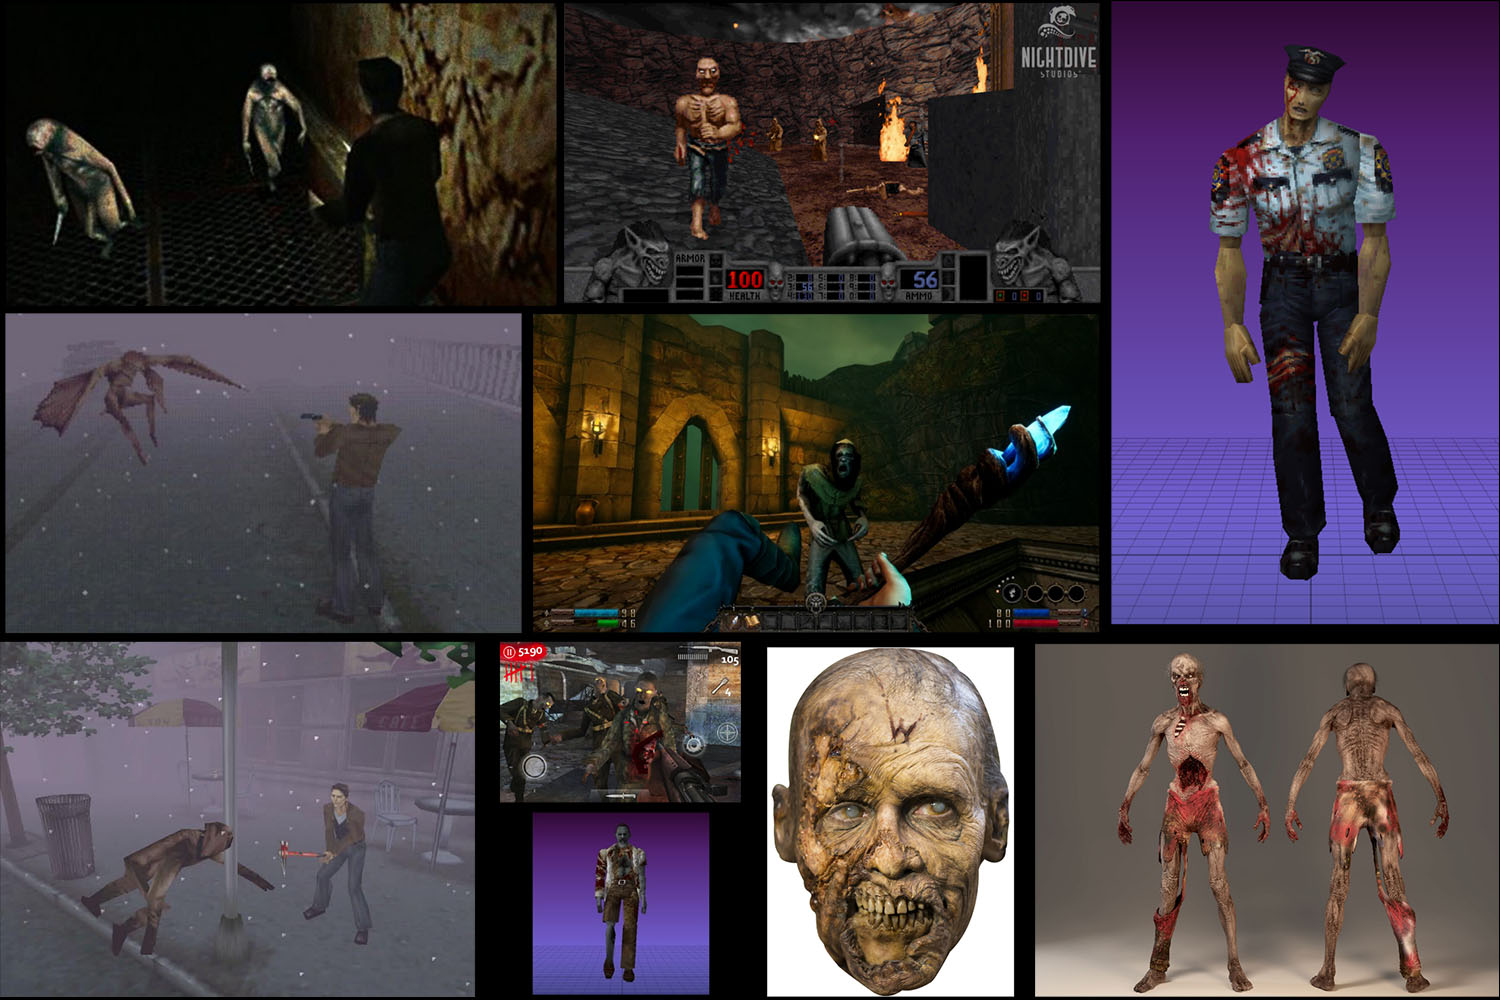
I decided to take inspiration from early 3D games to showcase my zombie animation in a retro style. This allowed me to produce stylised assets that fit the theme quickly and effectively.
Below to the left are the reference images I used as inspiration. My main references were Silent Hill (1999), Resident Evil 2 (1998) and Blood (1997).
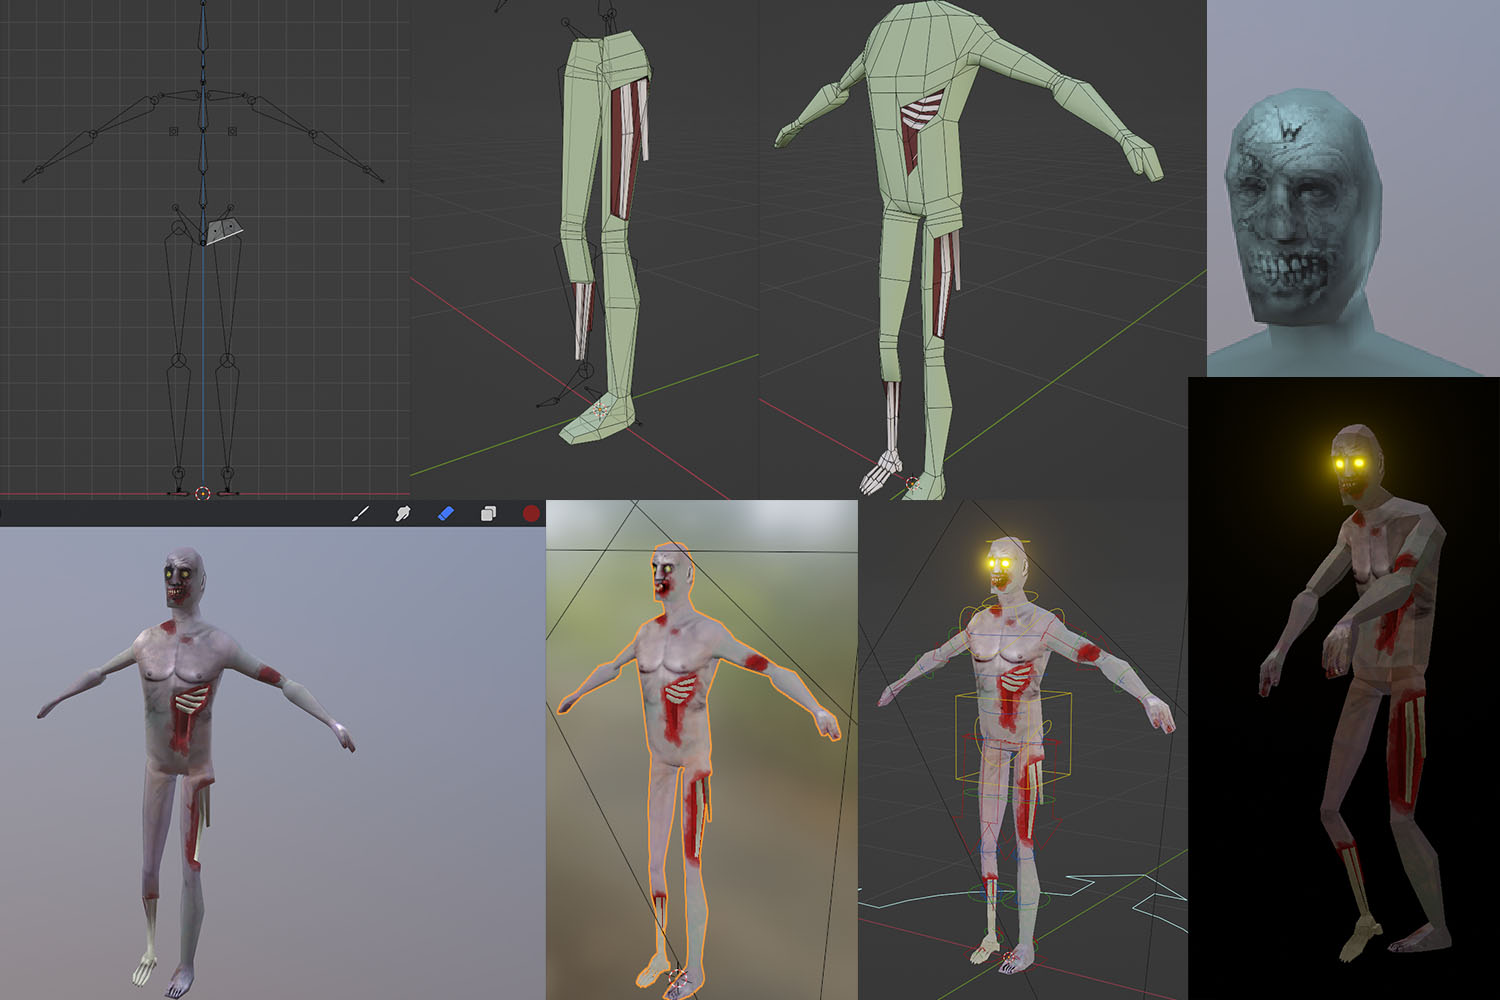
Below right is my process for creating a low-poly zombie in the style of early 3D games. It was modeled and rigged in Blender and Textured in Procreate.
Modeling the Scene
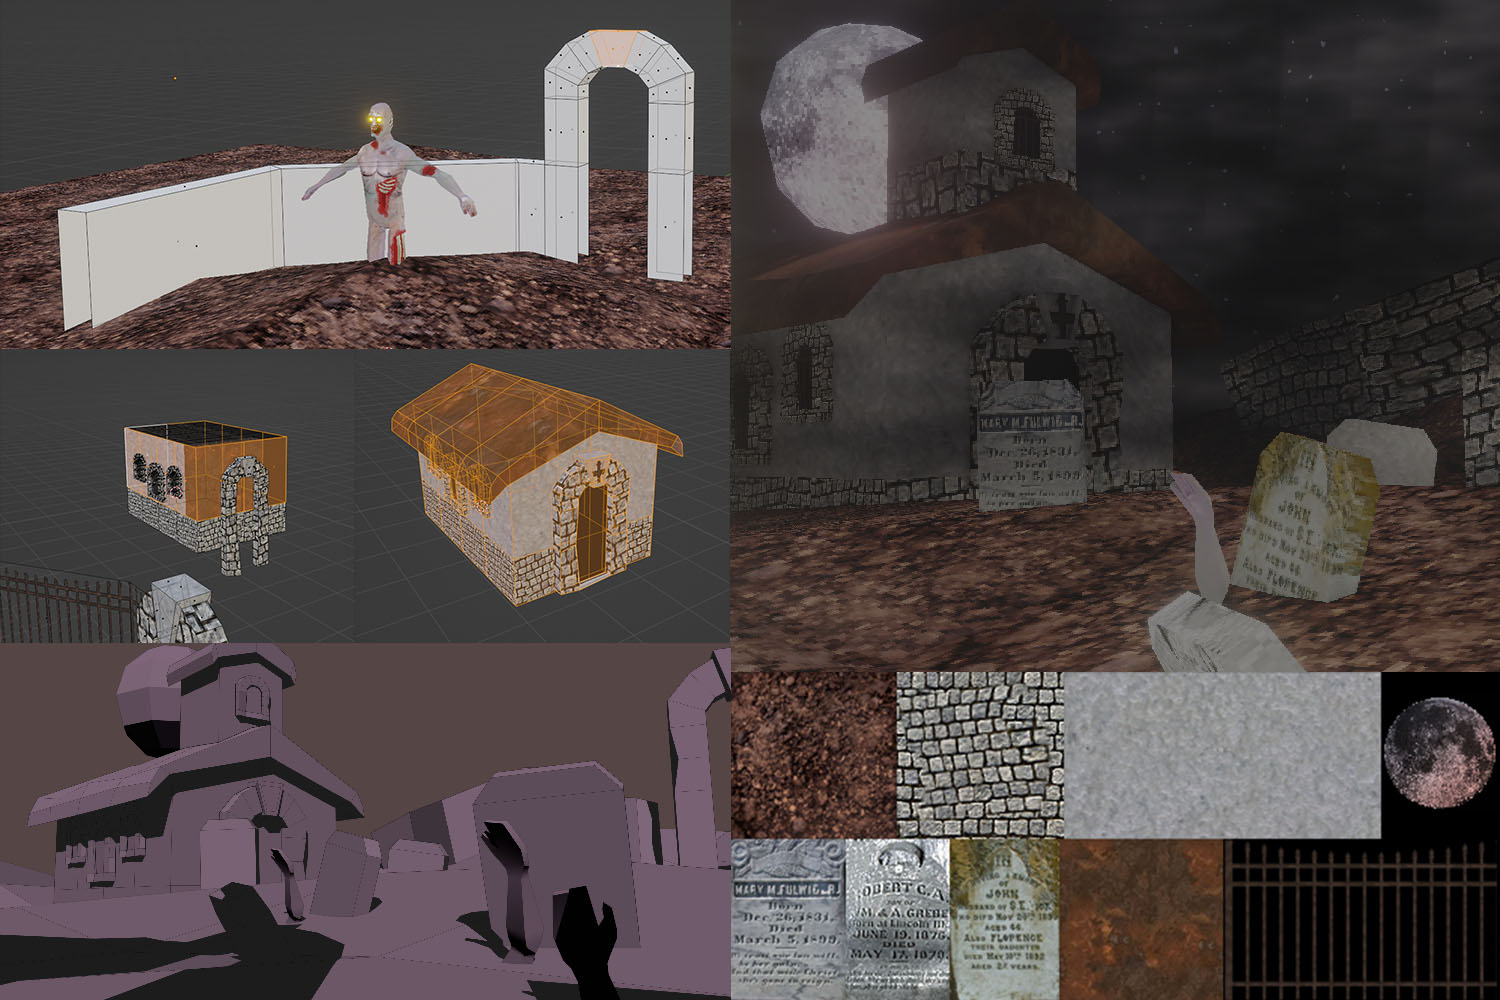
Using blockouts and other simple modelling techniques, I was able to quickly create a graveyard scene that evoques a bleake and dusky atmosphere, the scenery was very much inspired by Silent Hill and Blood.
I was able to create low-resolution textures by taking images and reducing their size dramatically. This helps to solidify the retro aesthetic that I wanted to portray.
Rendered Animation
Here is the rendered + composited animation.
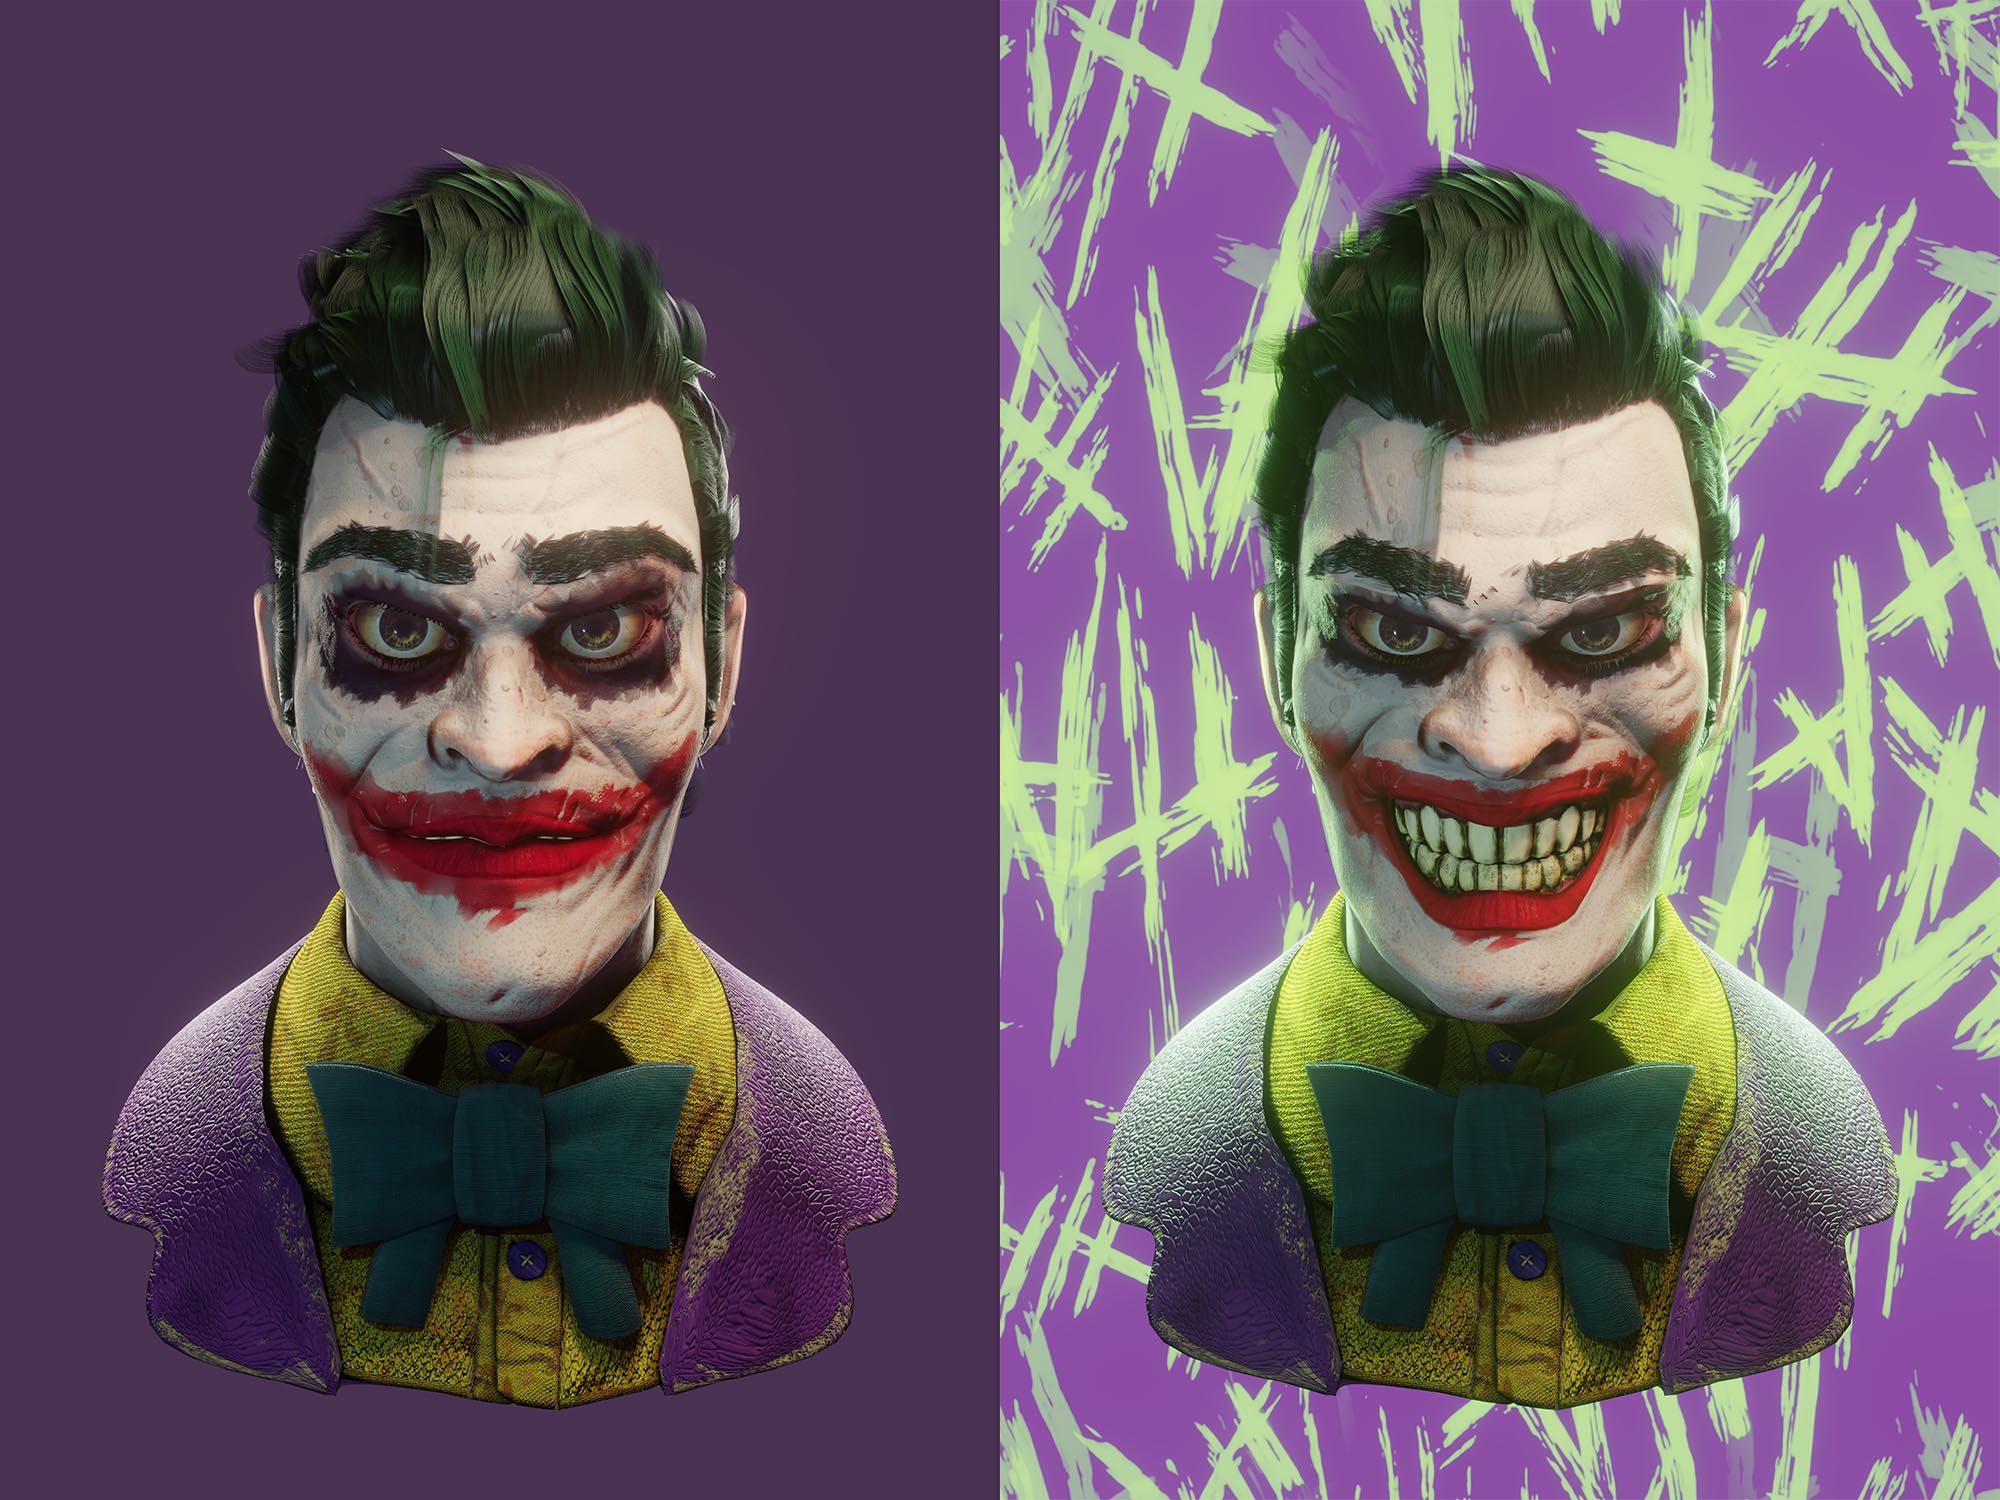
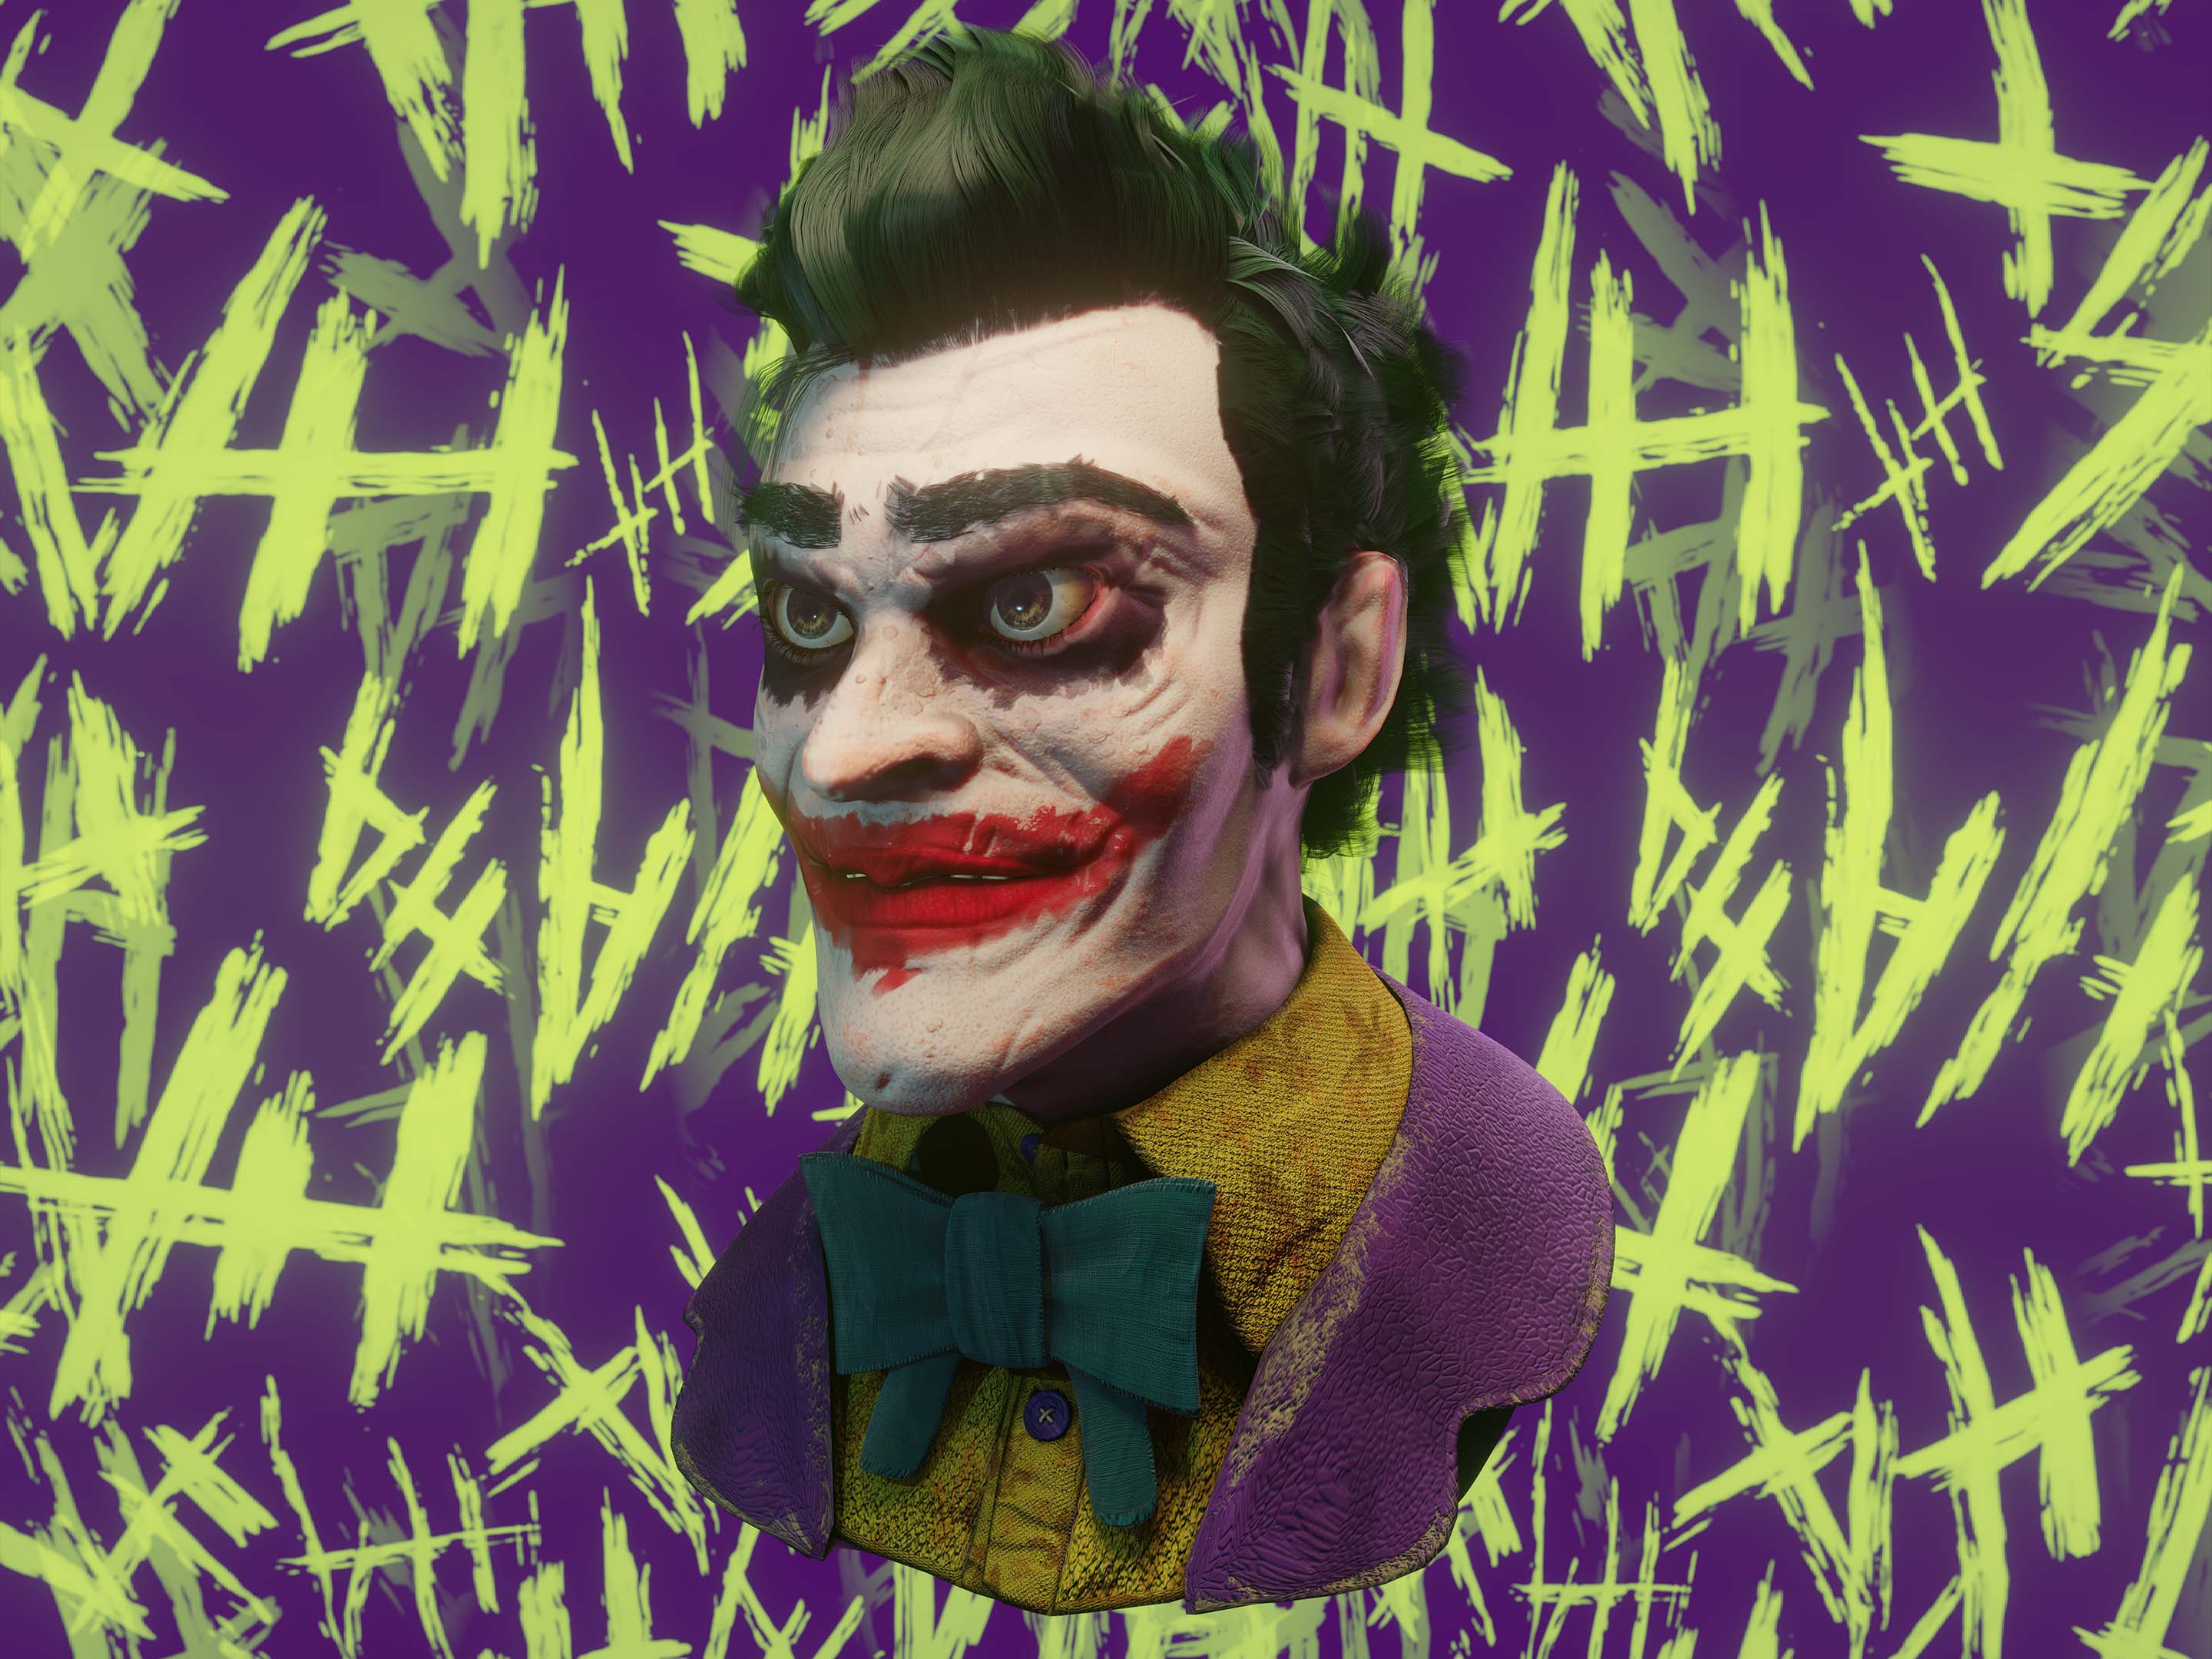
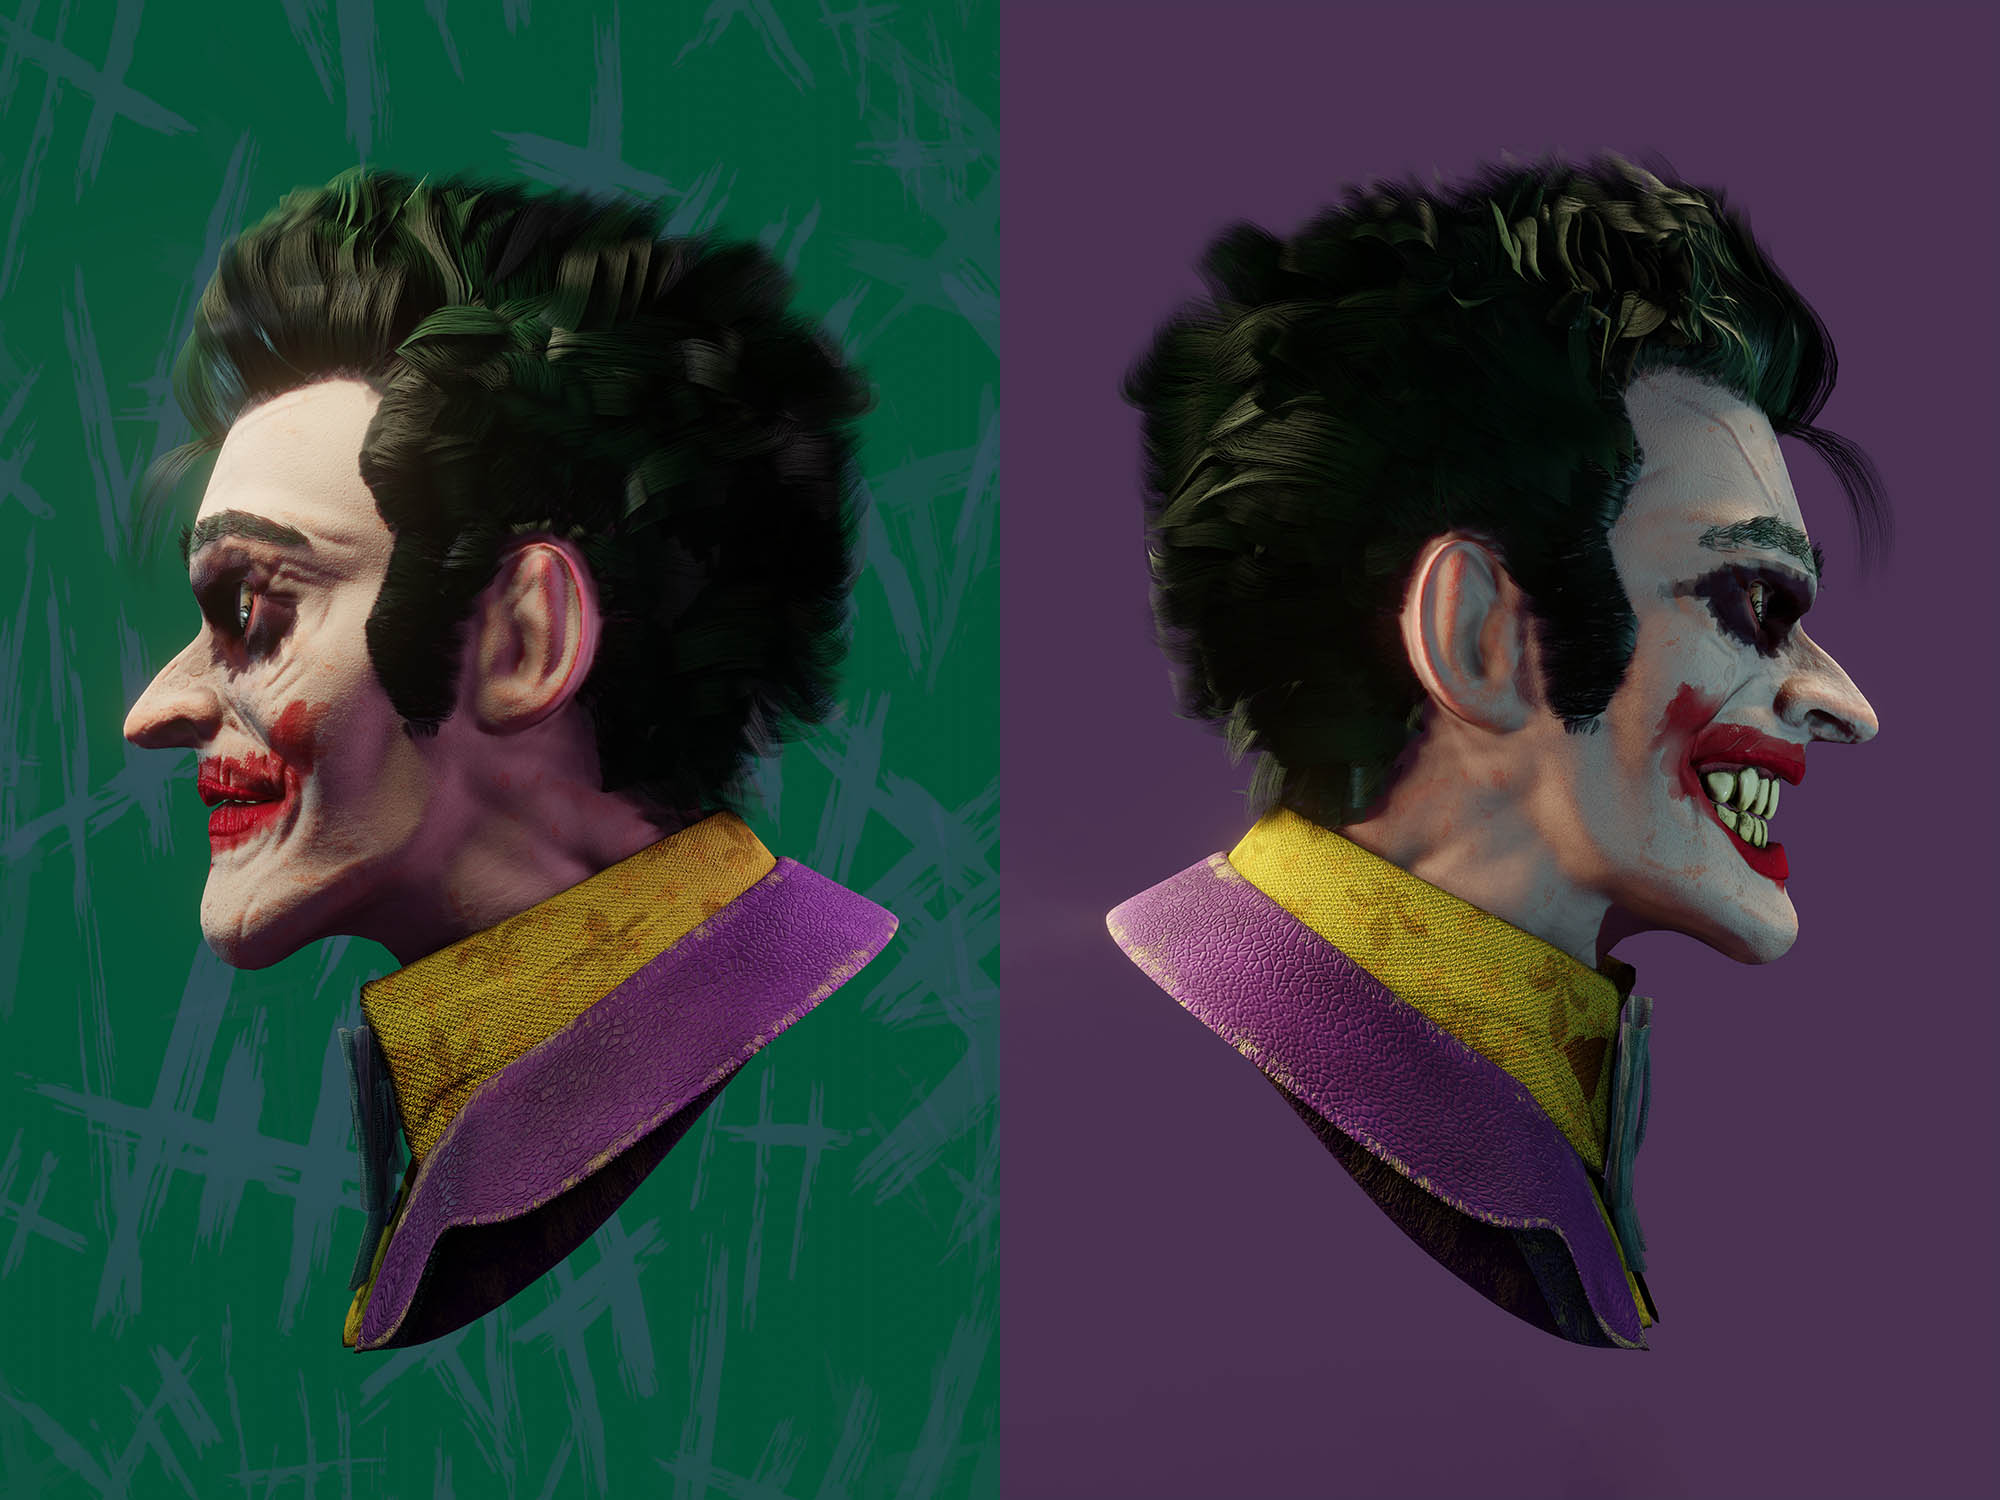
Mr J.
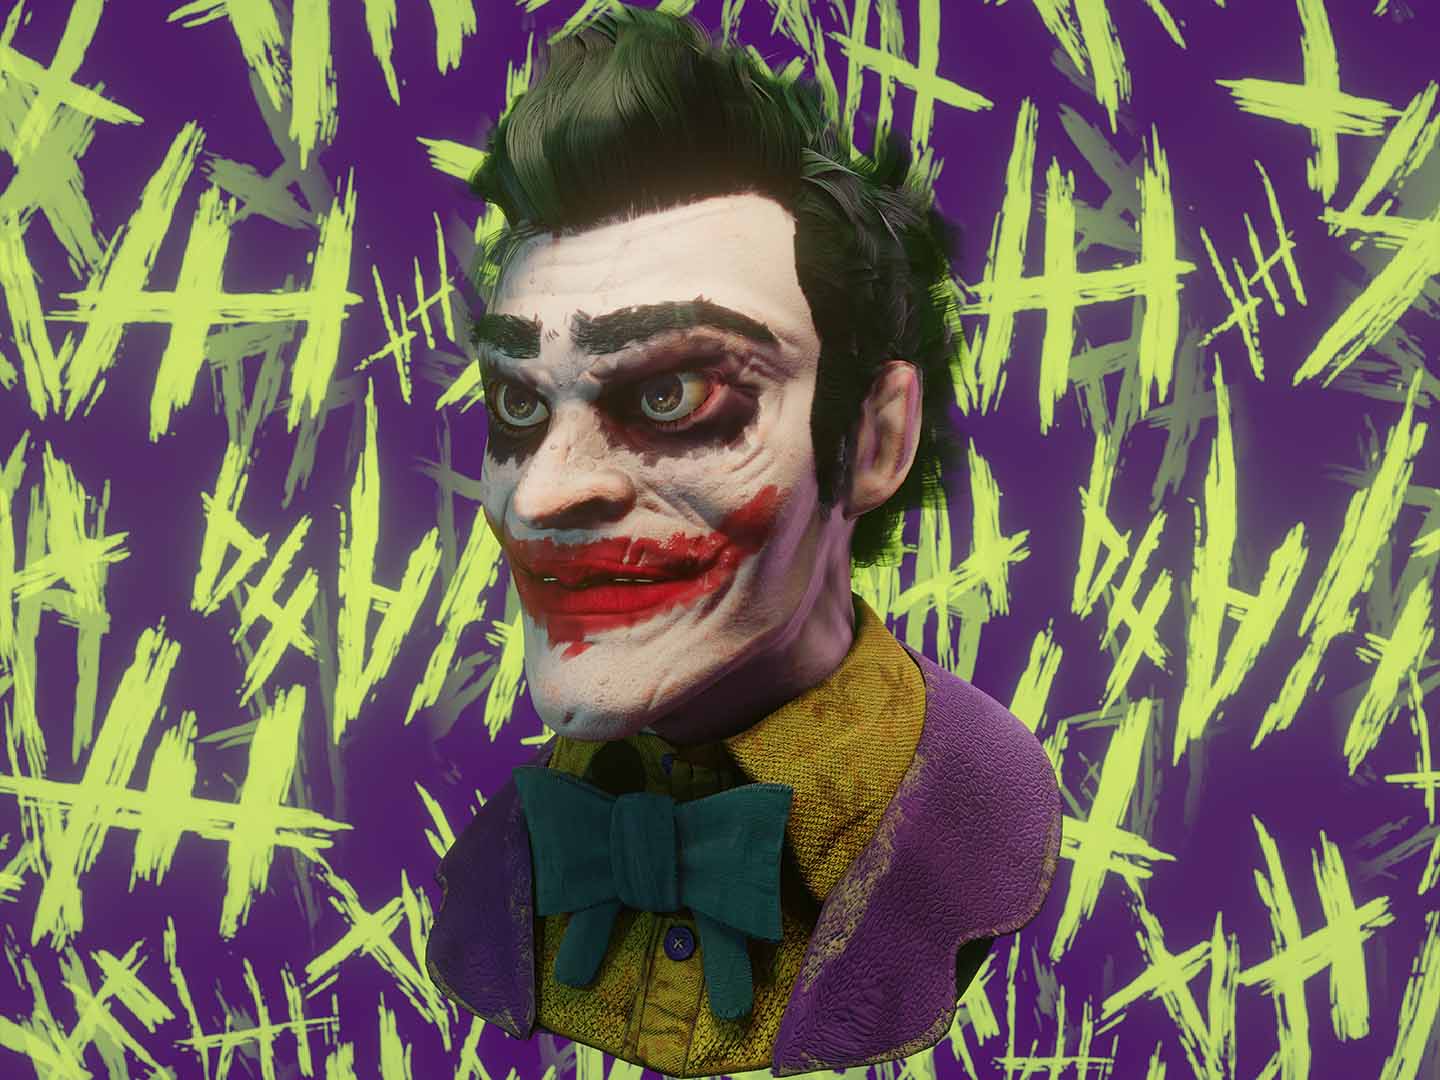
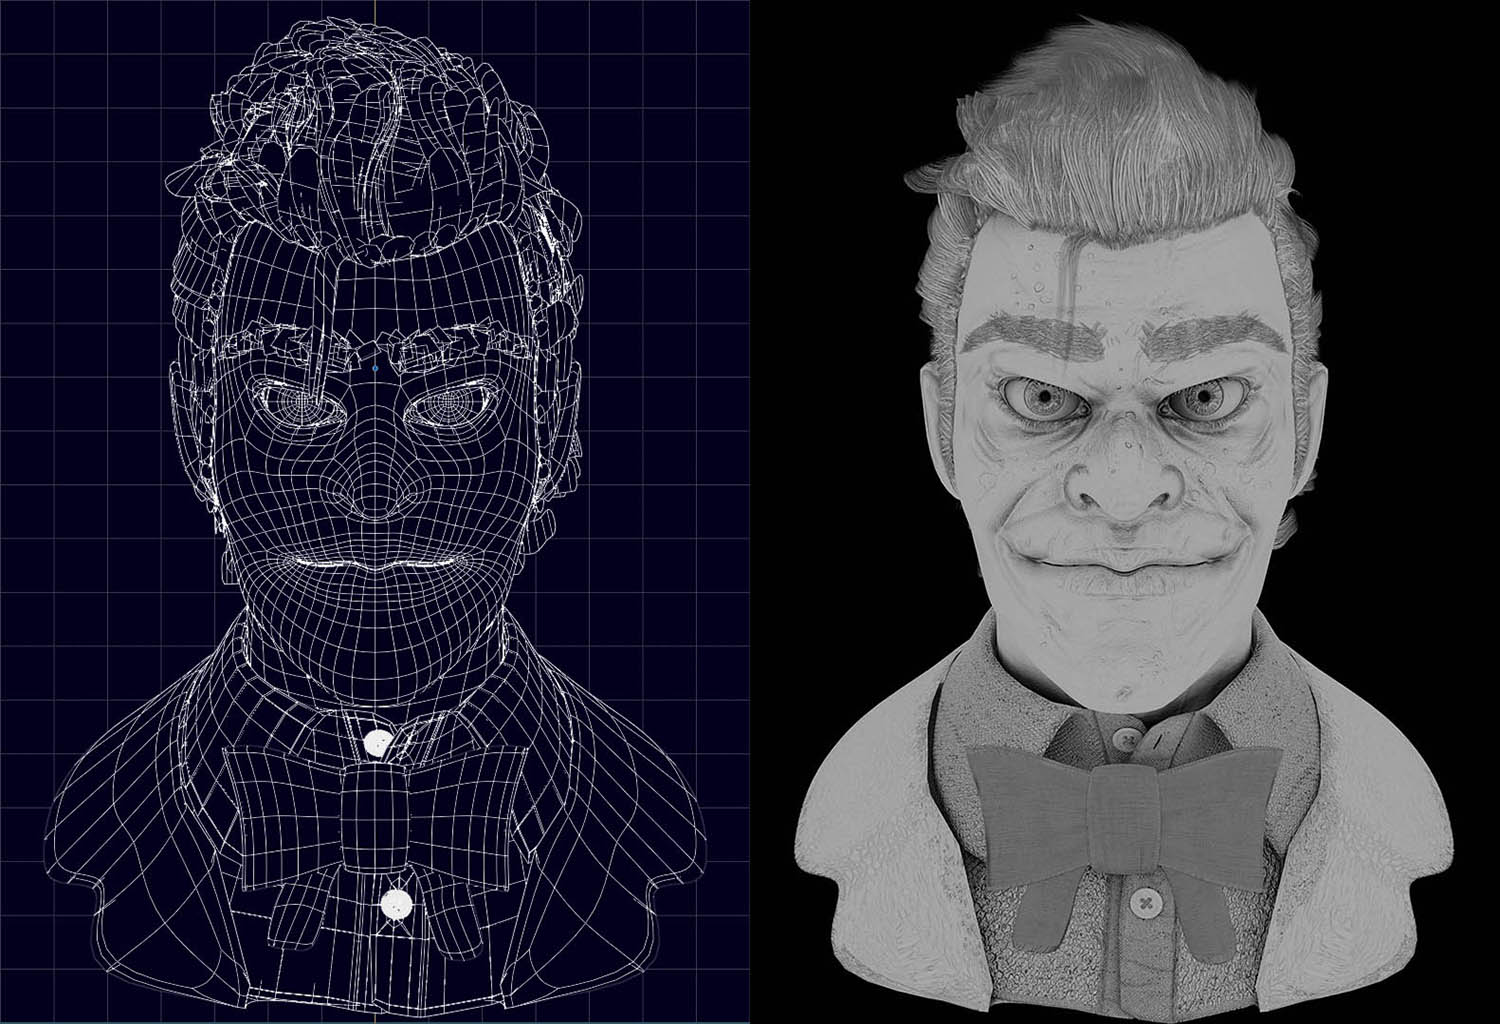
Realtime Portrait of the Clown Prince of Crime. Sculpted in Nomad. Retopologized in CozyBlanket, textured in Substance Painter. Groom, rigging, lighting & rendering in Blender.
Wireframe & AO Pass
Showreel
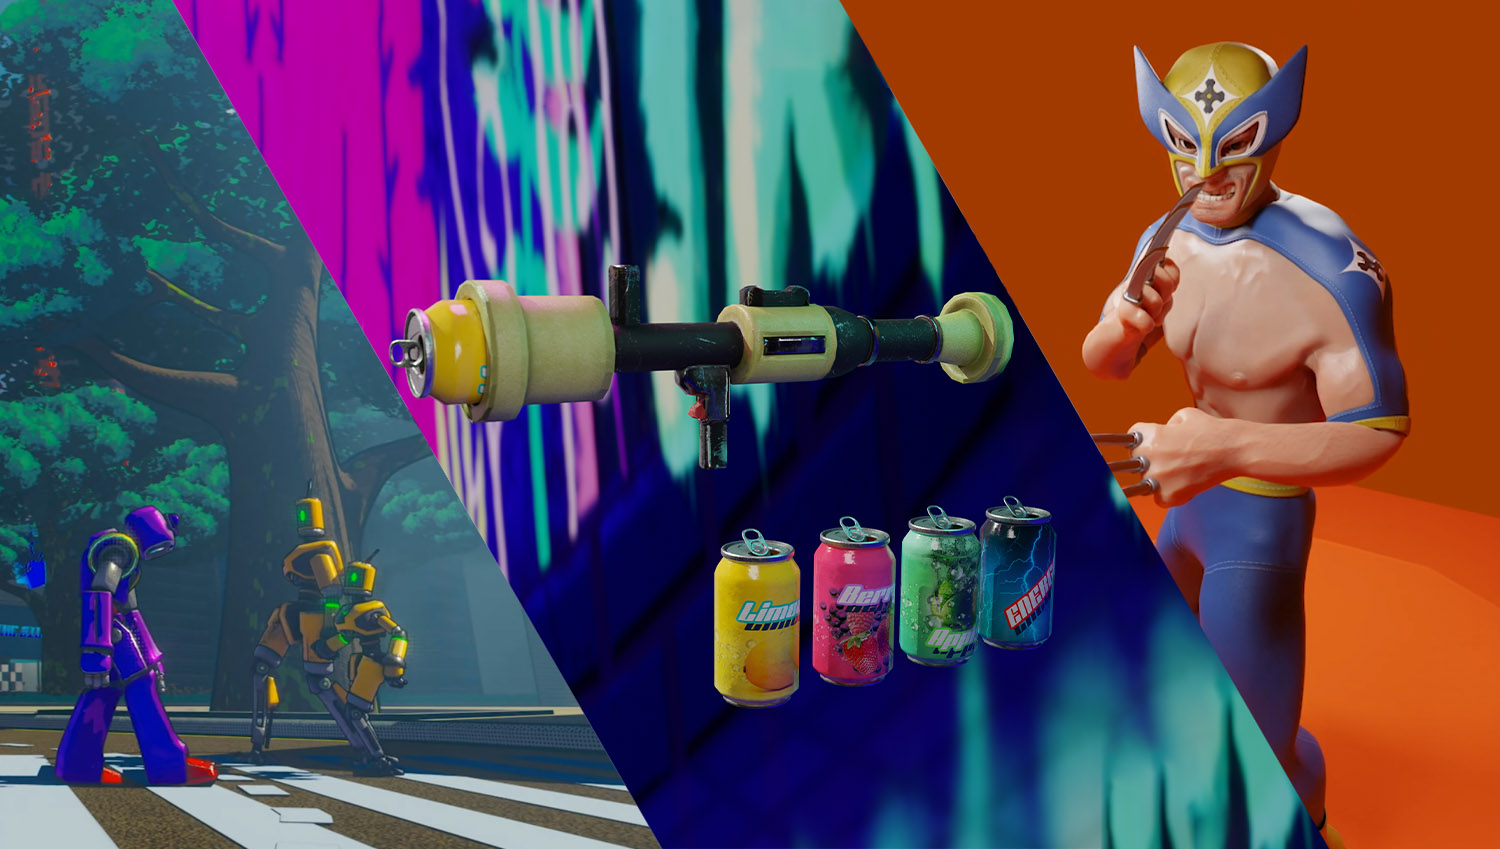
Here are some of the projects I have produced over my time at university as well as some personal projects.
Music Video
I served as art director along with the artist on a collaborative project to create a music video for his upcoming single. The visual style was influenced by cartoons so we decided to implement toon shading and NPR render techniques to achieve a stylised look. Here is the link to the video
Vehicles
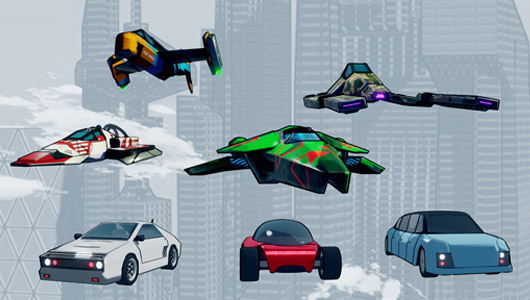
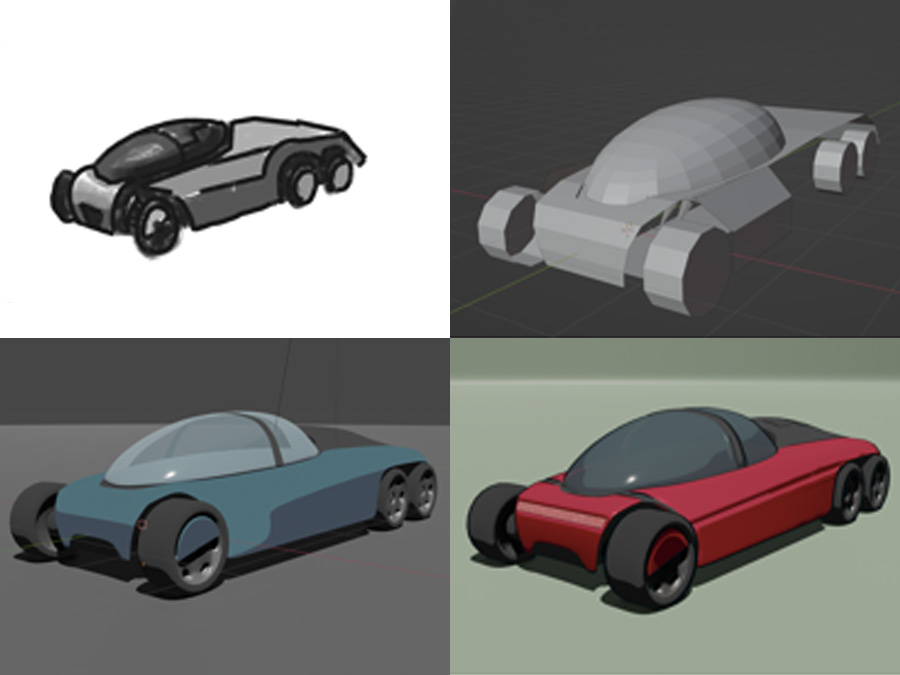
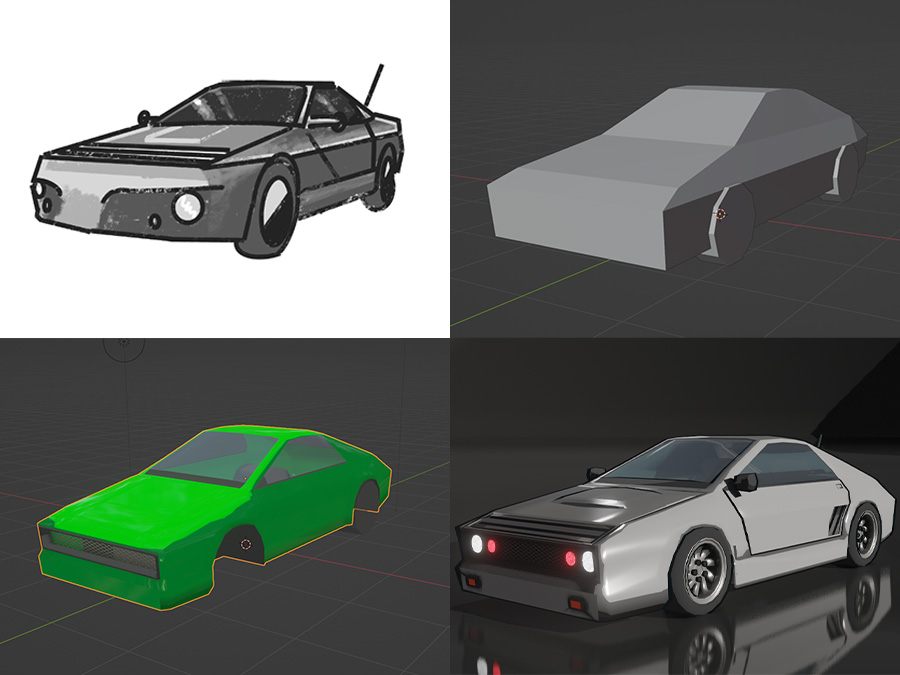
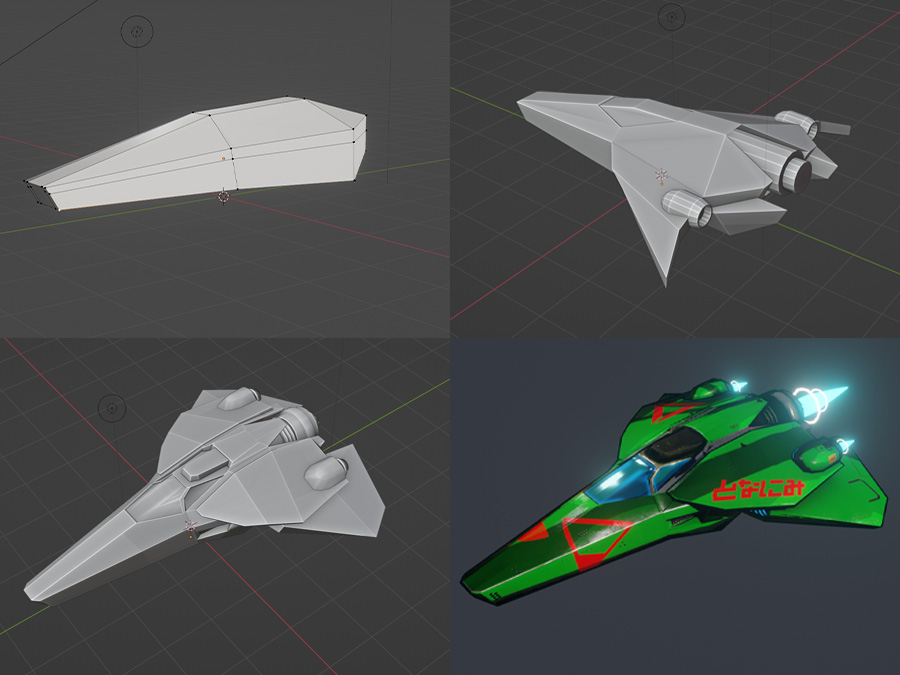
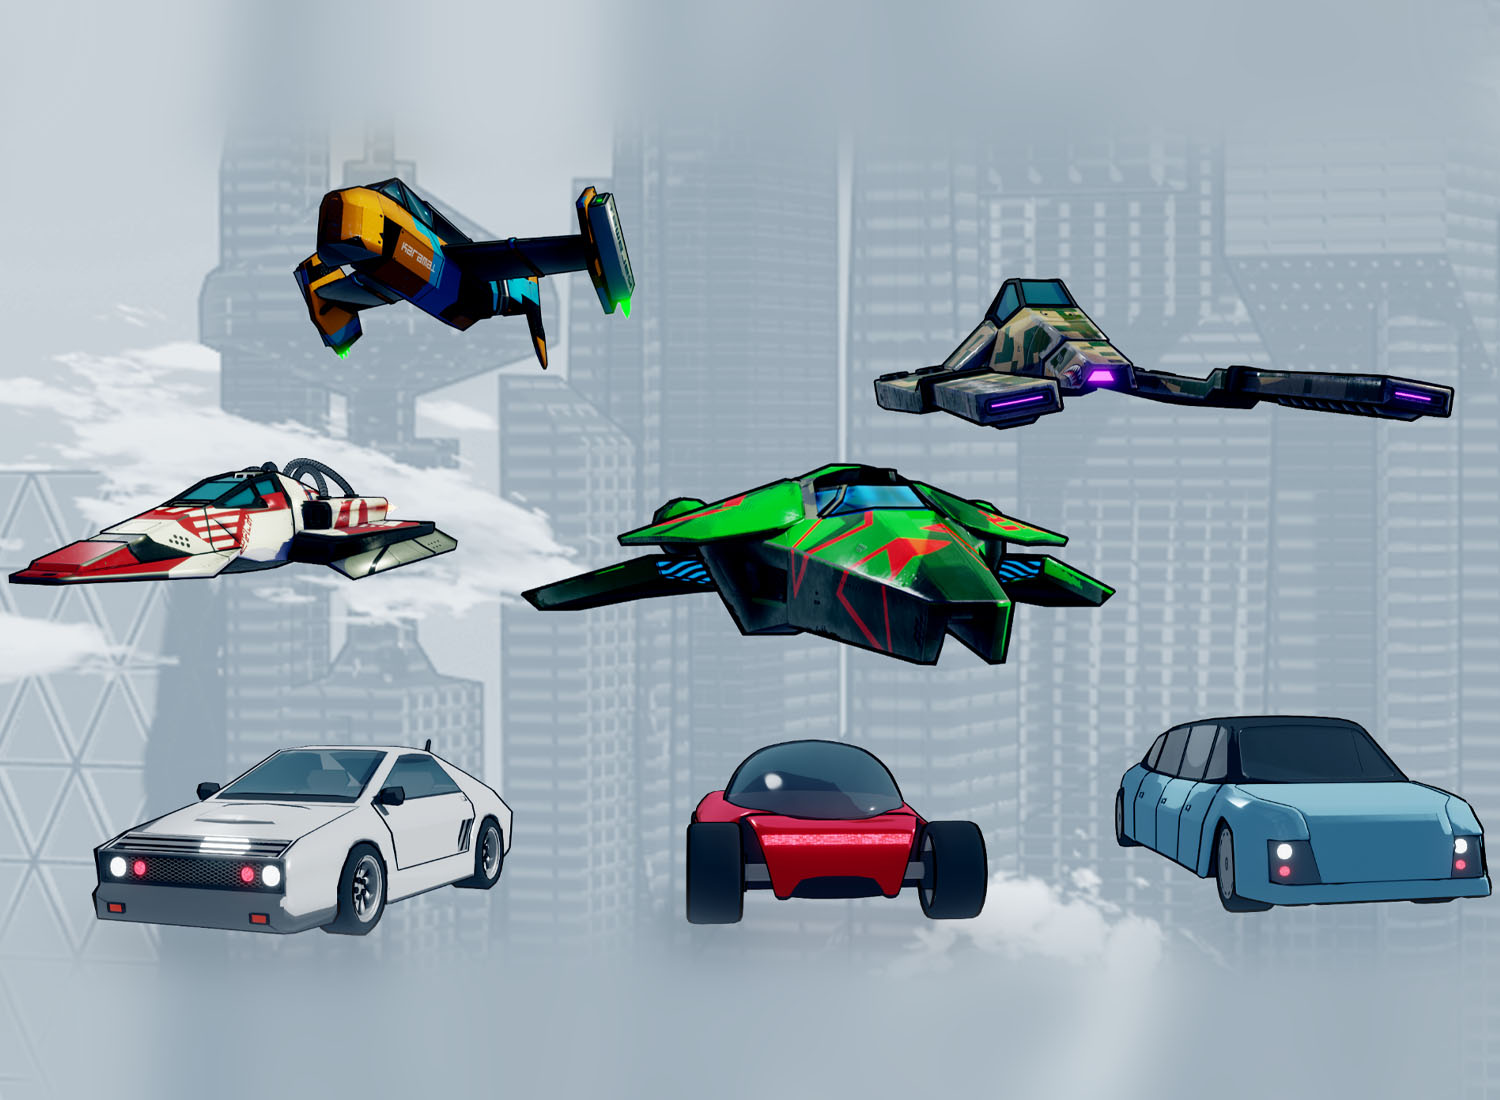
Set in a world where robots are sentient, I made sure to create futuristic vehicles that reflect the world we wished to convey. My inspirations for the vehicles included: Neon Genesis Evangelion, WipEout, Back to the Future and Akira.
Alleyway Scene
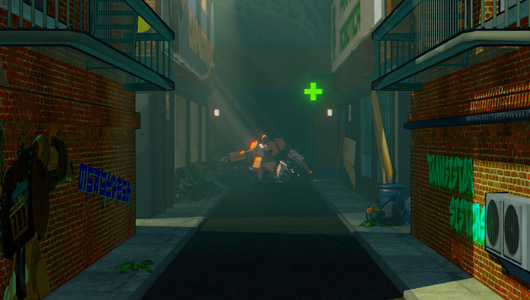
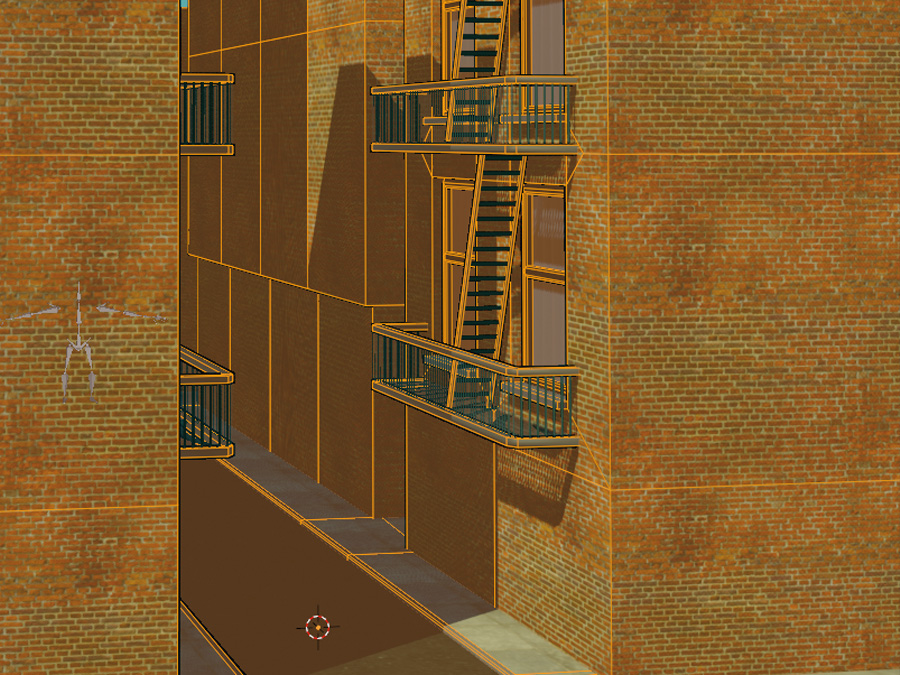
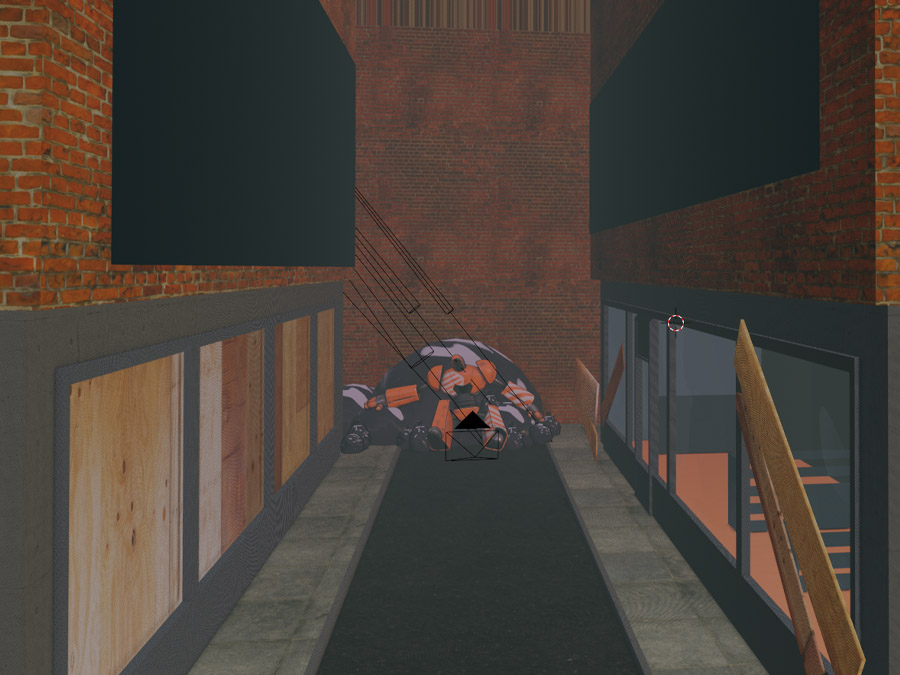
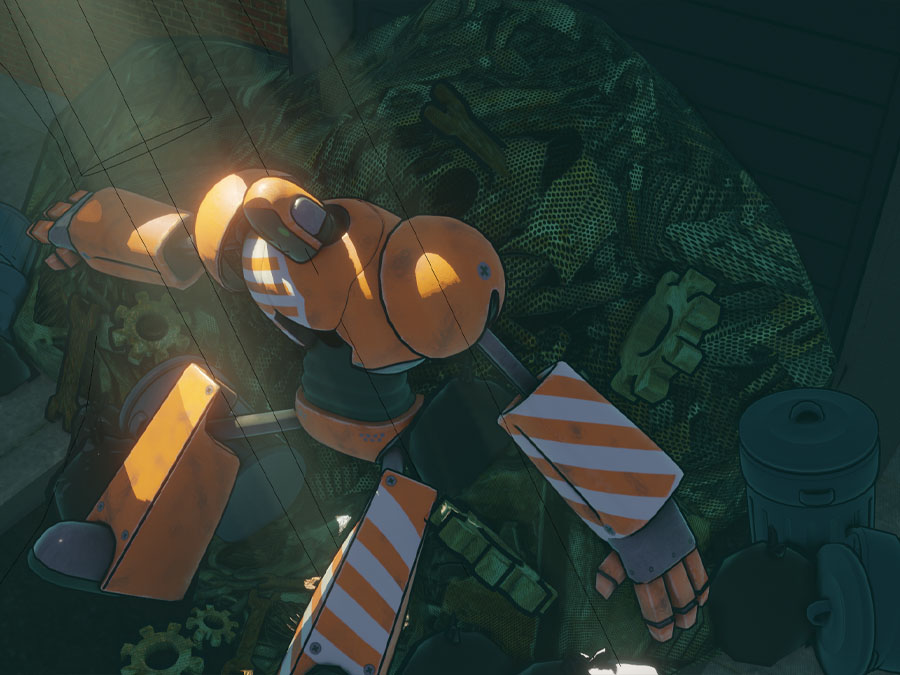
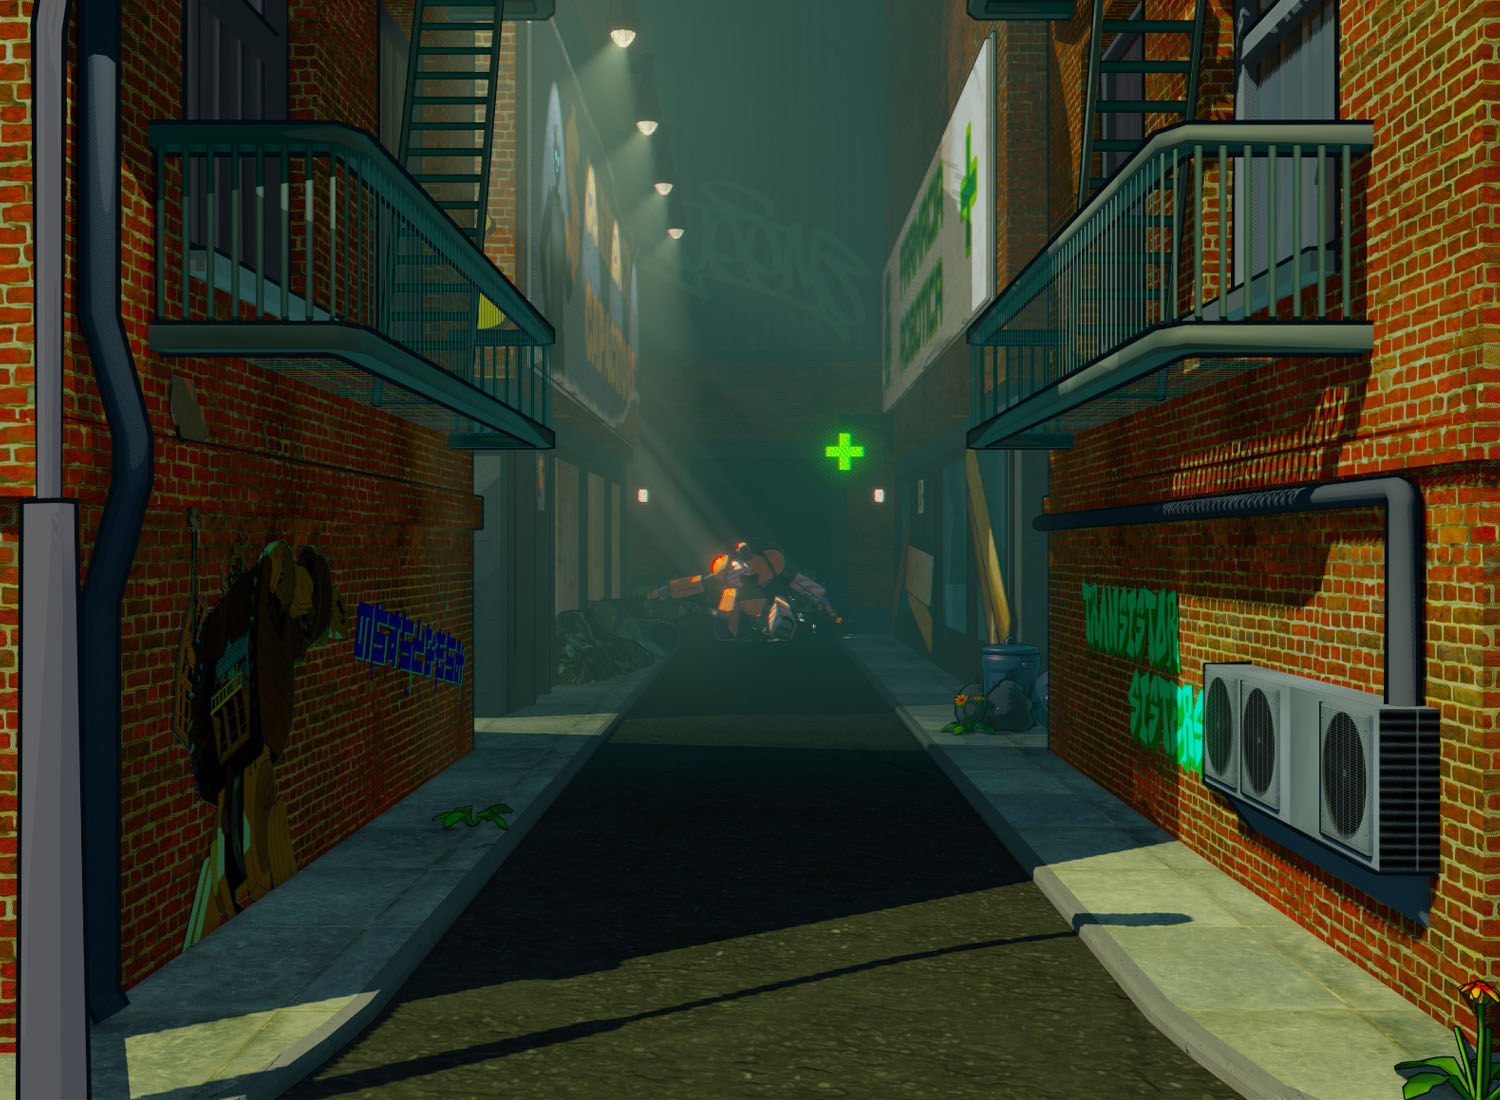
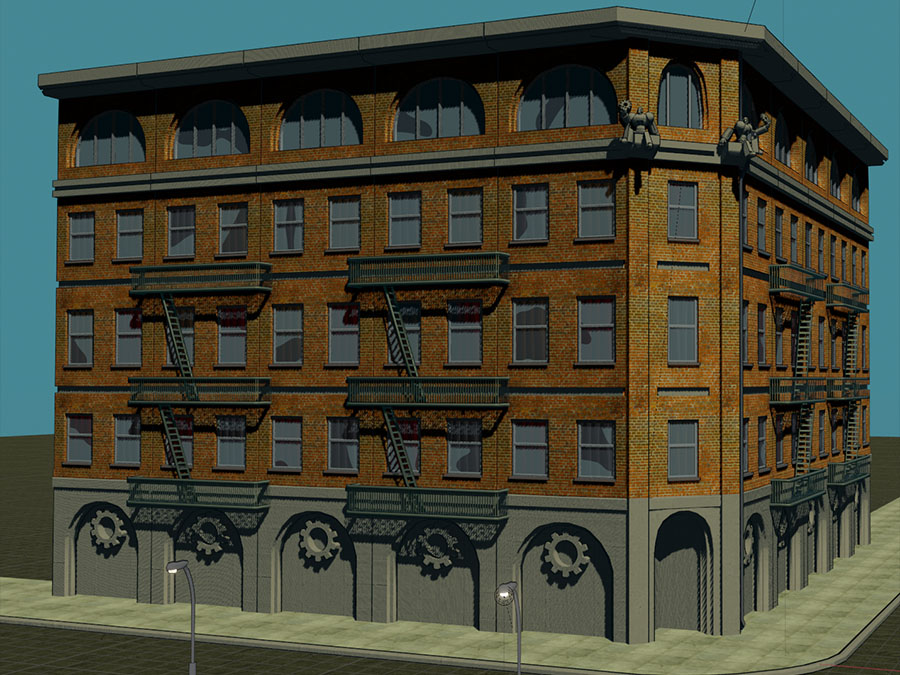
A pivotal point in the story is when our protagonist enters an alleyway. I paid close attention to show that it was a neglected part of the city however still implemented the bright cartoon style. I modelled every asset in the scene down to the weeds and utilised textures from texturehaven along with Blender's shader editor.
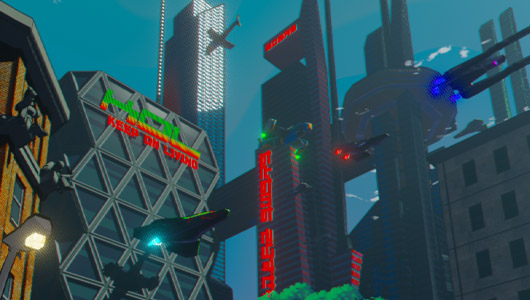
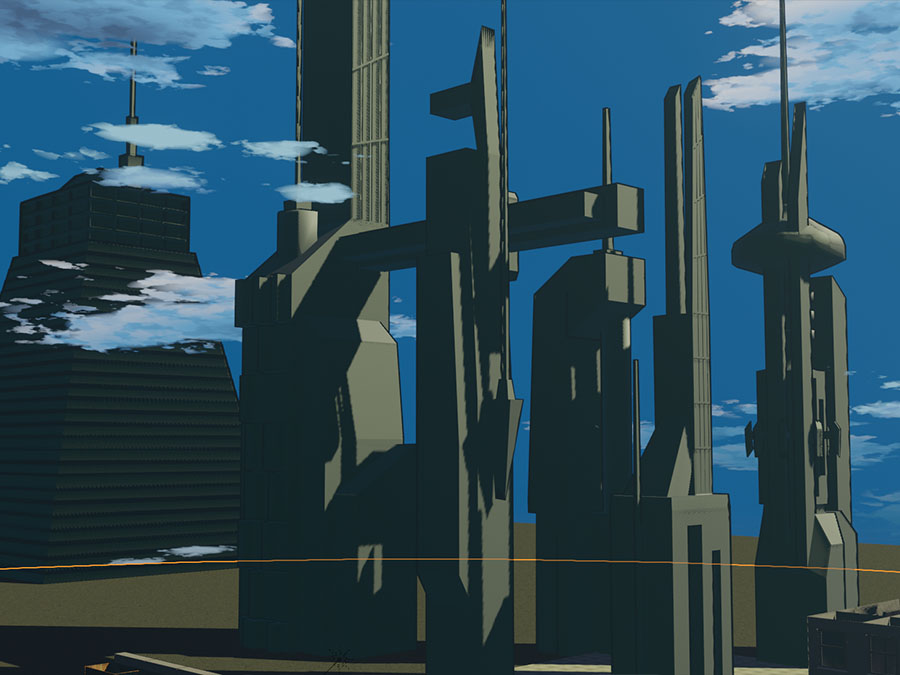
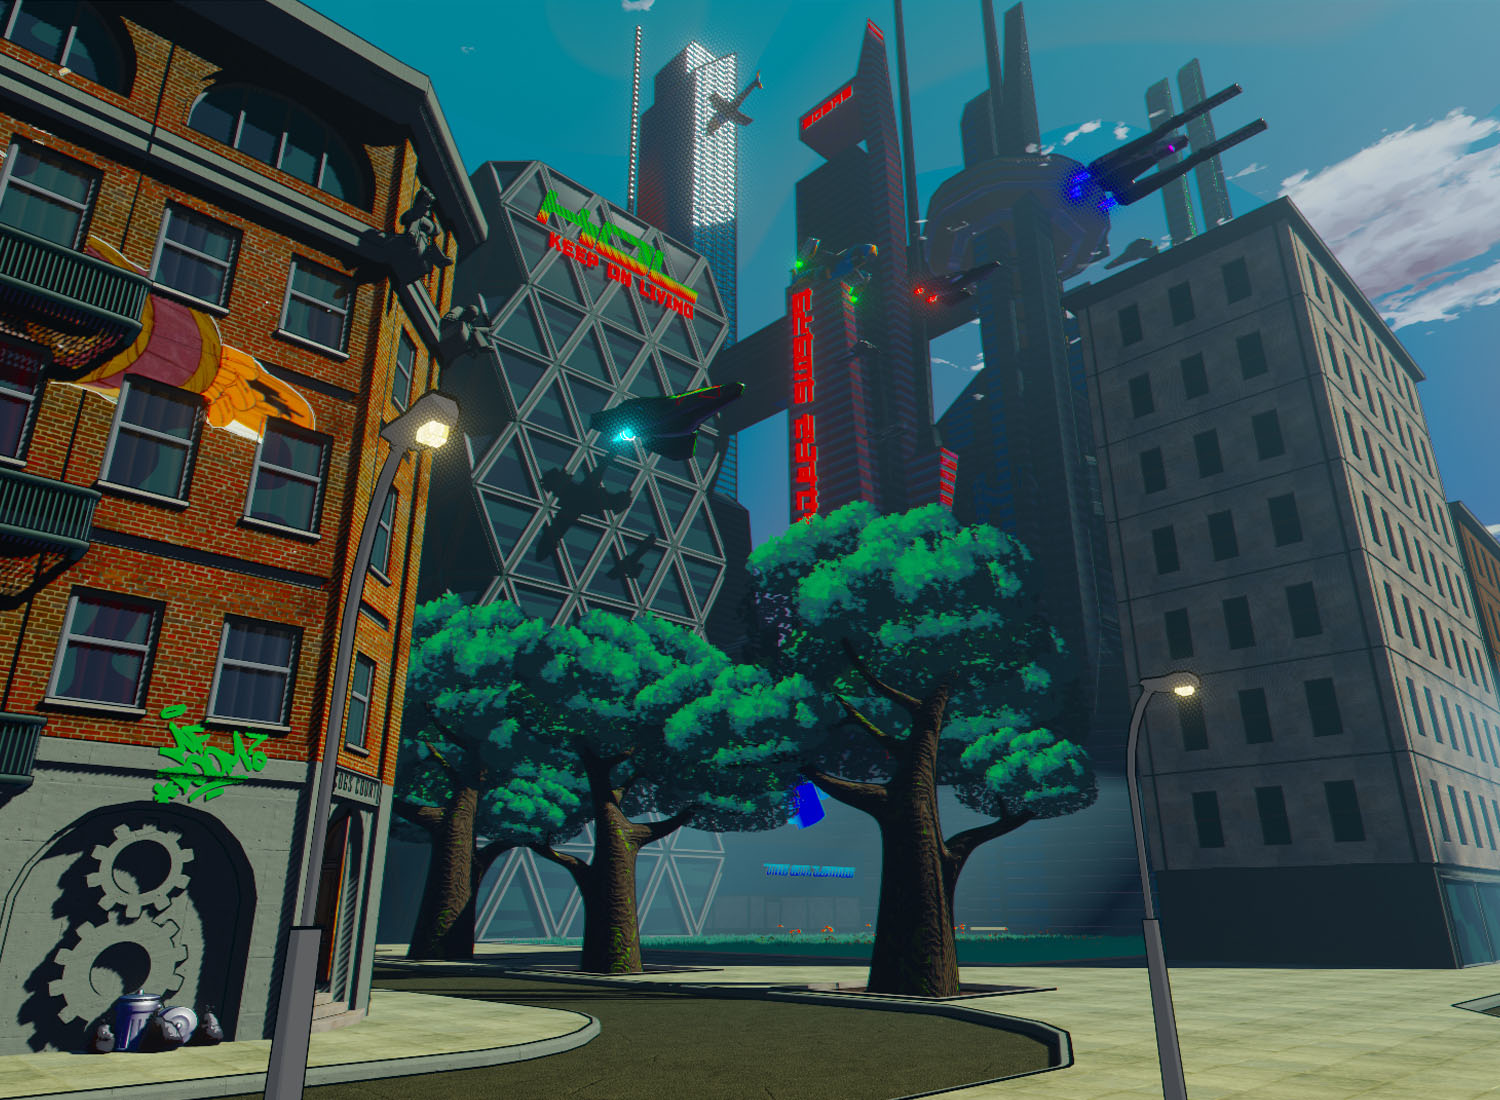
The City
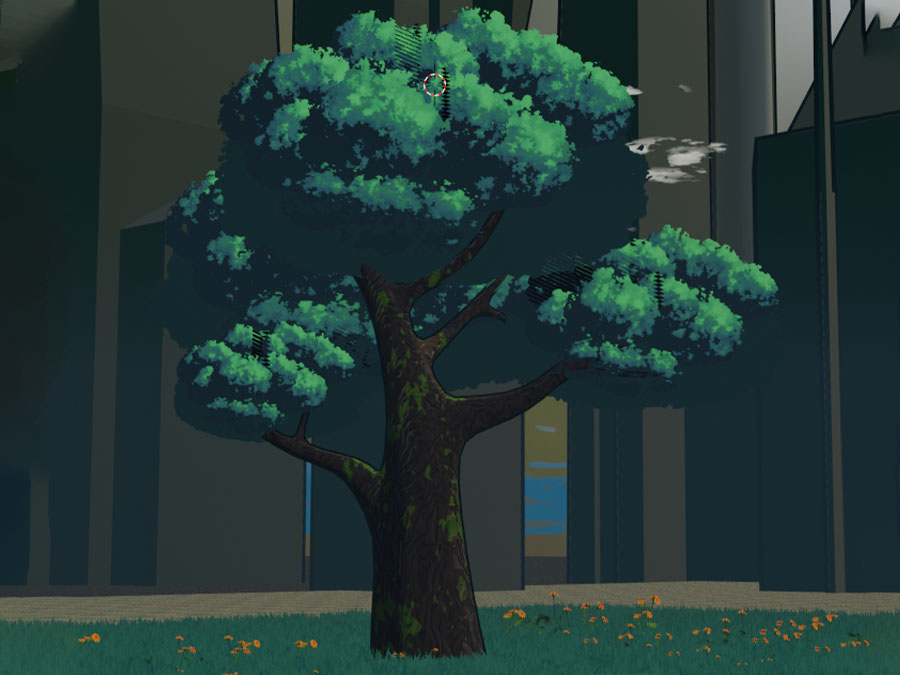
I created the backdrop to support the world in which the robots live. Huge inspirations that I drew from were: Blade Runner, Jet Set Radio and Ratchet and Clank.
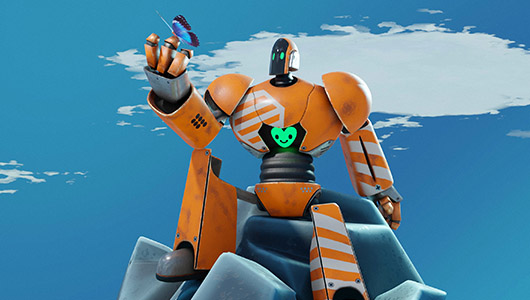
Stylised Robot Characters
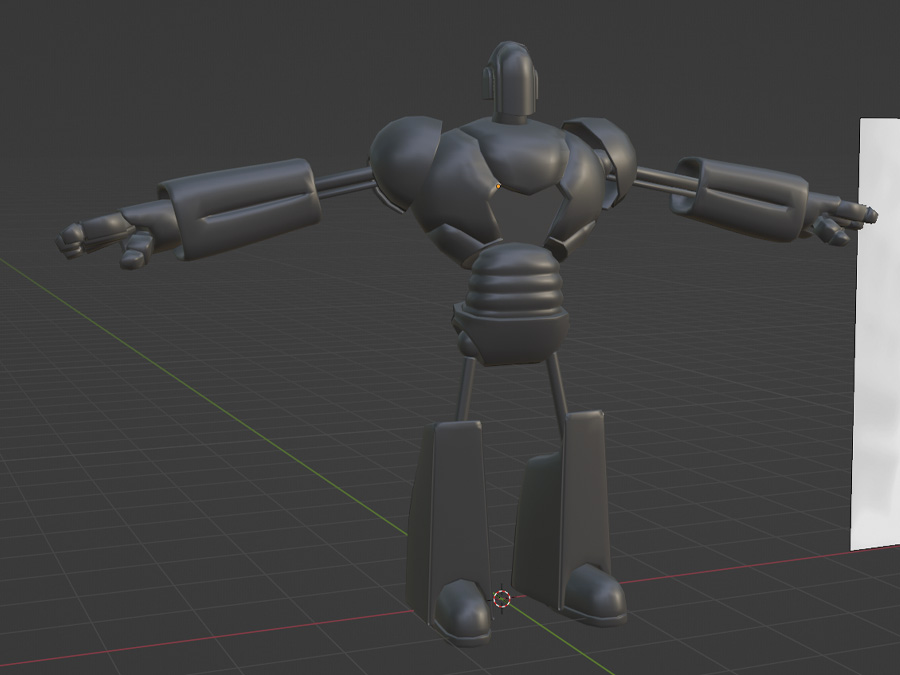
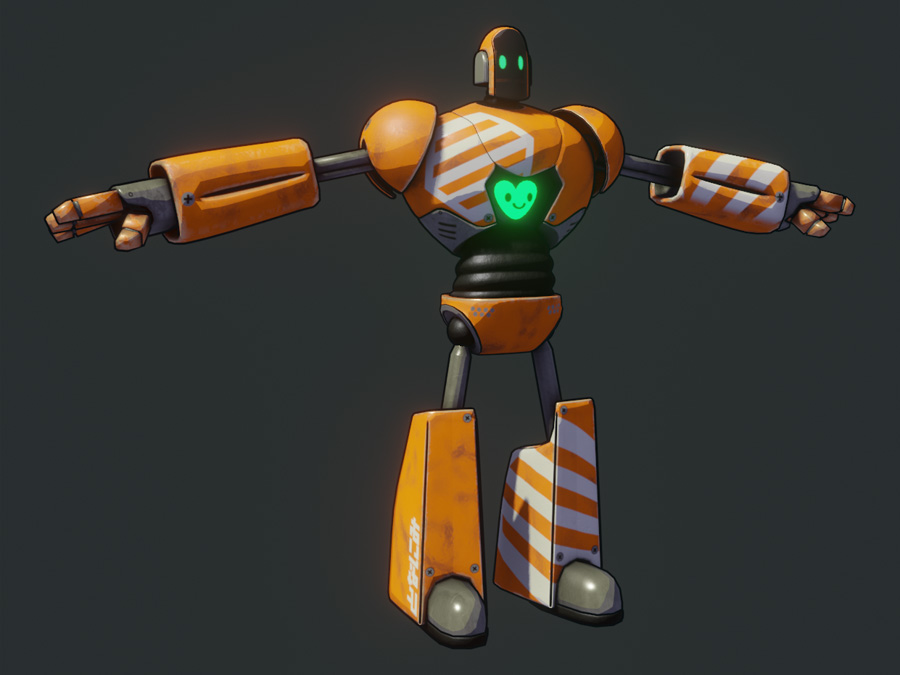
I created many robots for the video. I used NPR rendering styles and cartoon-inspired design when creating them. My approach drew inspiration from RyseUp's Roboquest and Pixar's WALL-E among other refrences.

"A Bone to Pick" Collaboration Project
I produced an in-game asset for an upcoming indie PC game "A Bone to Pick"
Initial Ideas
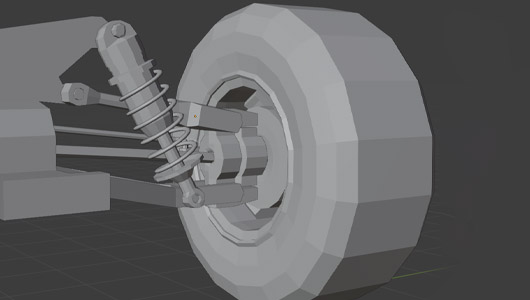
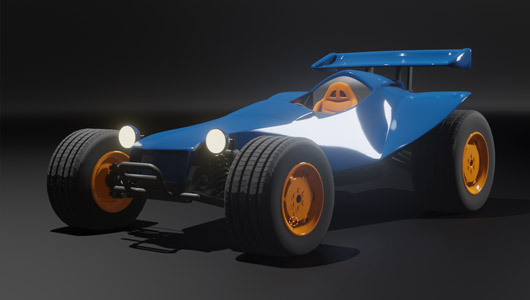
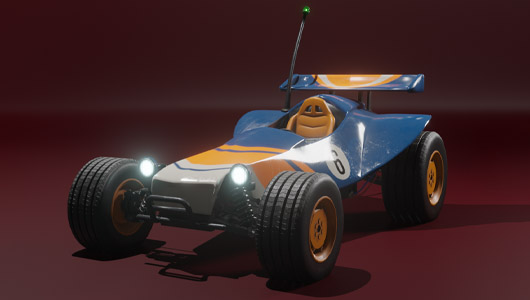
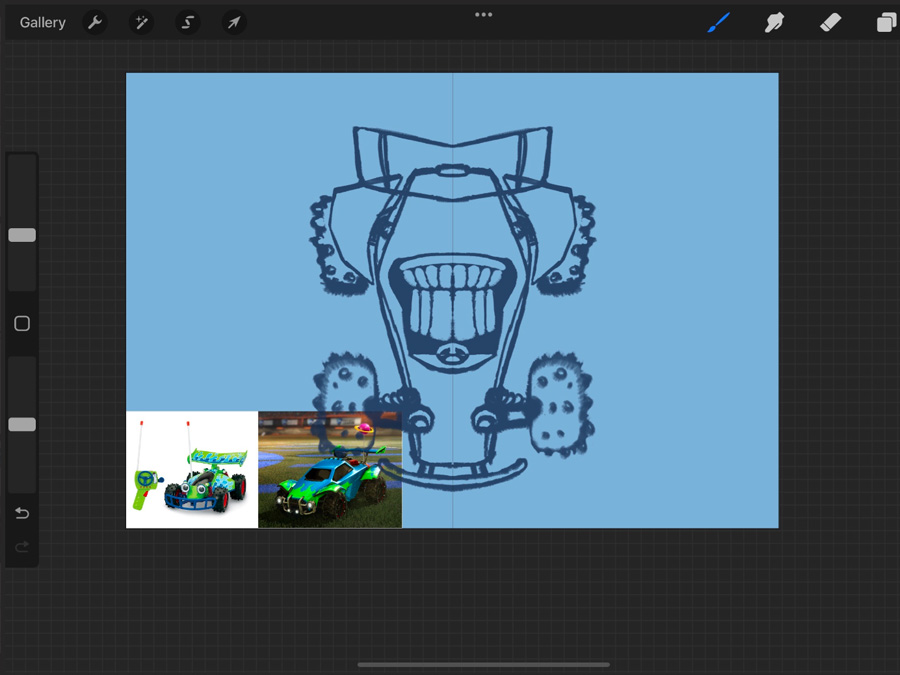
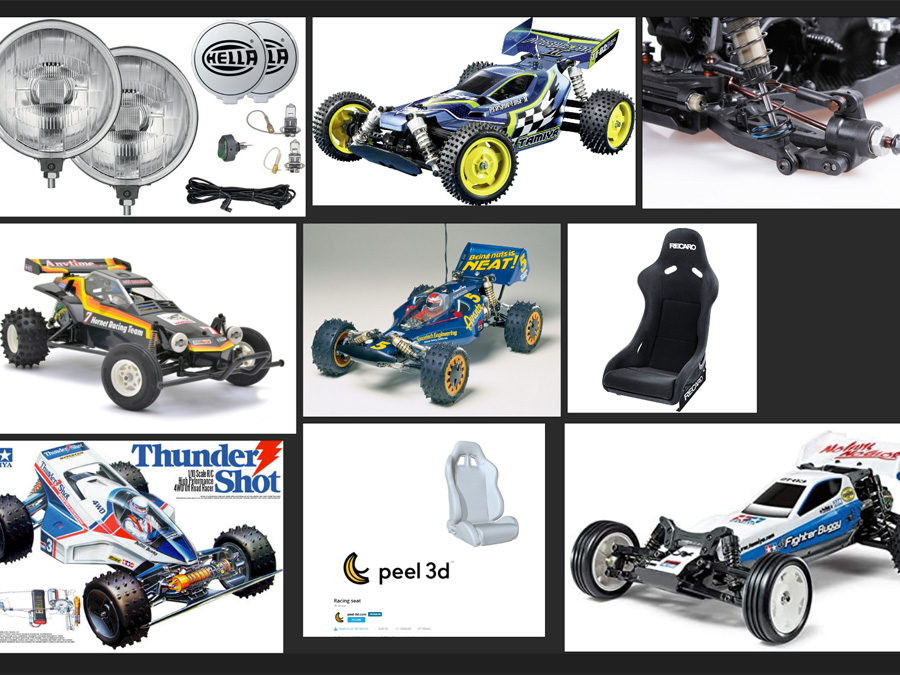
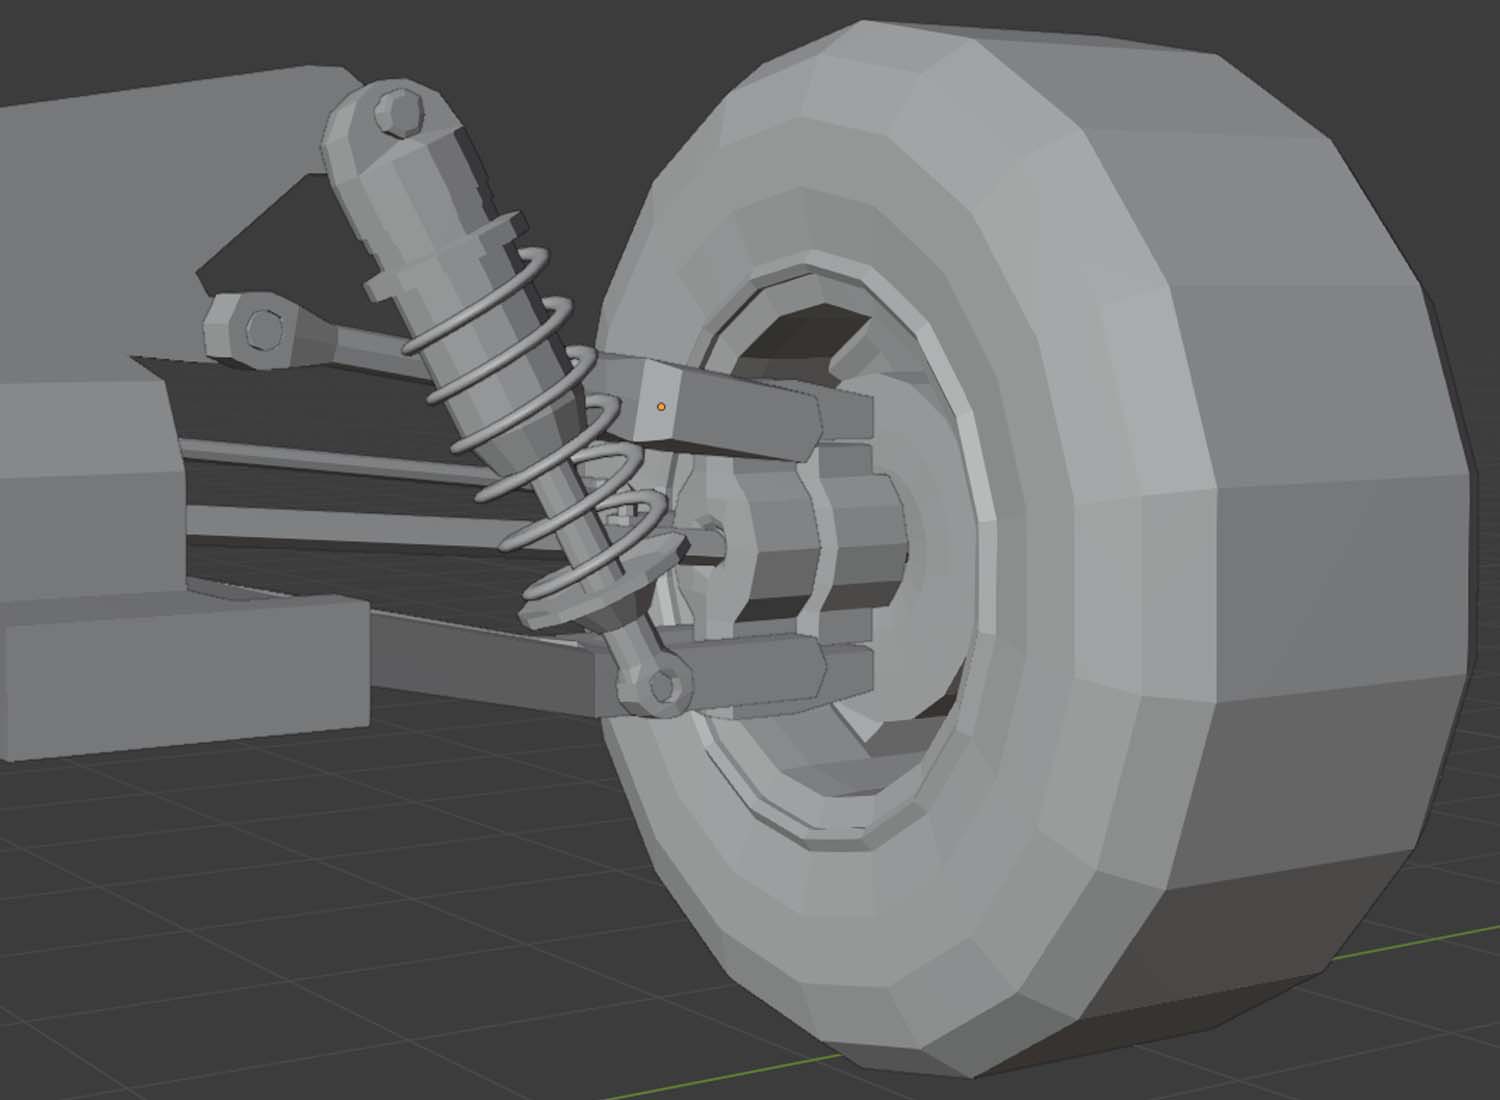
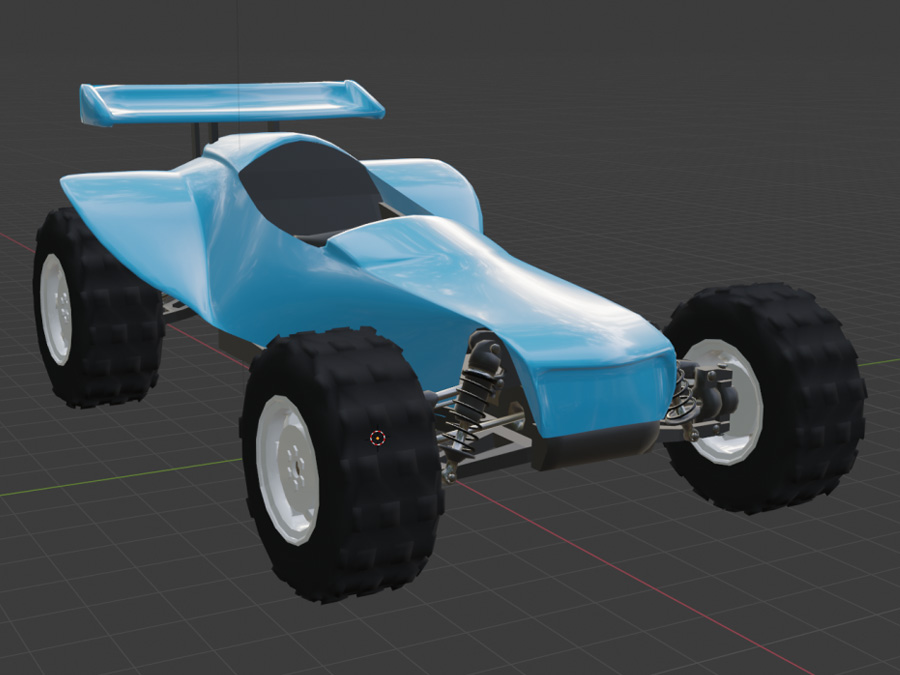
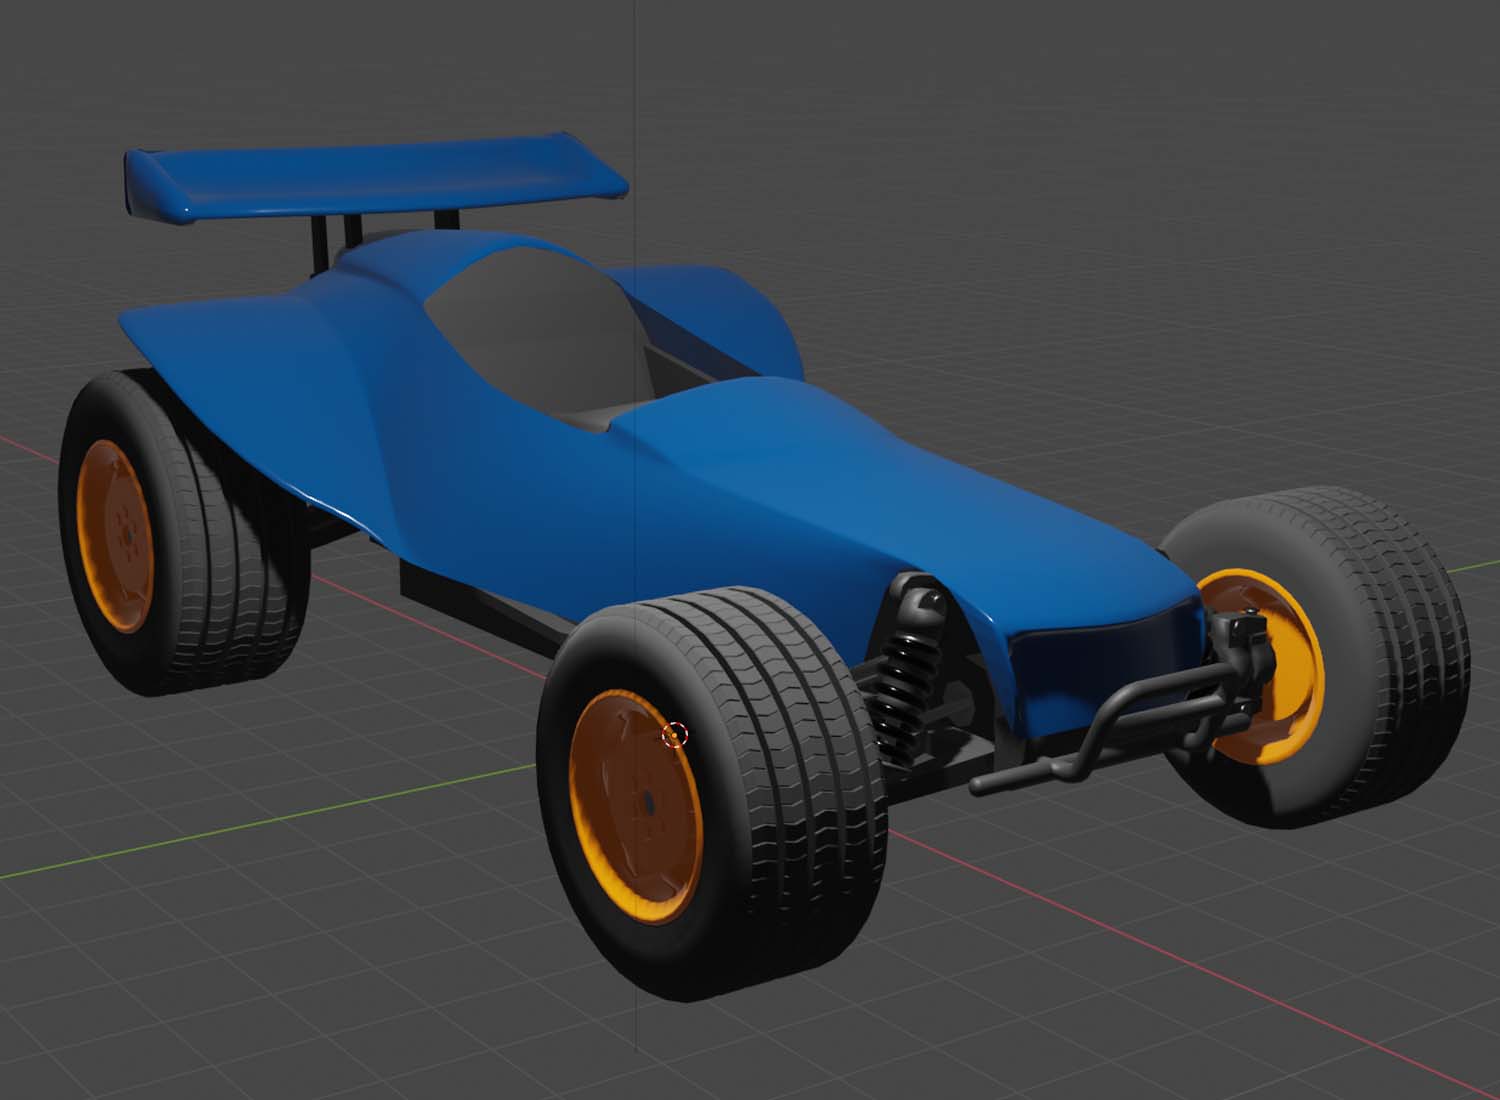
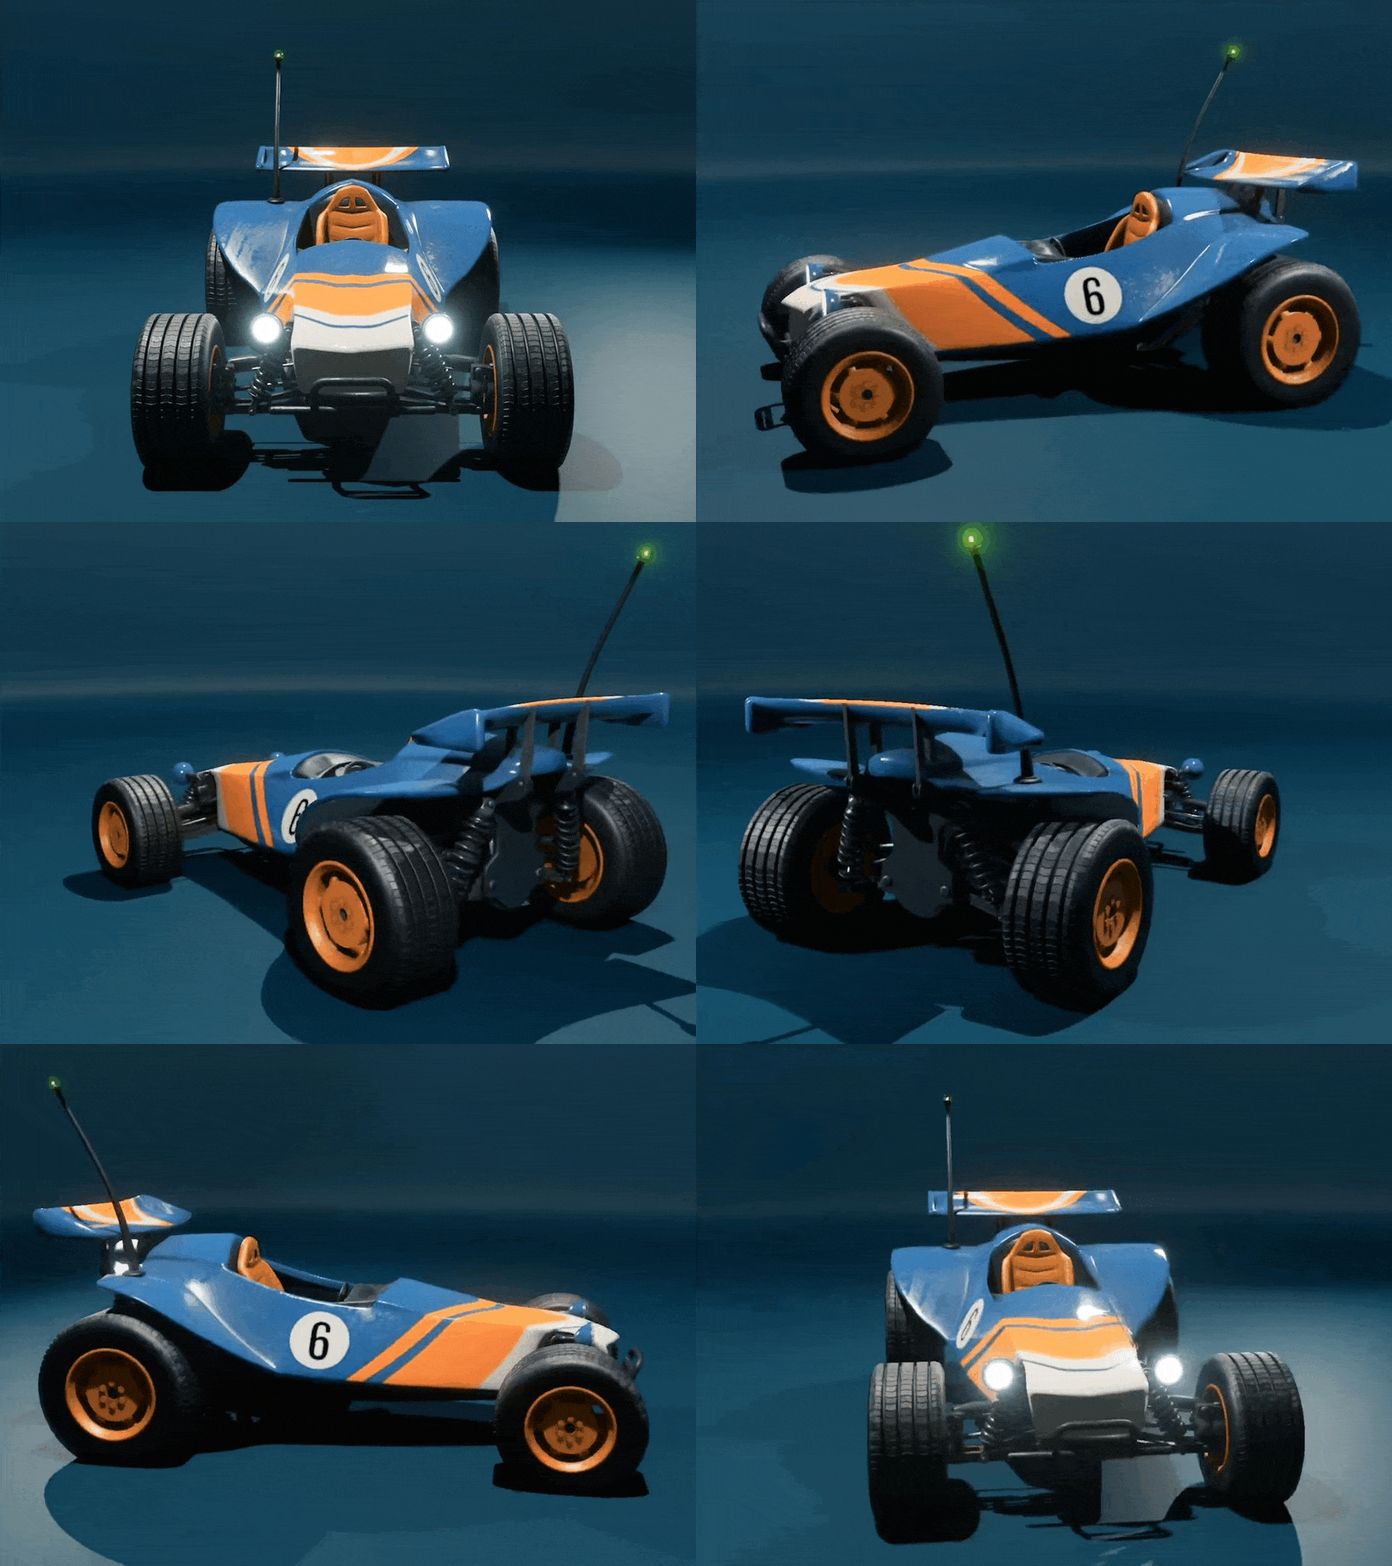
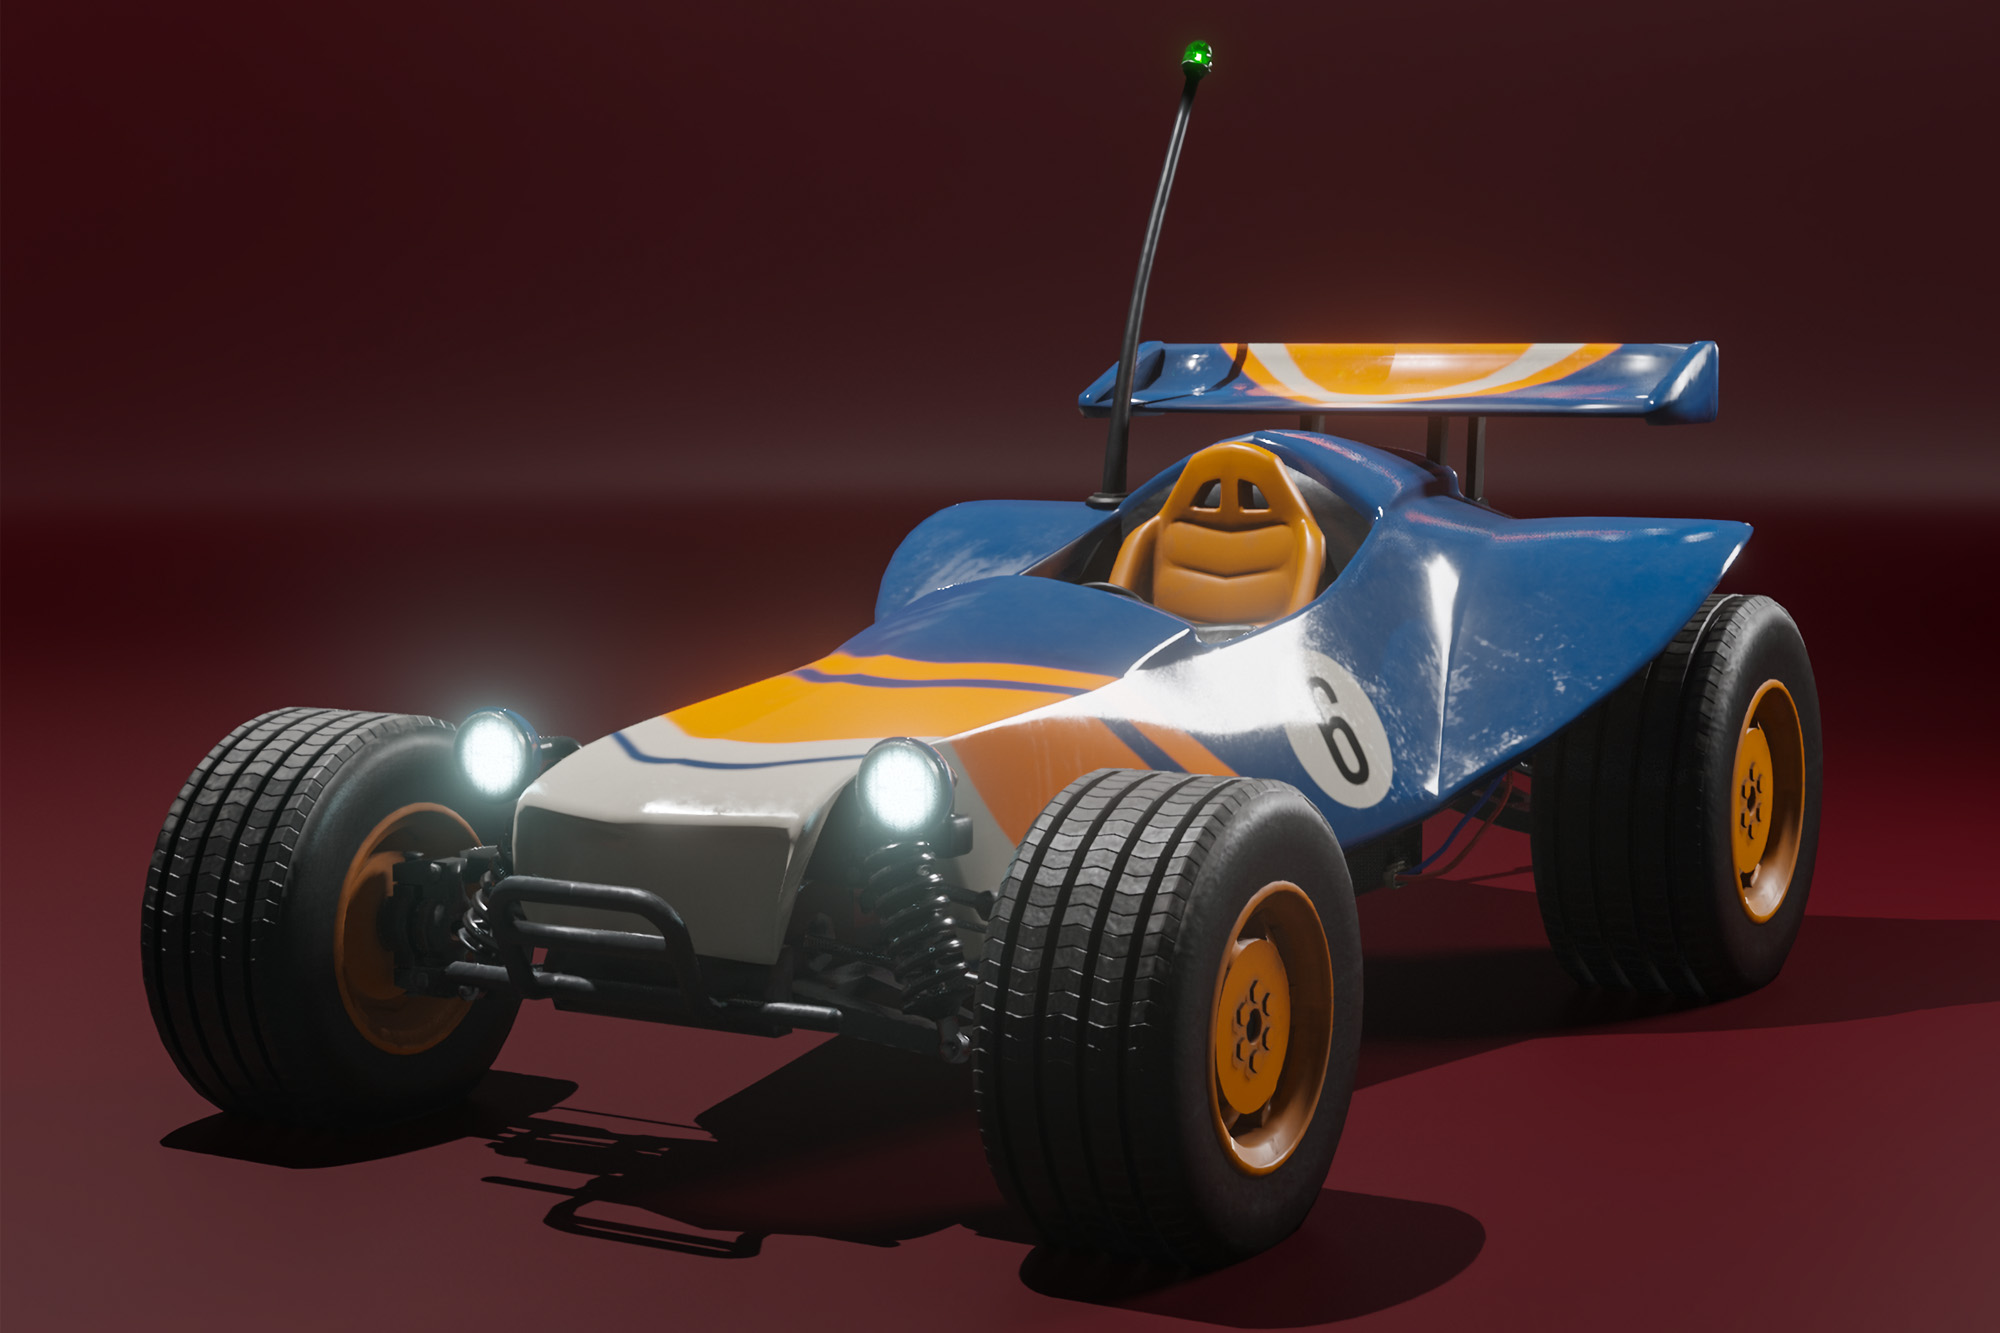
I was originally going to model a non-player character for the game but after consideration I decided to help make an RC car to be controlled in-game due to my prior experience modelling a car. I started by drawing insportation to use as a basis for the model. I was lead to more realistic Tamiya style 70s and 80s RC cars for inspiration. After not managing to create an accurate suspension system in my last car I took on the challenge and created a double wishbone suspension setup that should work properly once rigged.
Rough Bodywork and Wheels
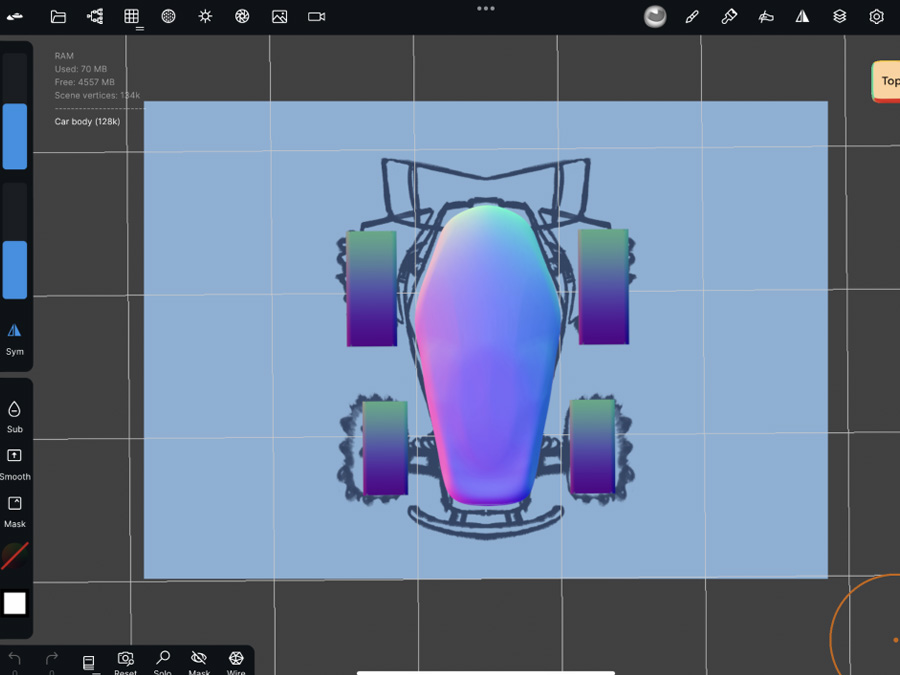
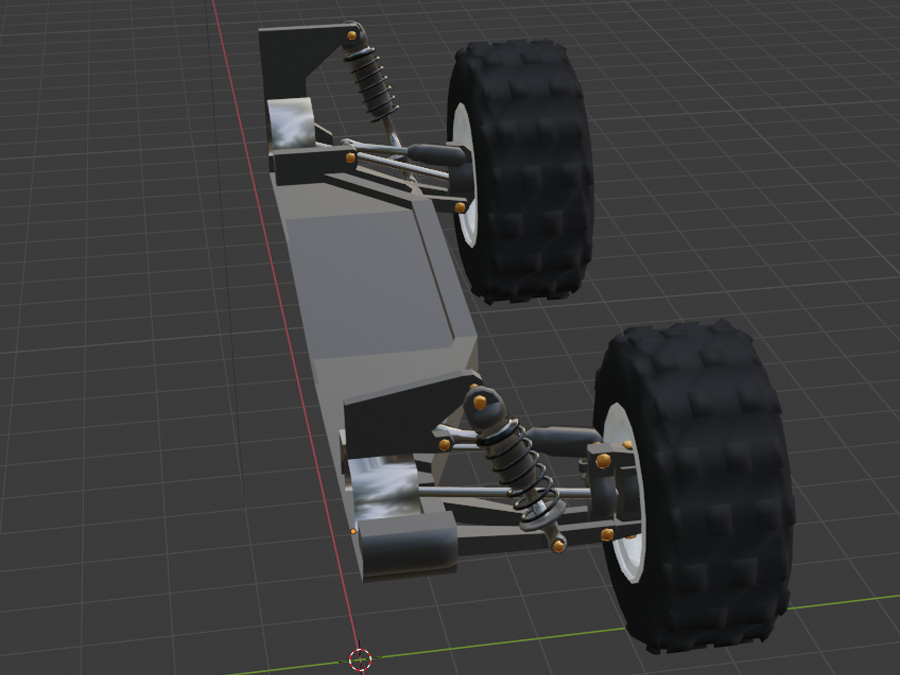
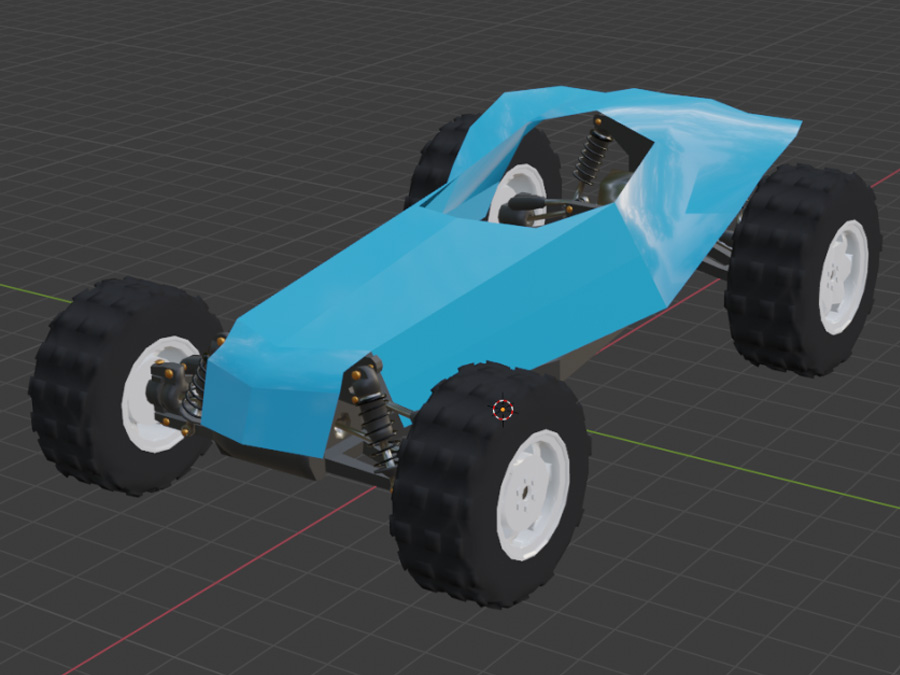
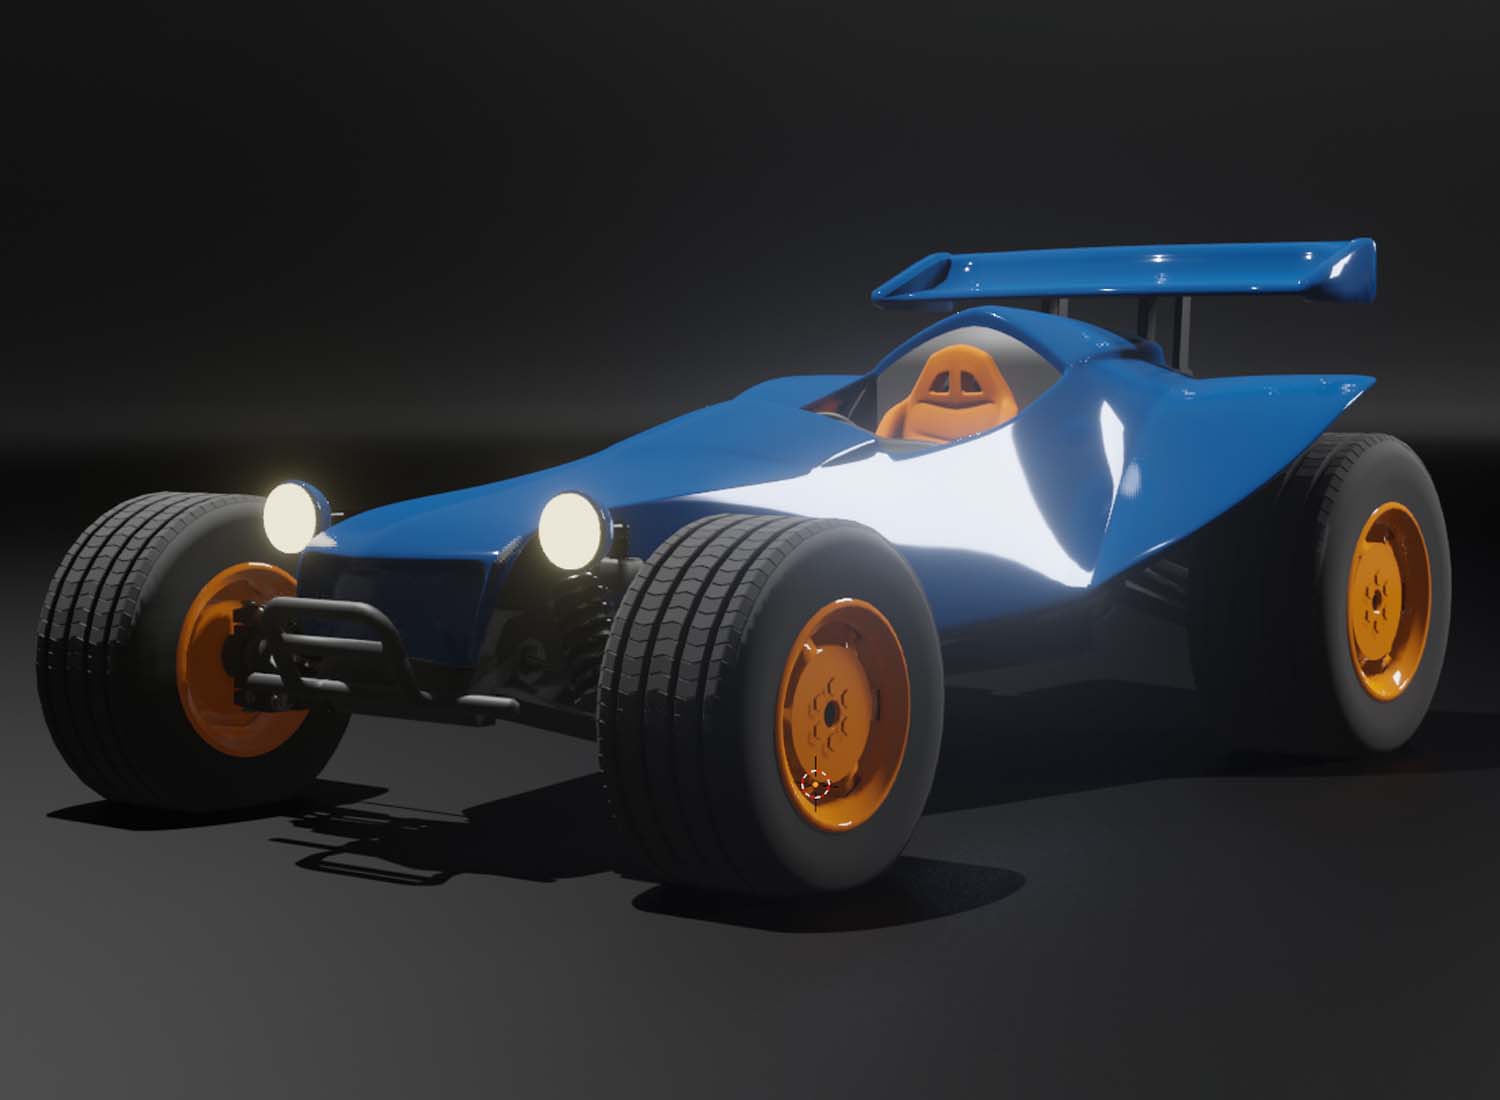
I roughed out the plastic body fairings using primitive shapes before subdividing them for a smooth finish. After feedback from the client I re-modelled the wheels with a higher detail rim and tyre tread pattern.
Extras and Tweaks
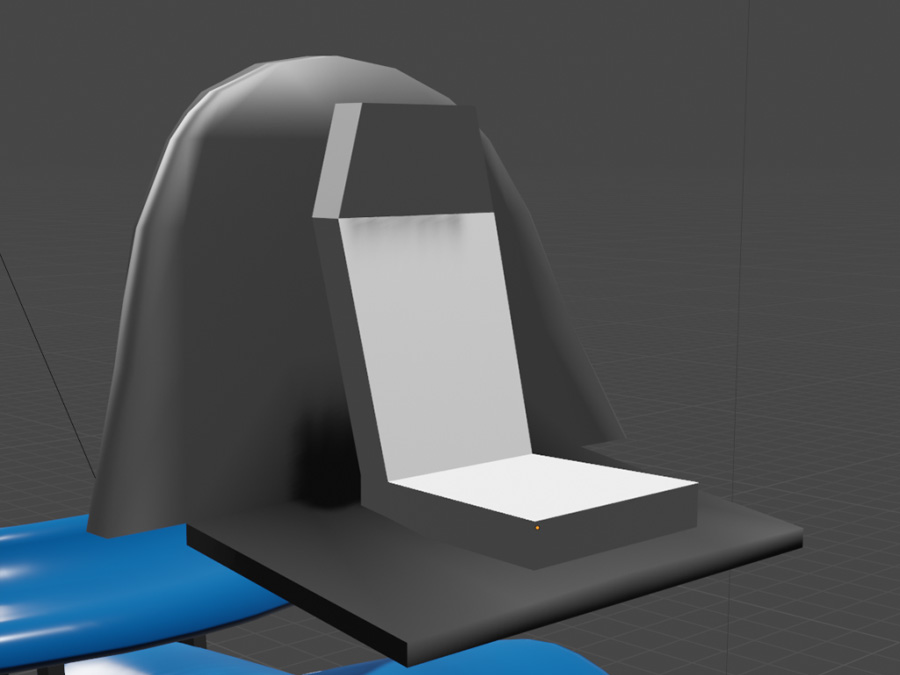
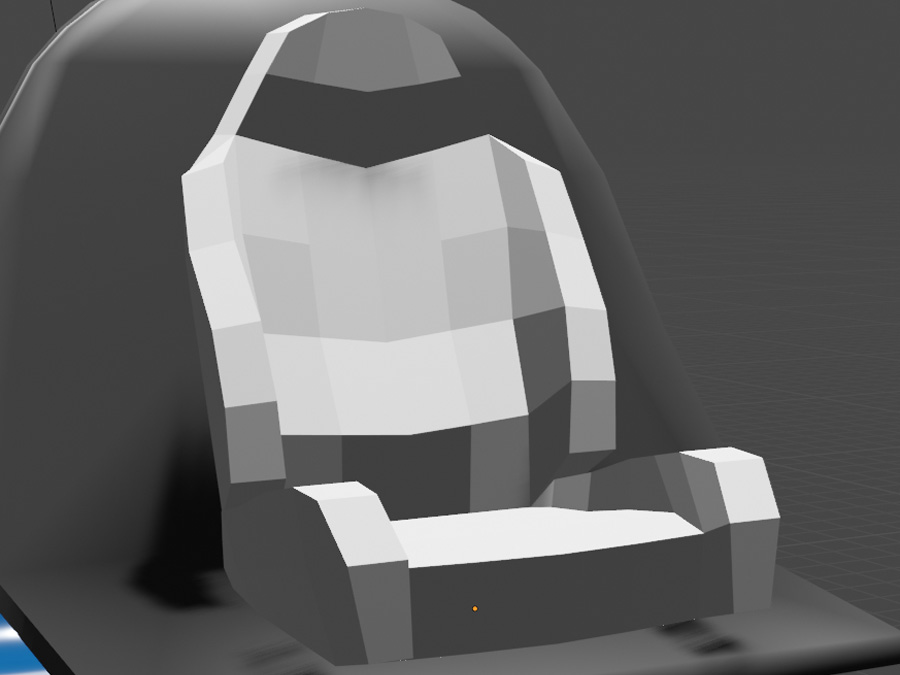
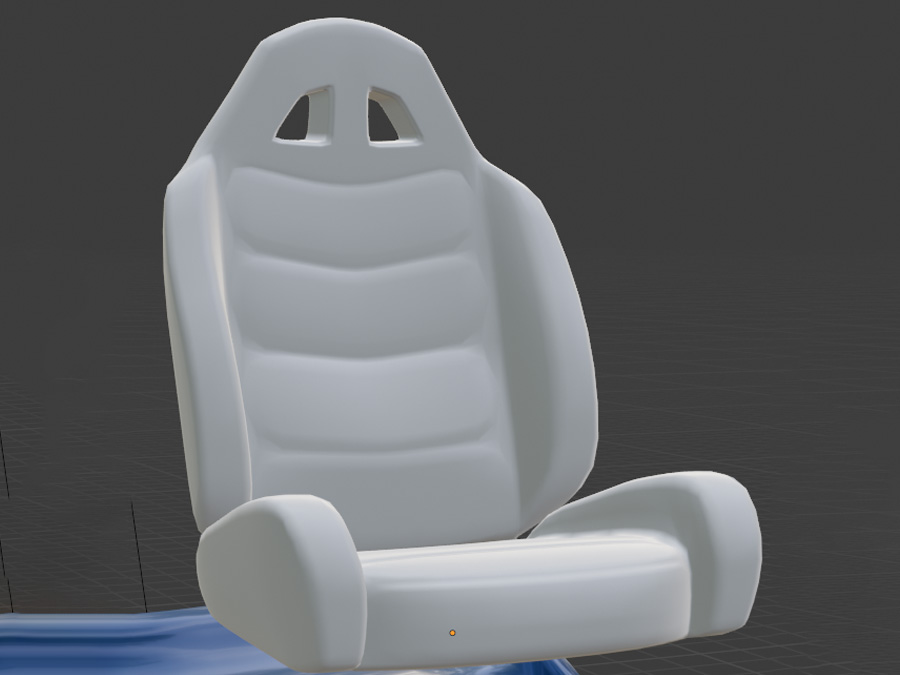
I created a bucket racing-style seat to put in the car. Then I modelled a steering wheel and lights.
Texturing & Shading
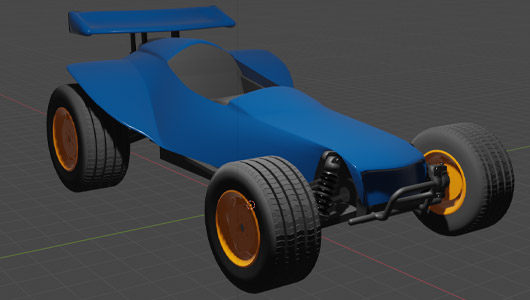
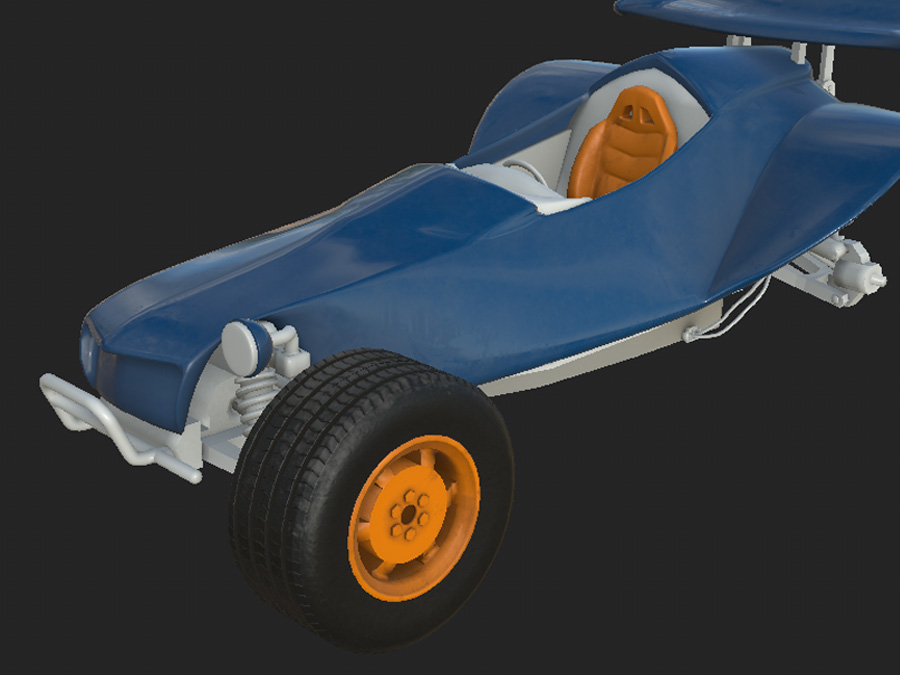
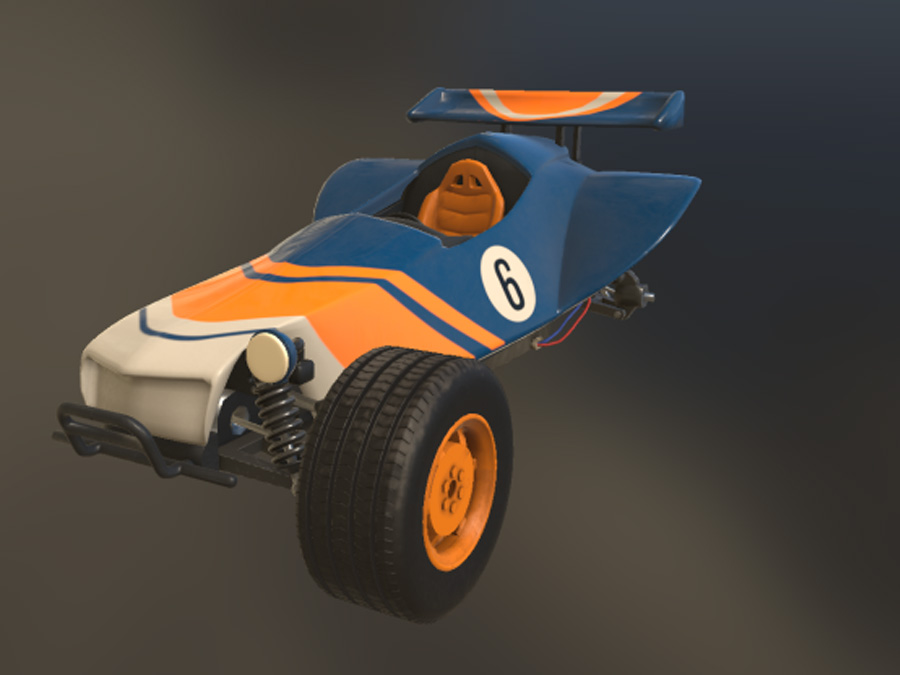
I textured the car using Substance Painter and exported them as 4k channel packed maps ready for use in-game. Below is the final car ready to be rigged and driven.
Personal Blender Lighting Tests
I practiced creating volumetric lighting effects and using displacement maps for terrain in Blender's Eevee renderer
Quick Blender Project
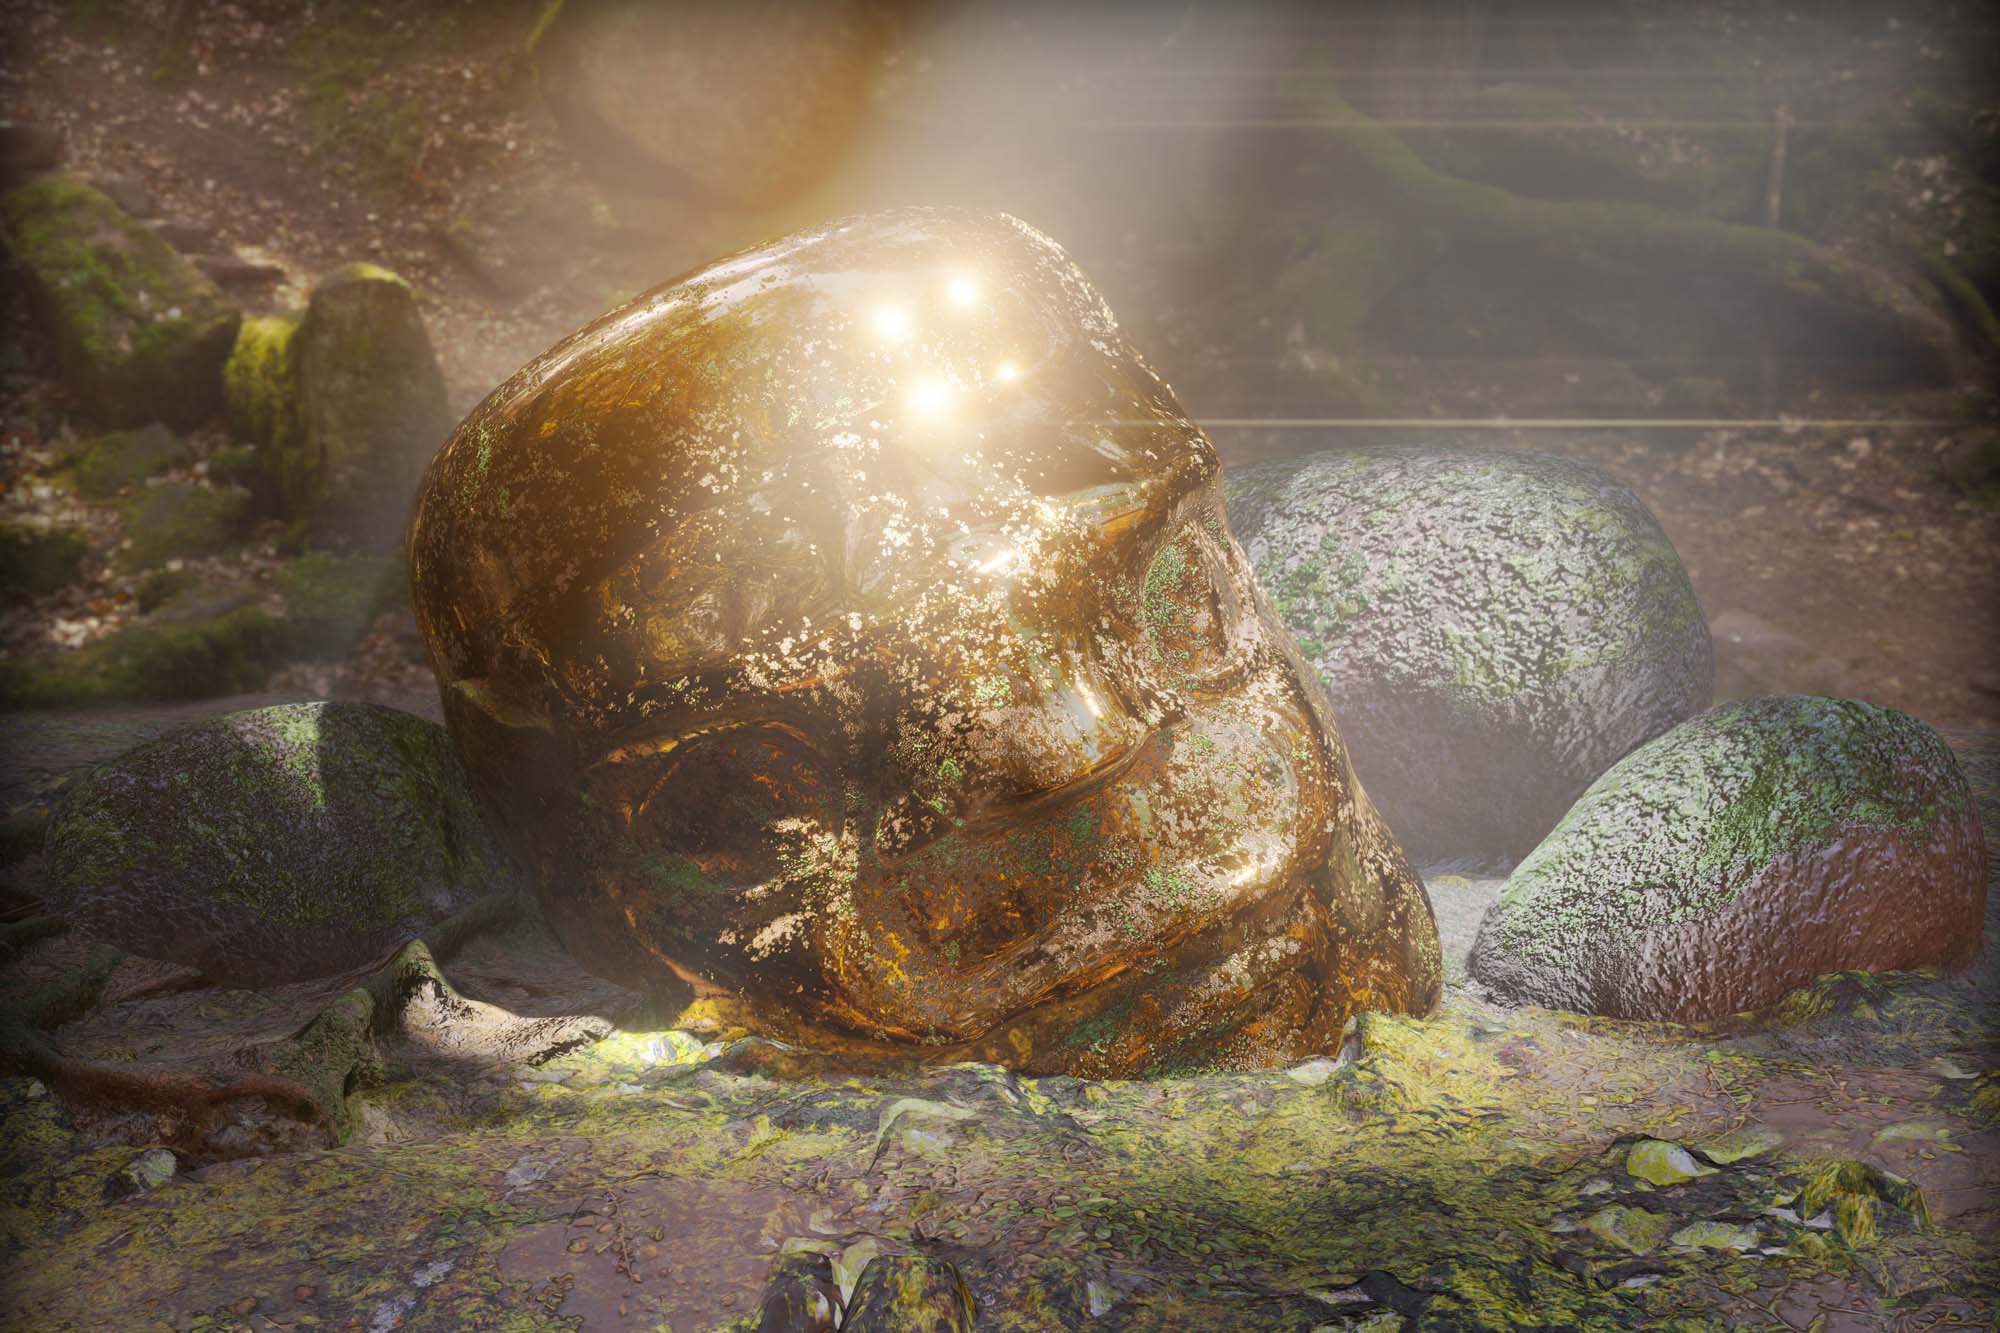
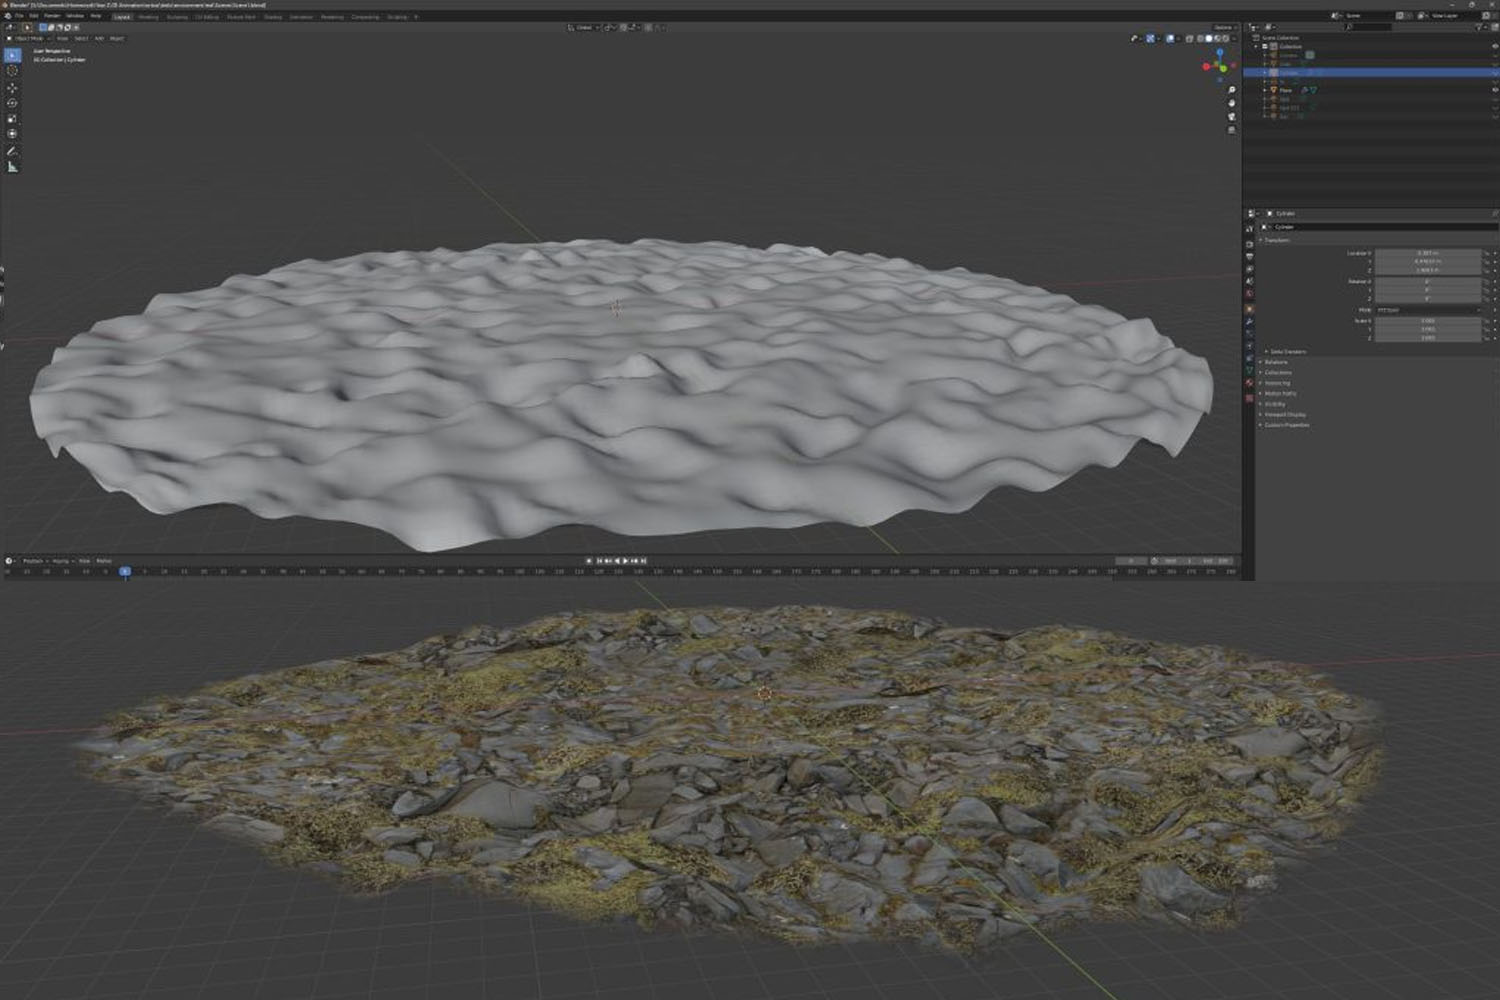
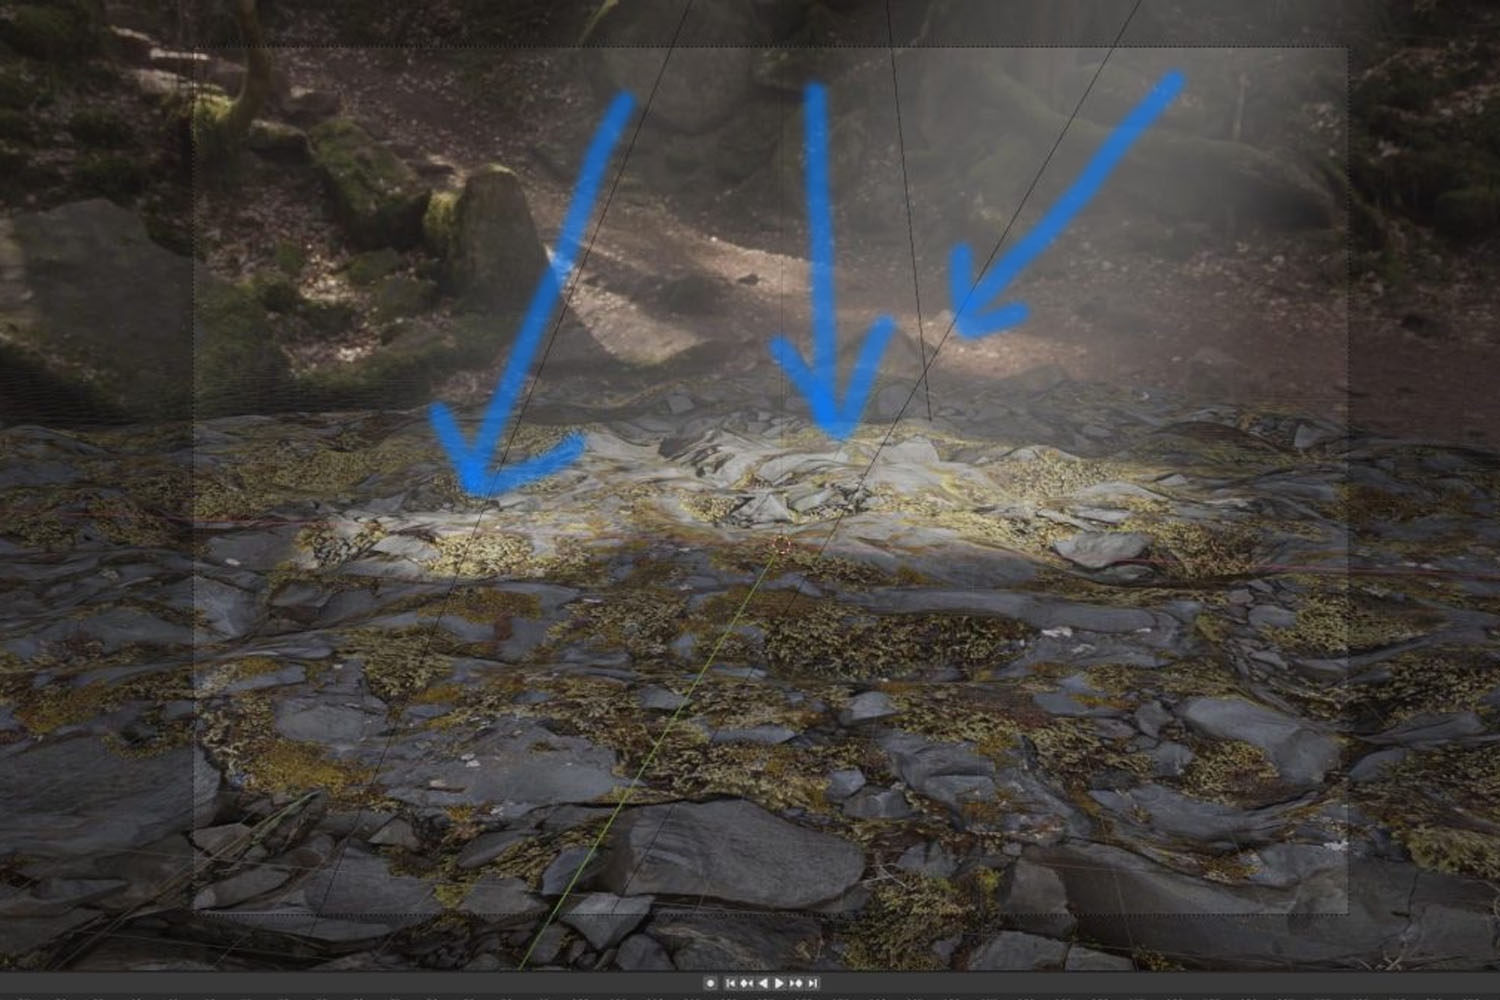
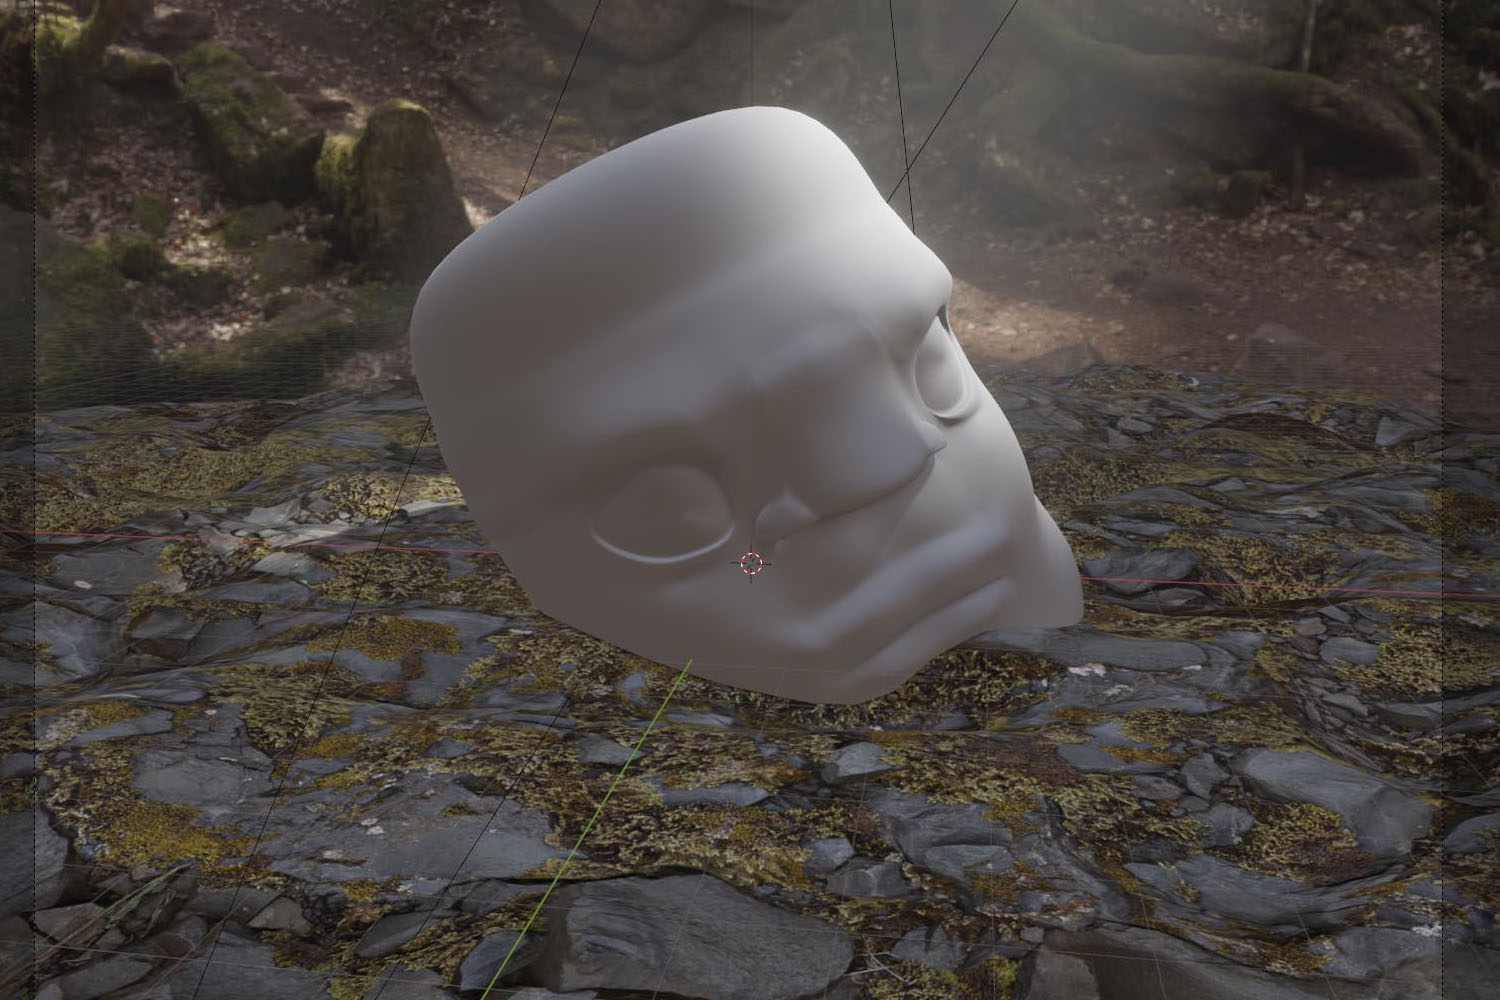
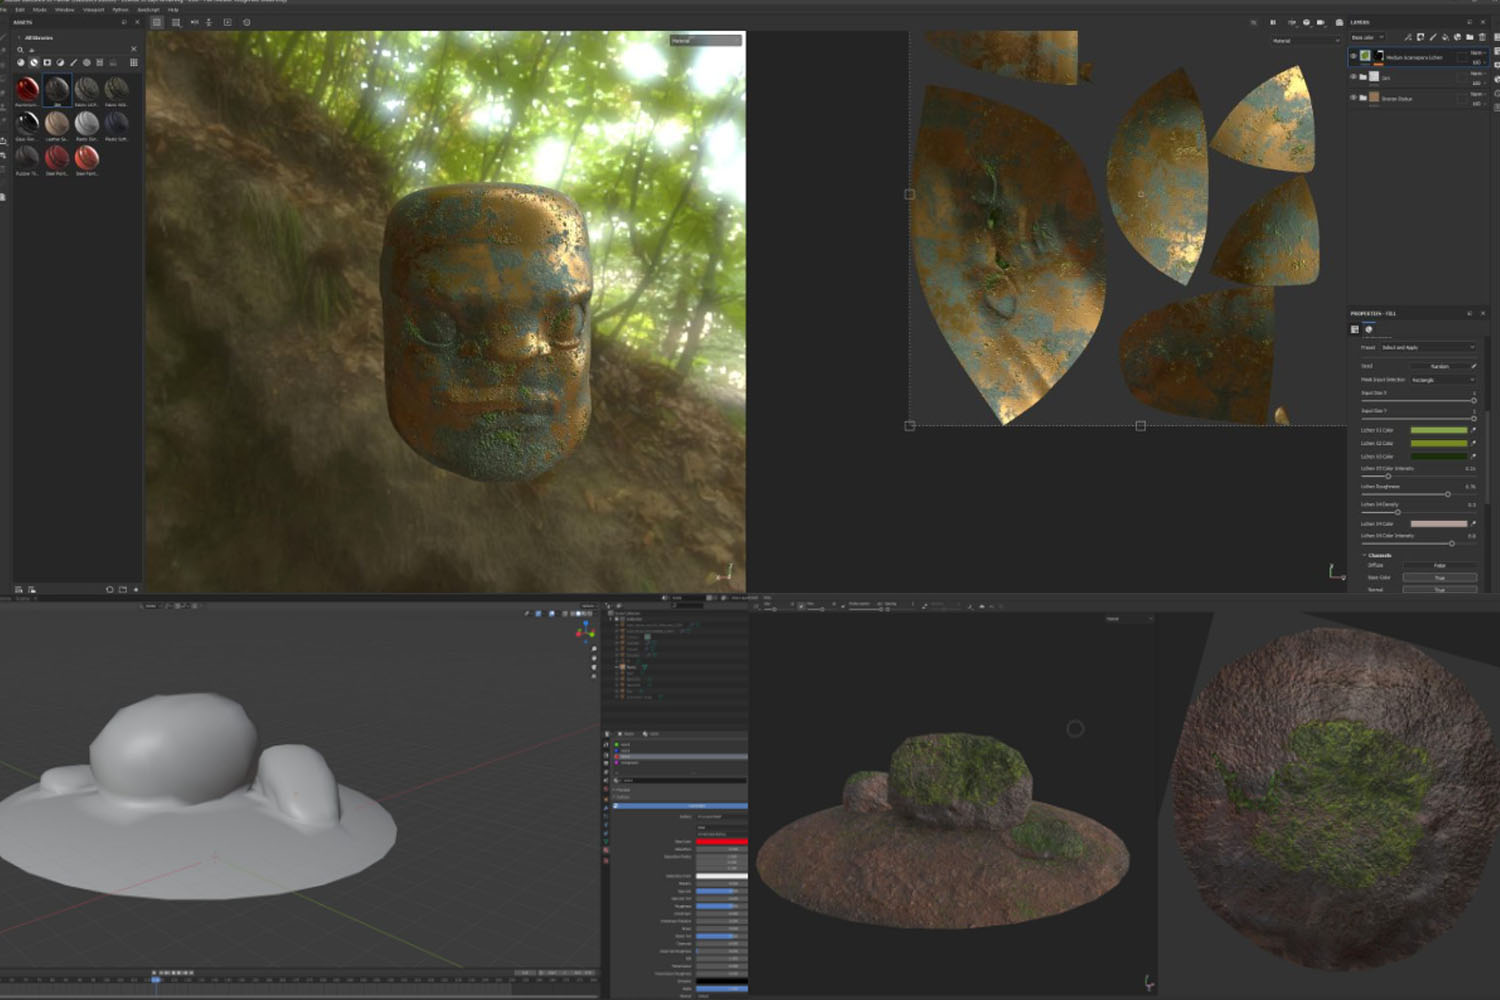
I decided to practice creating environments quickly in blender so that I am more familiar with it in order to produce faster and better results. I started with a photoscan from Texture Haven of mossy rocks using a displacement modifier. The texture comes with a height map that I plugged into the displacement modifier using subdivision to produce uneven ground. I also added an alpha map so that the edges of the texture would fade out helping it to blend into the background better. Then I added an HDRI of a forest from Polyhaven along with a diffuse volume cube and some spotlights to create some interesting light shafts. Because I am using Eevee which is more like a game engine than a renderer and there are not many reflections on the stones, the HDRI is not doing much in the way of lighting, I am simply using it as a background
Modeling Objects
I modelled a simple Olmec style statue to texture and decide on layout. I began texturing in substance to try and create a weathered look. I Modelled some rocks and textured them in substance to add a few more background objects to the scene
Final Render
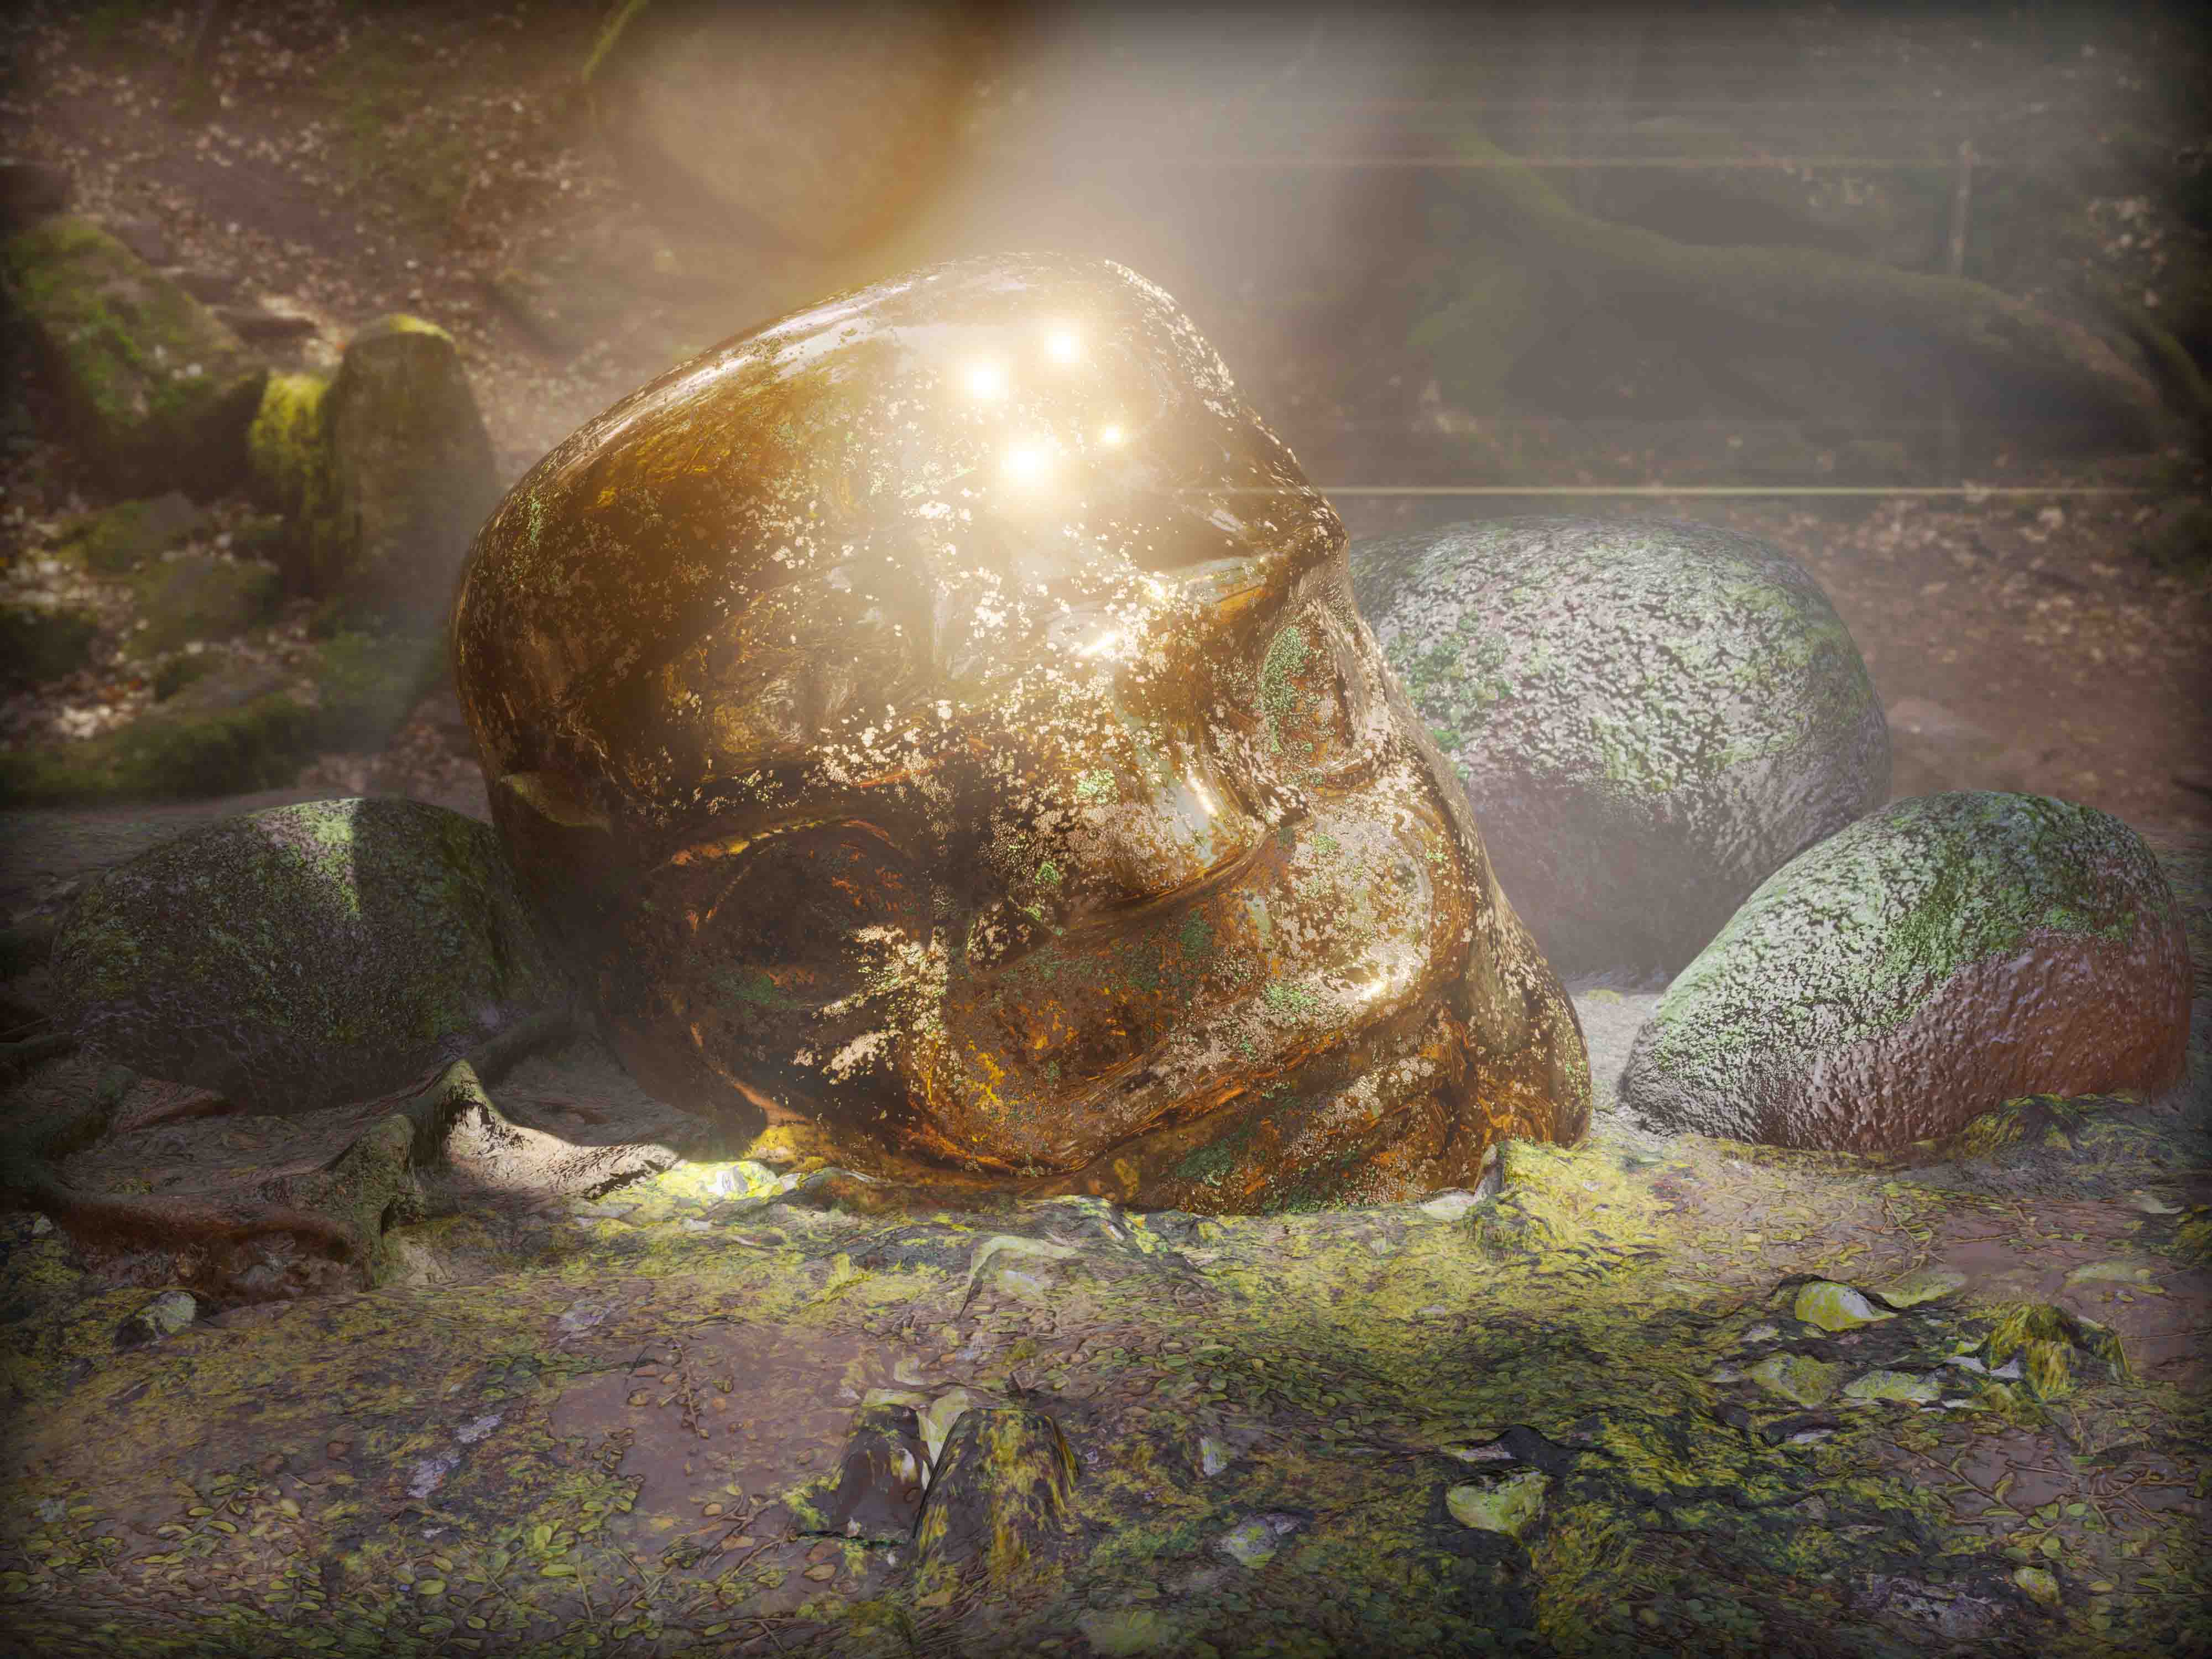
Here is what I came up with. I am quite happy with it for a quick Eevee render.
3D Retro Devices Project
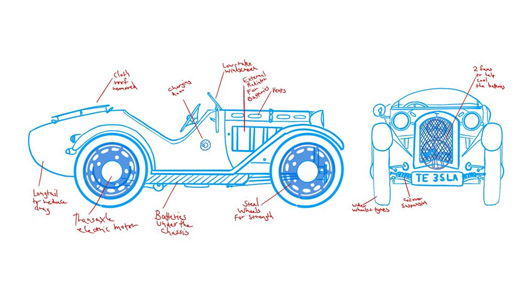
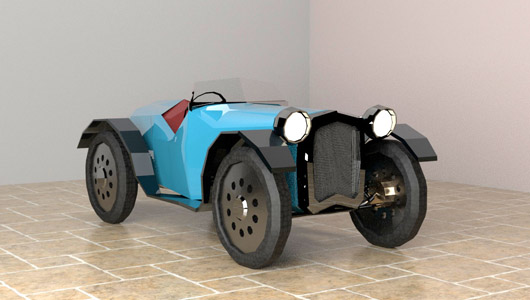
We were asked to recreate a modern device using old technology. I decided to make an electric roadster for the 1930s
Initial Concept
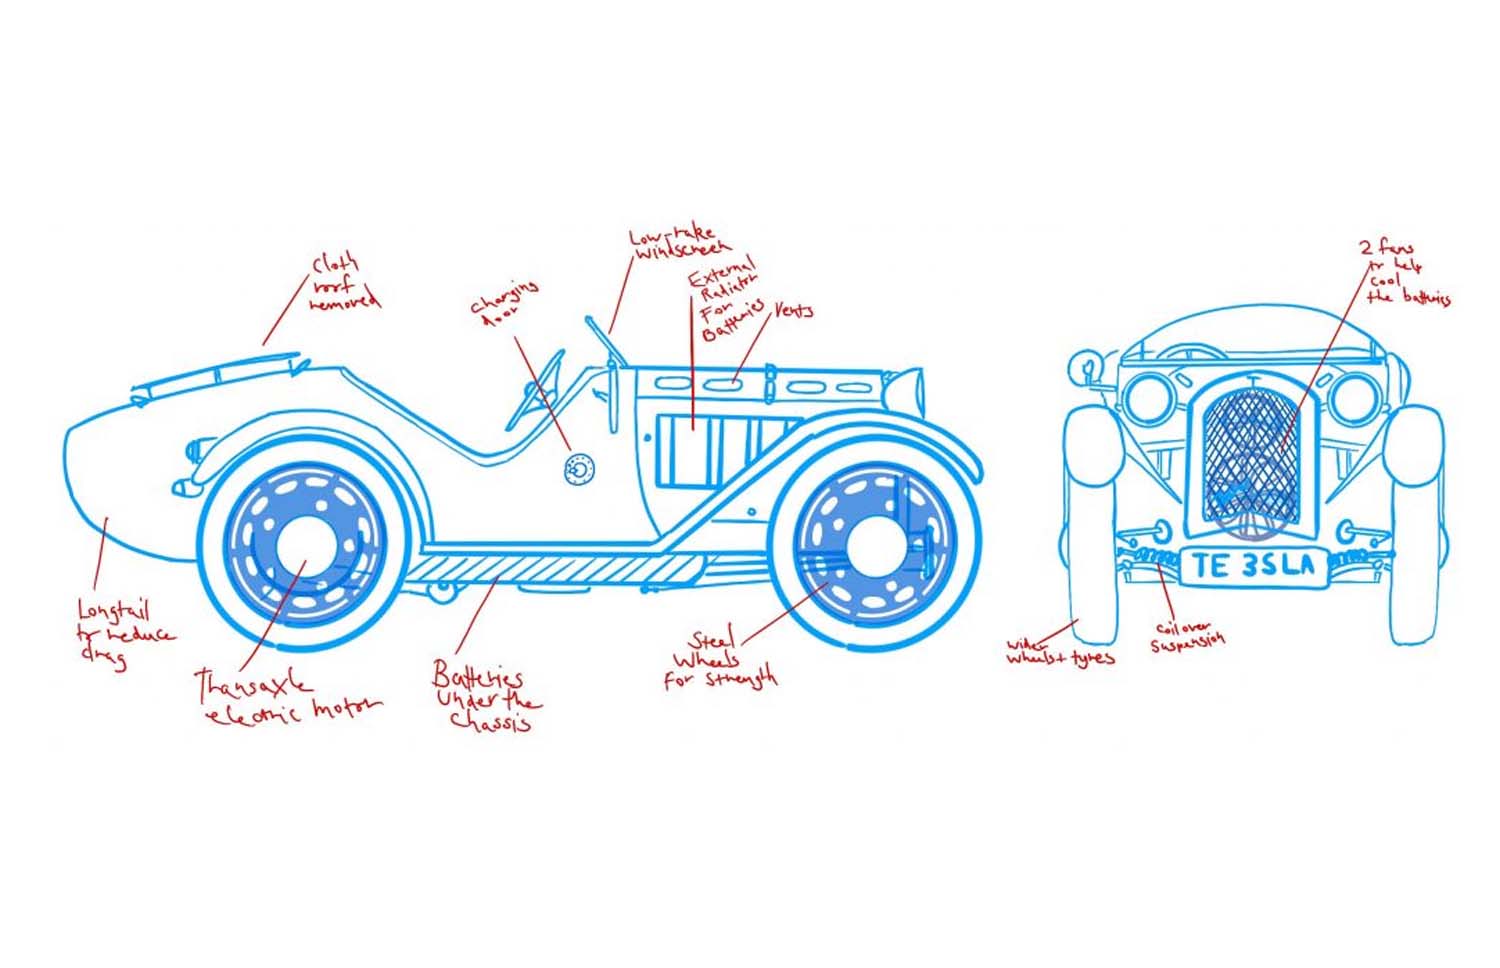
I started by using the Austin 7 British Roadster for reference and produced a guide using schematics.

Initial Blockout
I started by creating simple shapes to match the guide to work out the sizes of varois parts. Then I tested materials and
lighting as this was during my first couple of weeks using Autodesk Maya
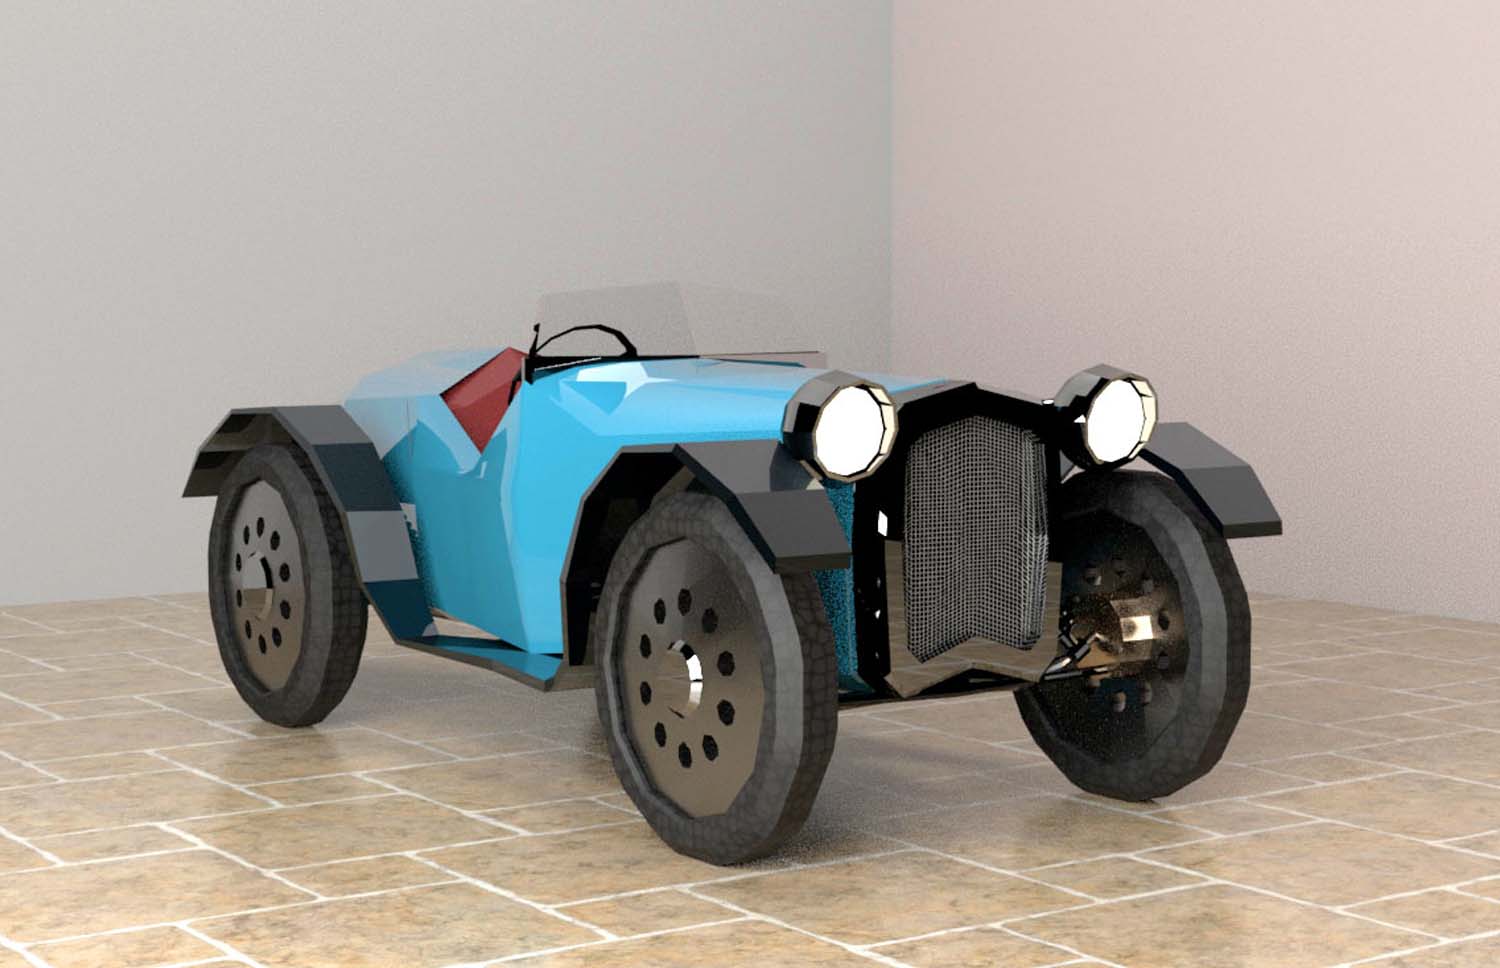

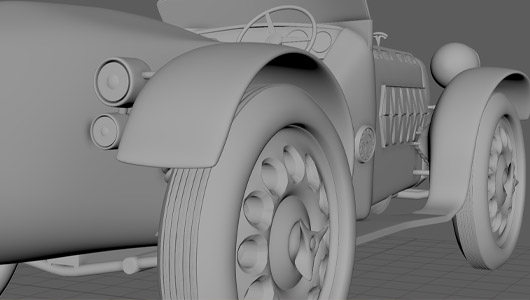
Subdivision and Sculpting
I slowly worked in improved detail into the moddel until it started to look like a car. One thing I should have improved
in hindsight is the suspension system detail.
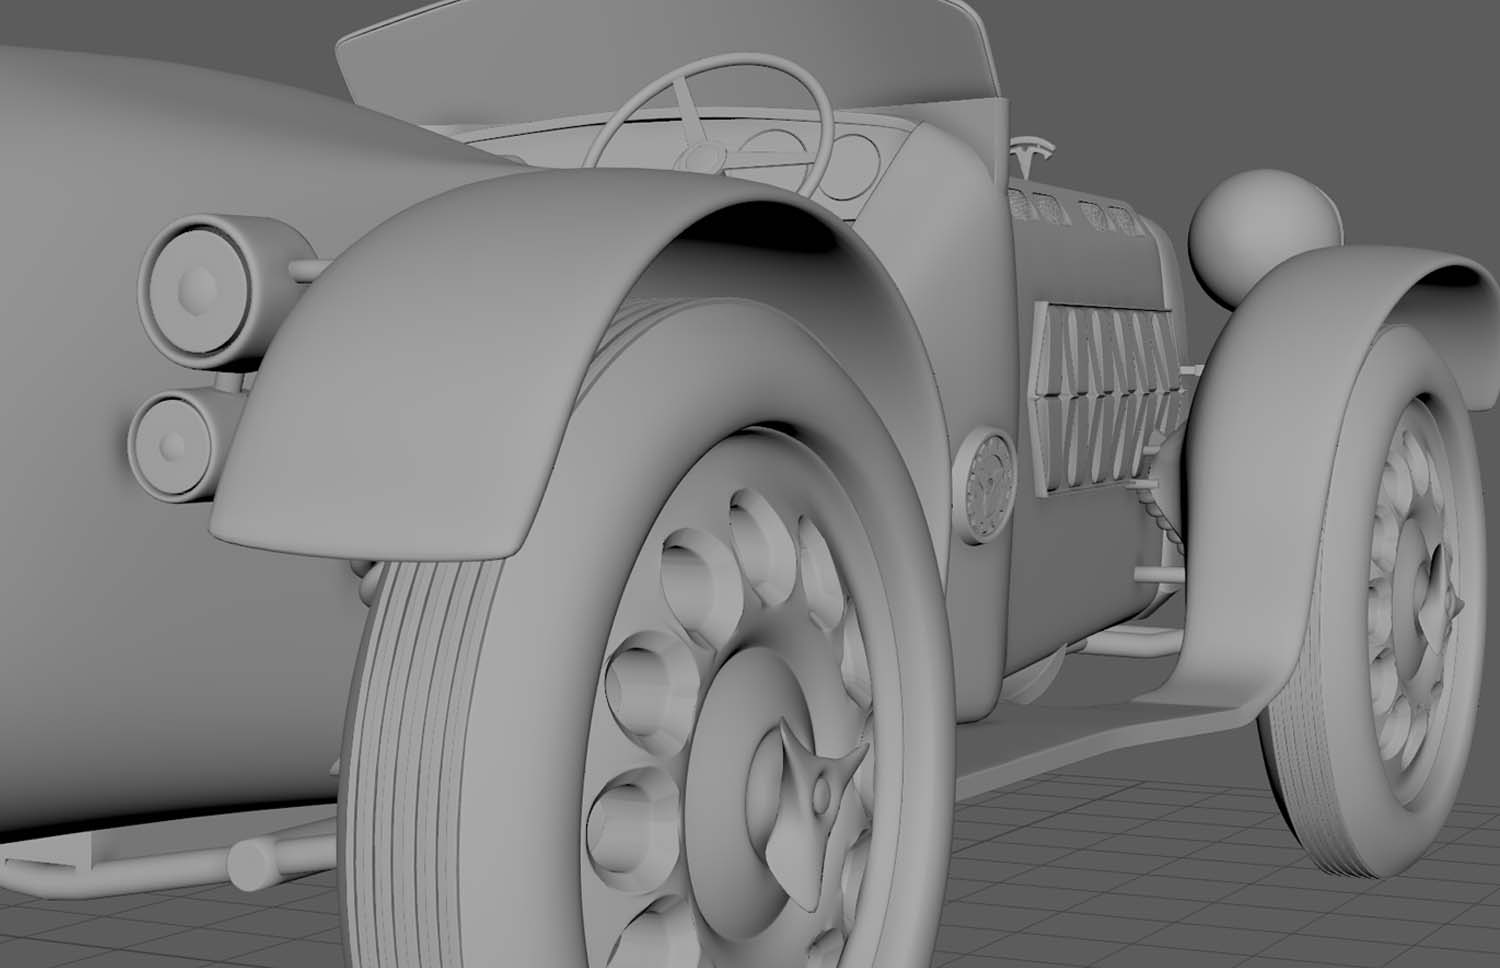

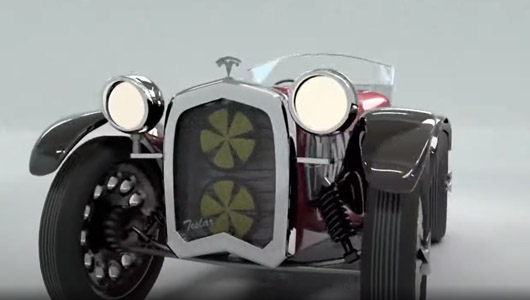
Final Render
Here is a video of the complete car. You can see some rendered thumbnails below.

Robot Sculpting Project
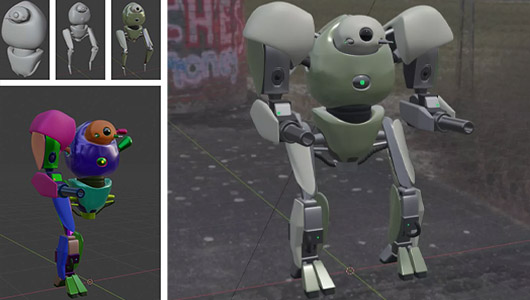
I joined an extracurricular sculpting toolkit where I was introduced to making 3D mechs and robots...
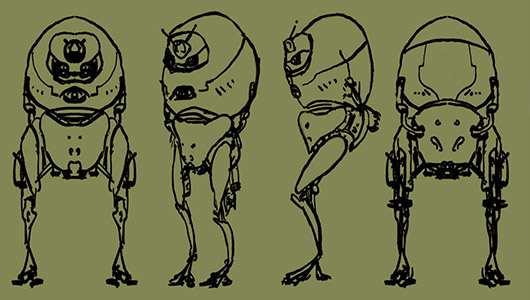
Initial Concept
I created a concept for my robot
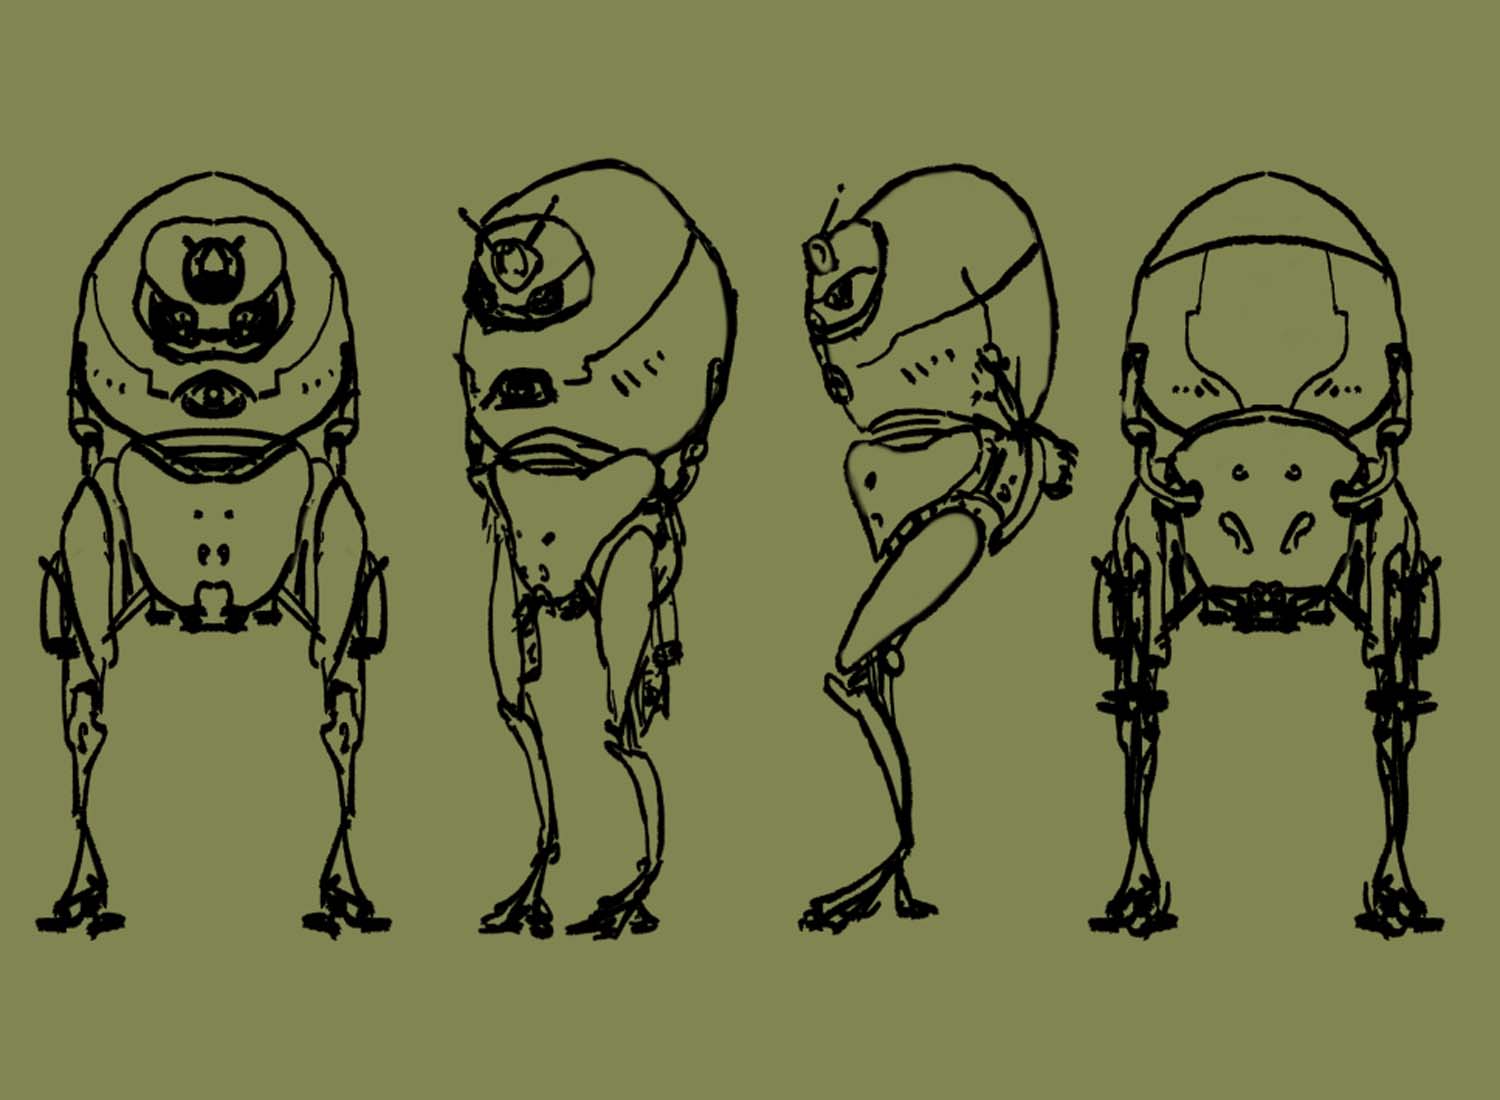
Blocking Out and Modelling the Robot
I modelled the robot inside blender using the mirror and subdivision tools to create a smooth, high polygon robot model
inspired by my concept. As we were looking at rigging the robots to make them move, I simplified my design.
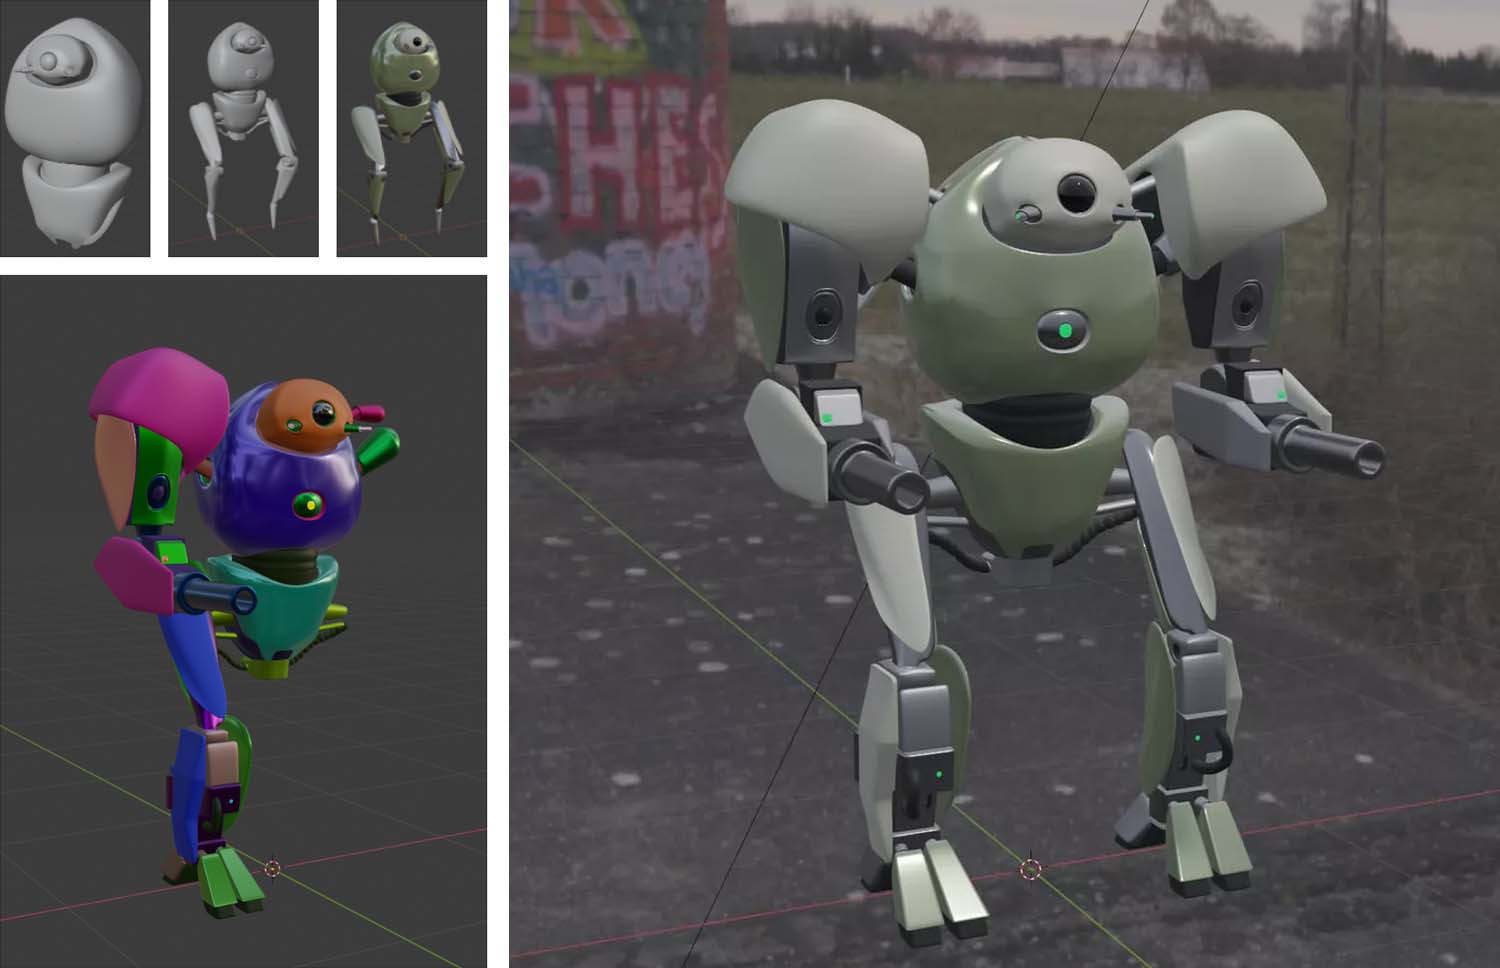
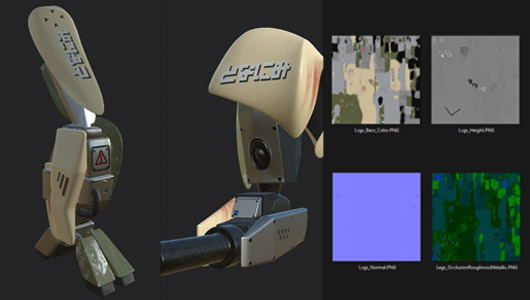
Texturing and Materials
I textured the model using substance painter and exported the textures as packed maps for use in unreal engine.
This was my first time doing this.
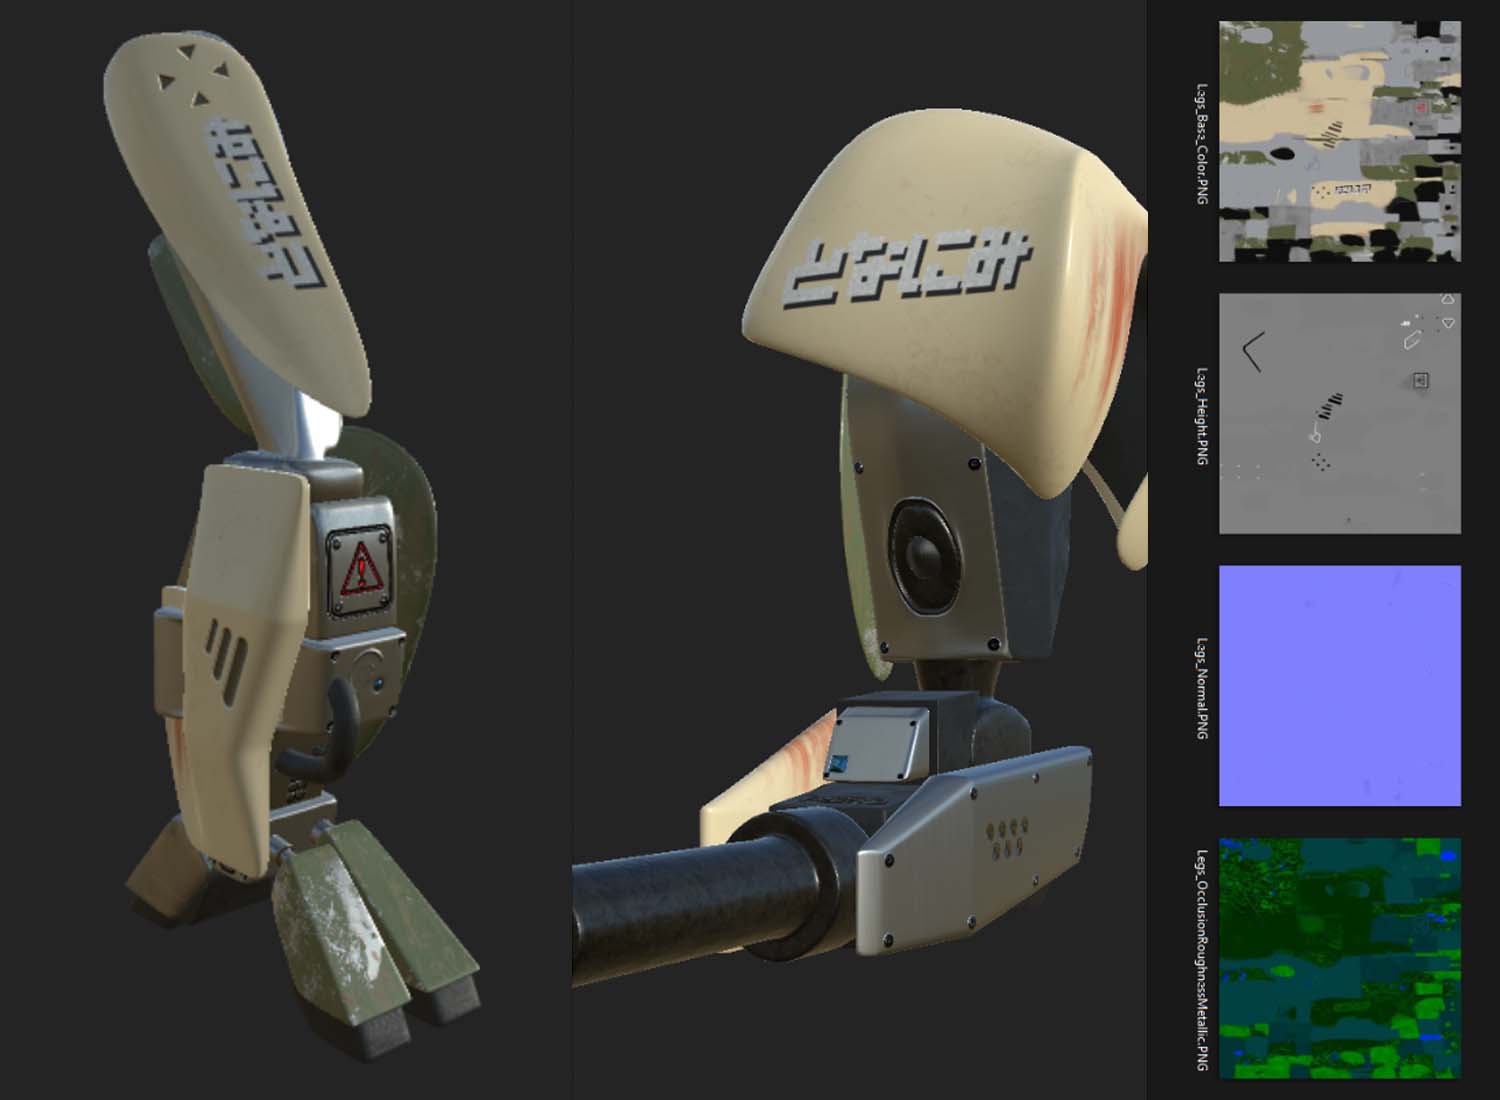
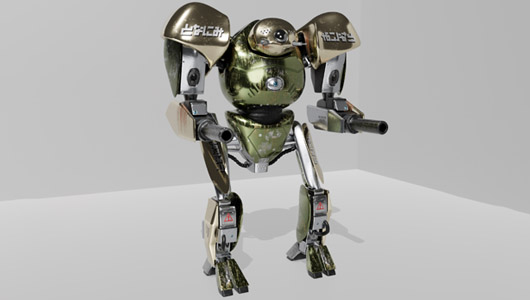
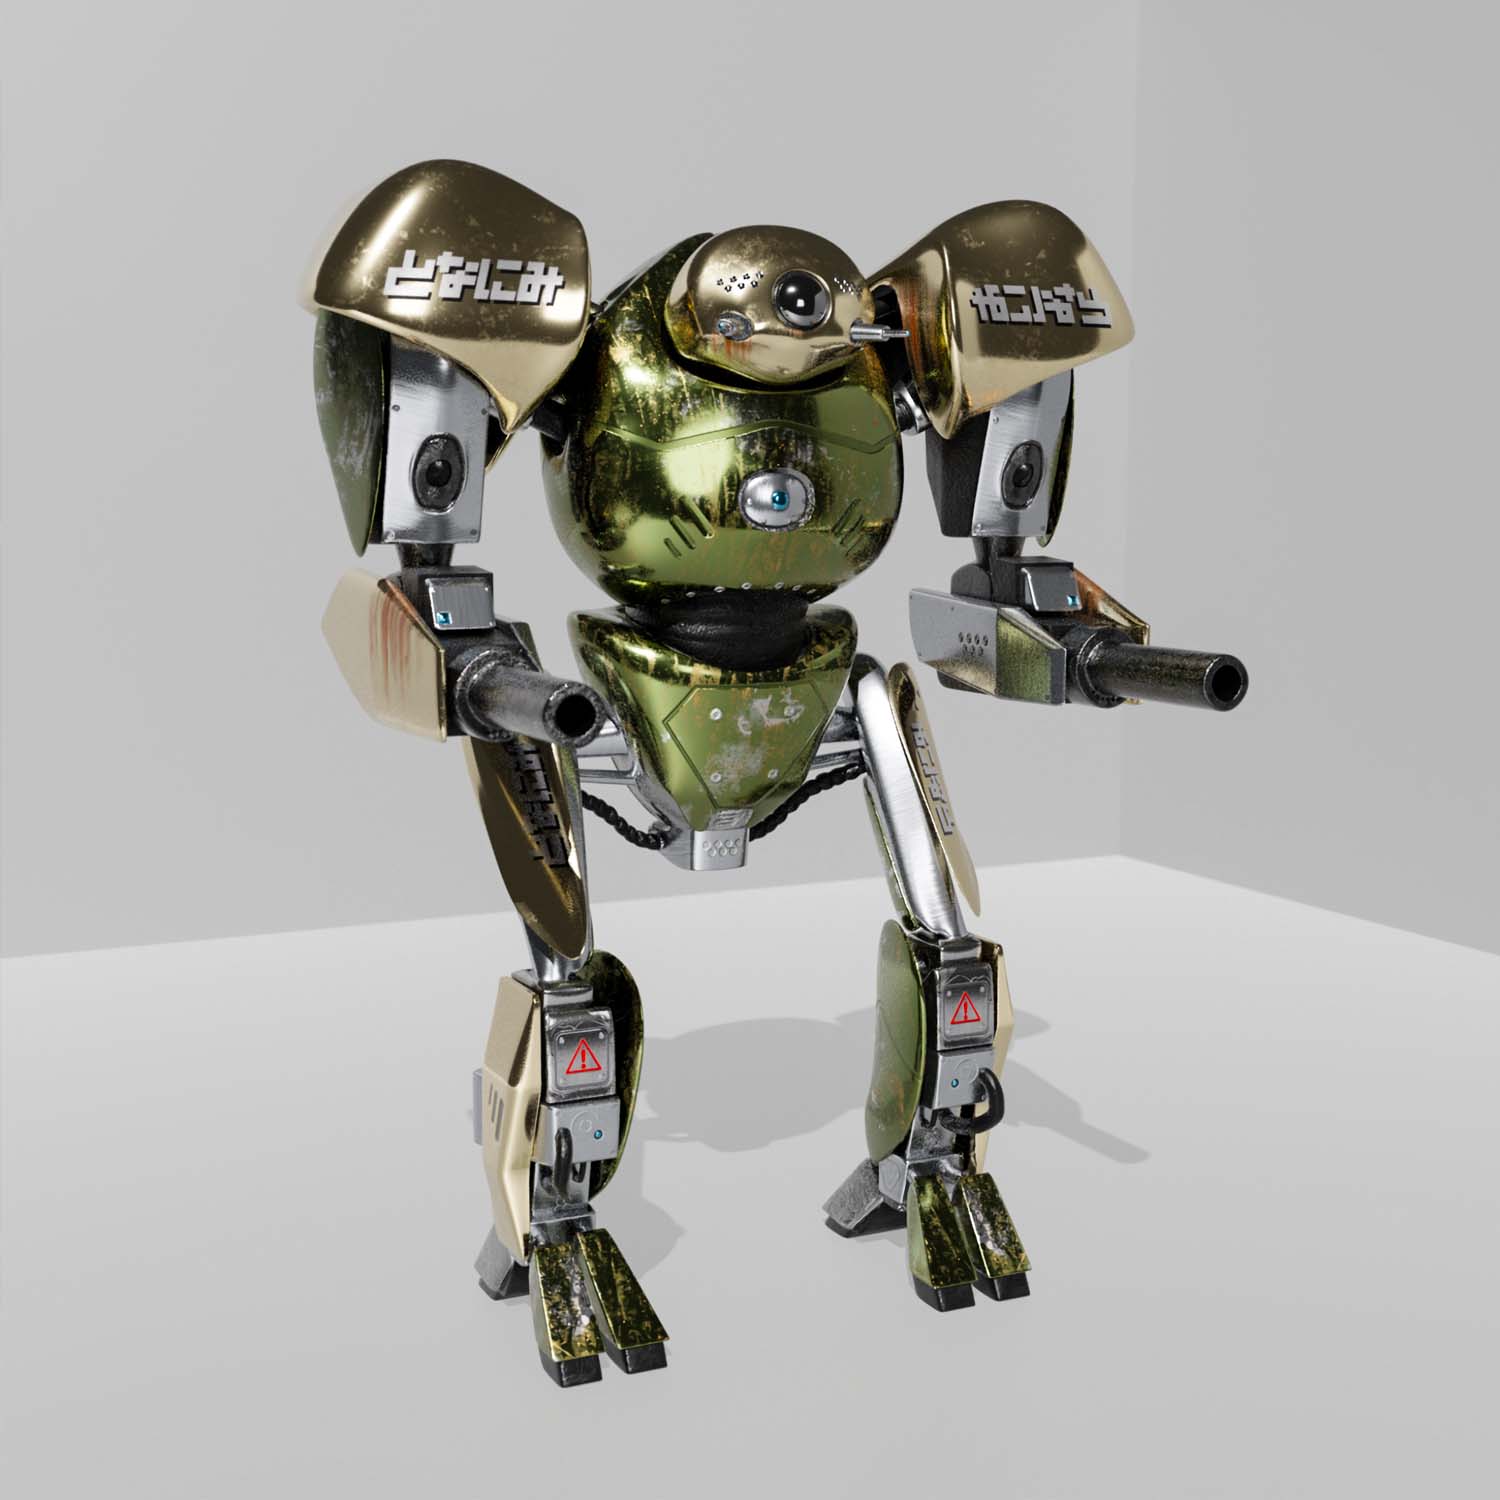
Rendered Robot
I rendered the final image in cycles renderer for more realistic ray-traced lighting.
Moebius Case Study
"40 Days Dans Le Desert" Artist Impression
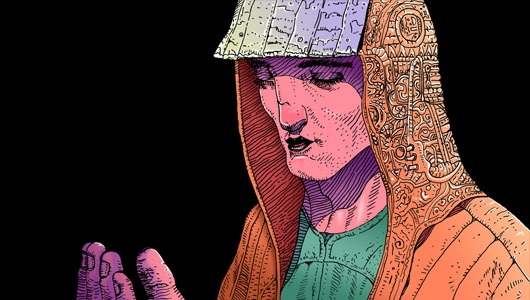
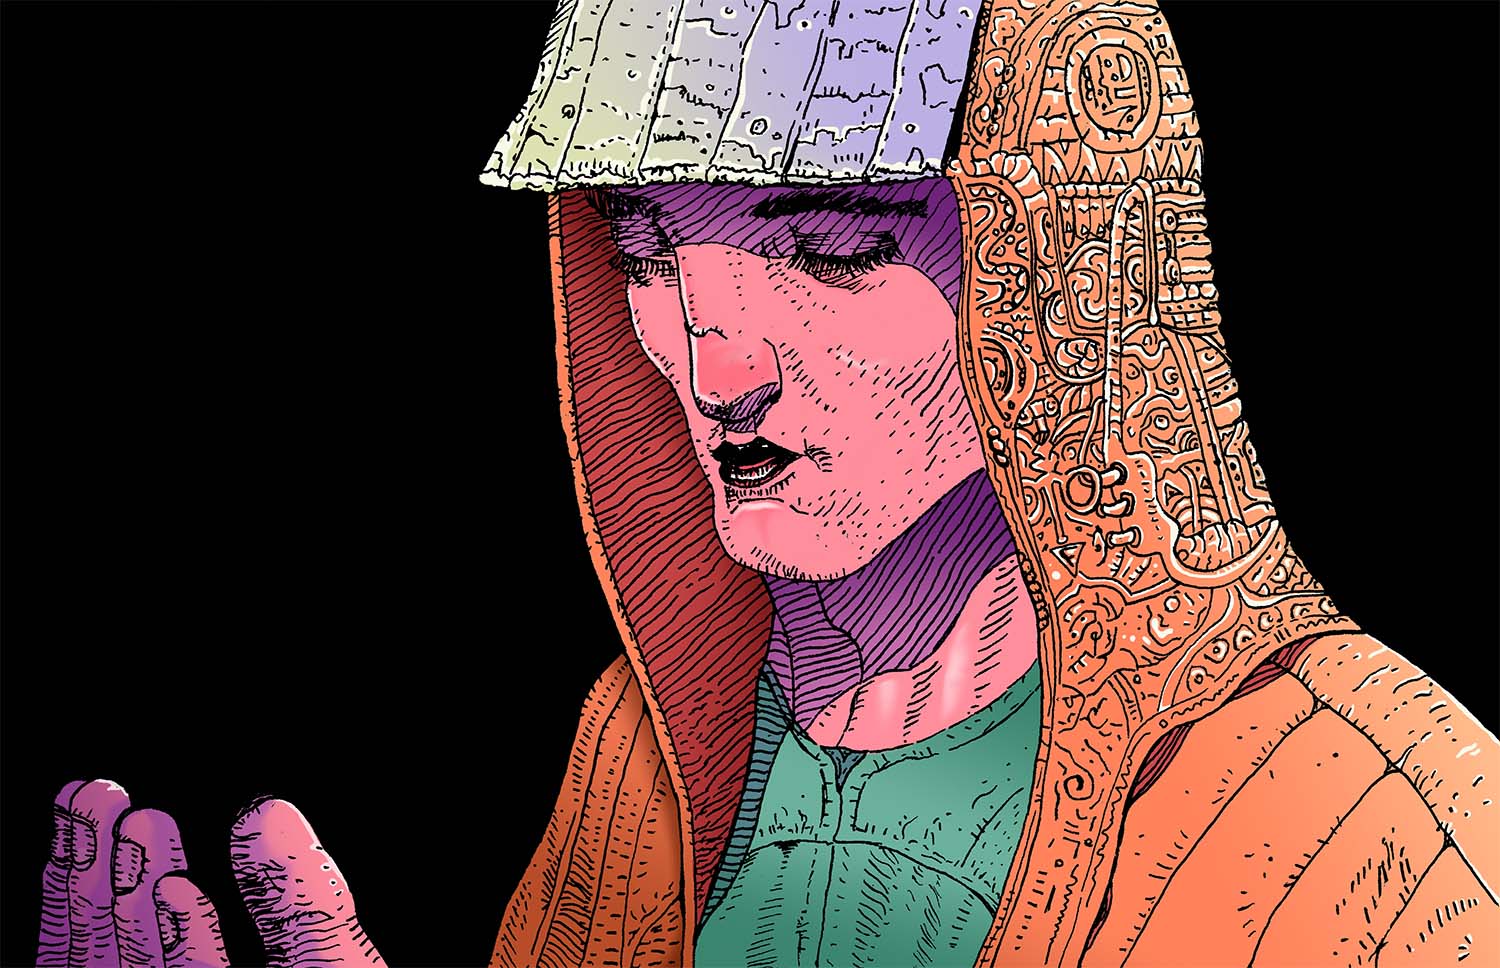
I produced a recreation of one of Moebius' designs for his book "40 Days Dans Le Desert".
I decided to colour the picture as the original is in black and white.

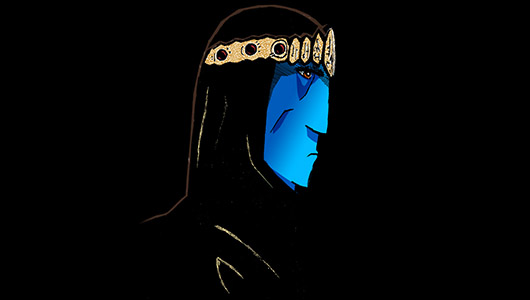
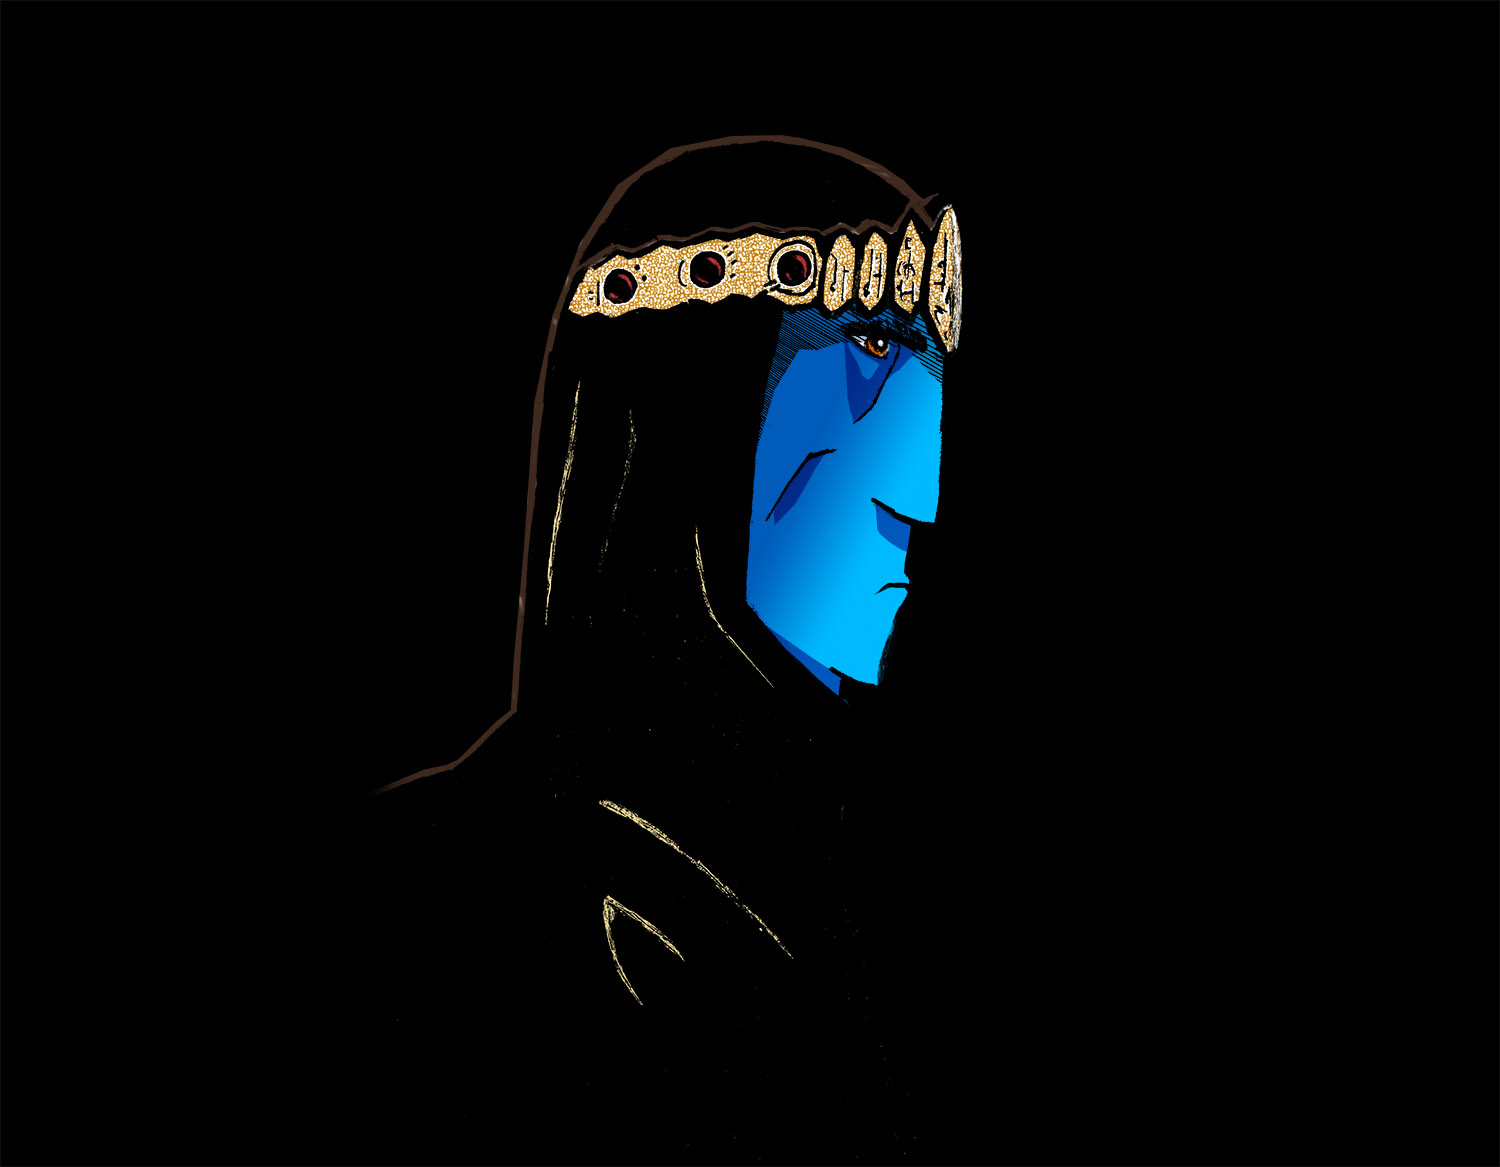
"Willow" Inspired Concept Art
Moebius created the concept art for the 1988 film "Willow". I decided to create a design inspired by his concept art.
I also experimented with painting using ink.

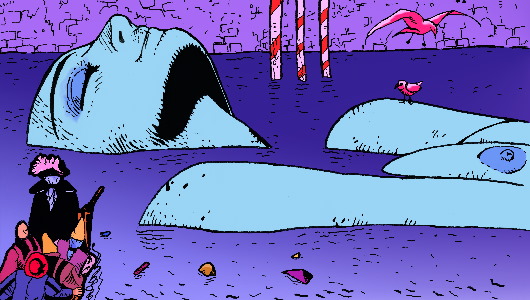
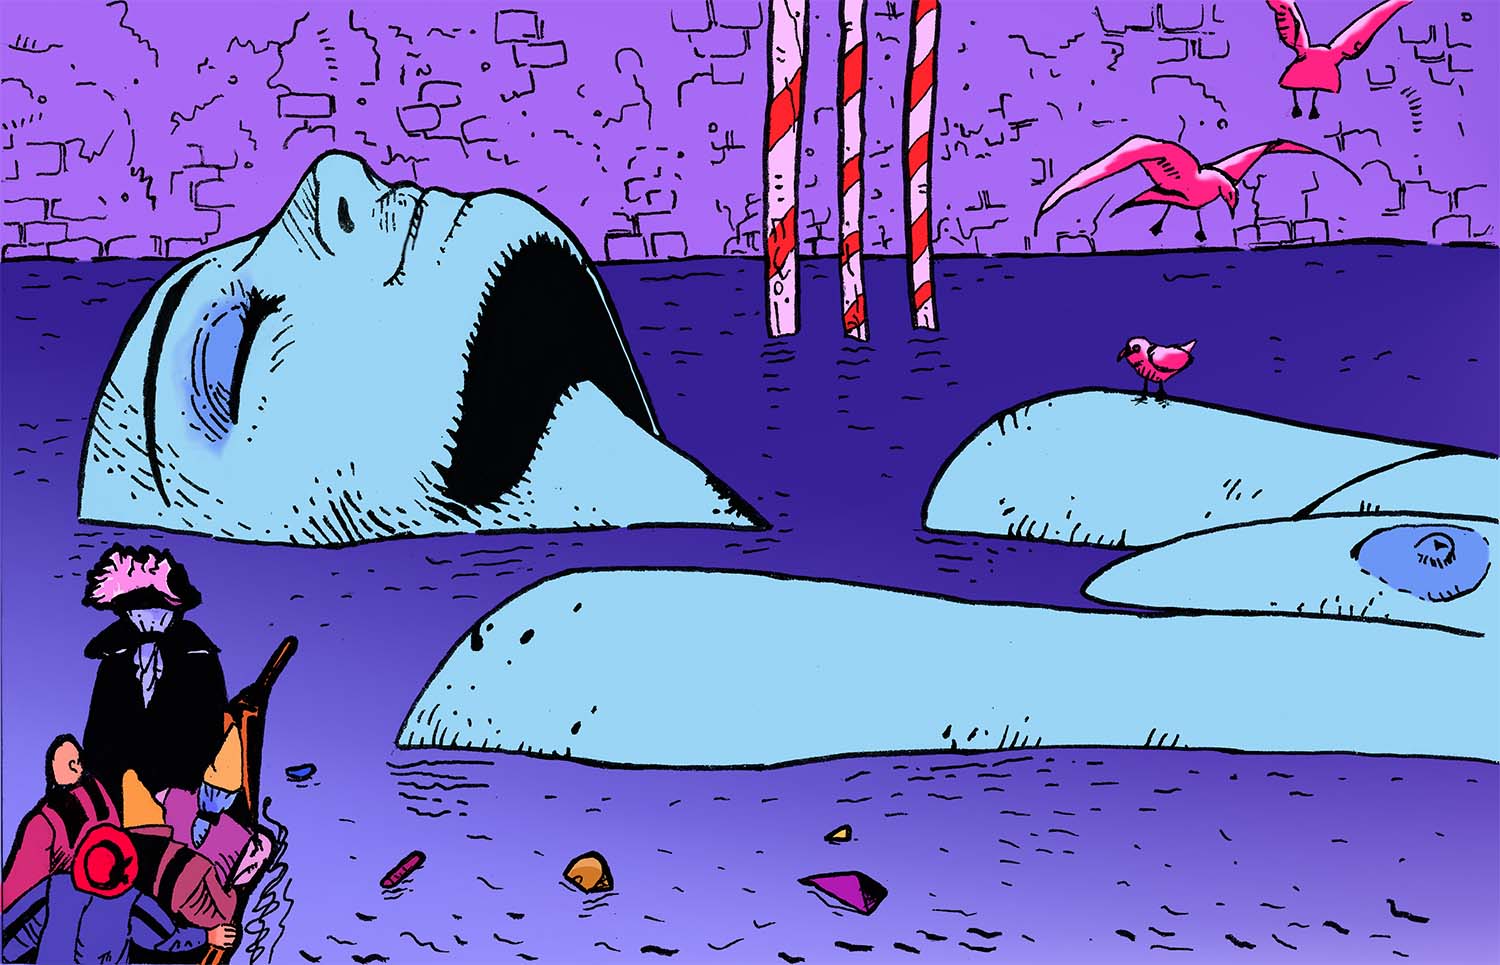
"Venice Celeste" Recreation
I produced a recreation of one of Moebius' designs for his book "Venise Celeste".
A book based on the locations he was living in the 80s. I produced a simplified version and coloured it digitally.

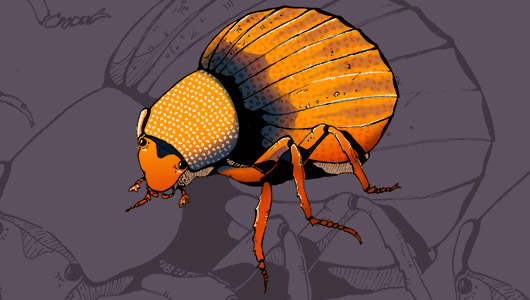
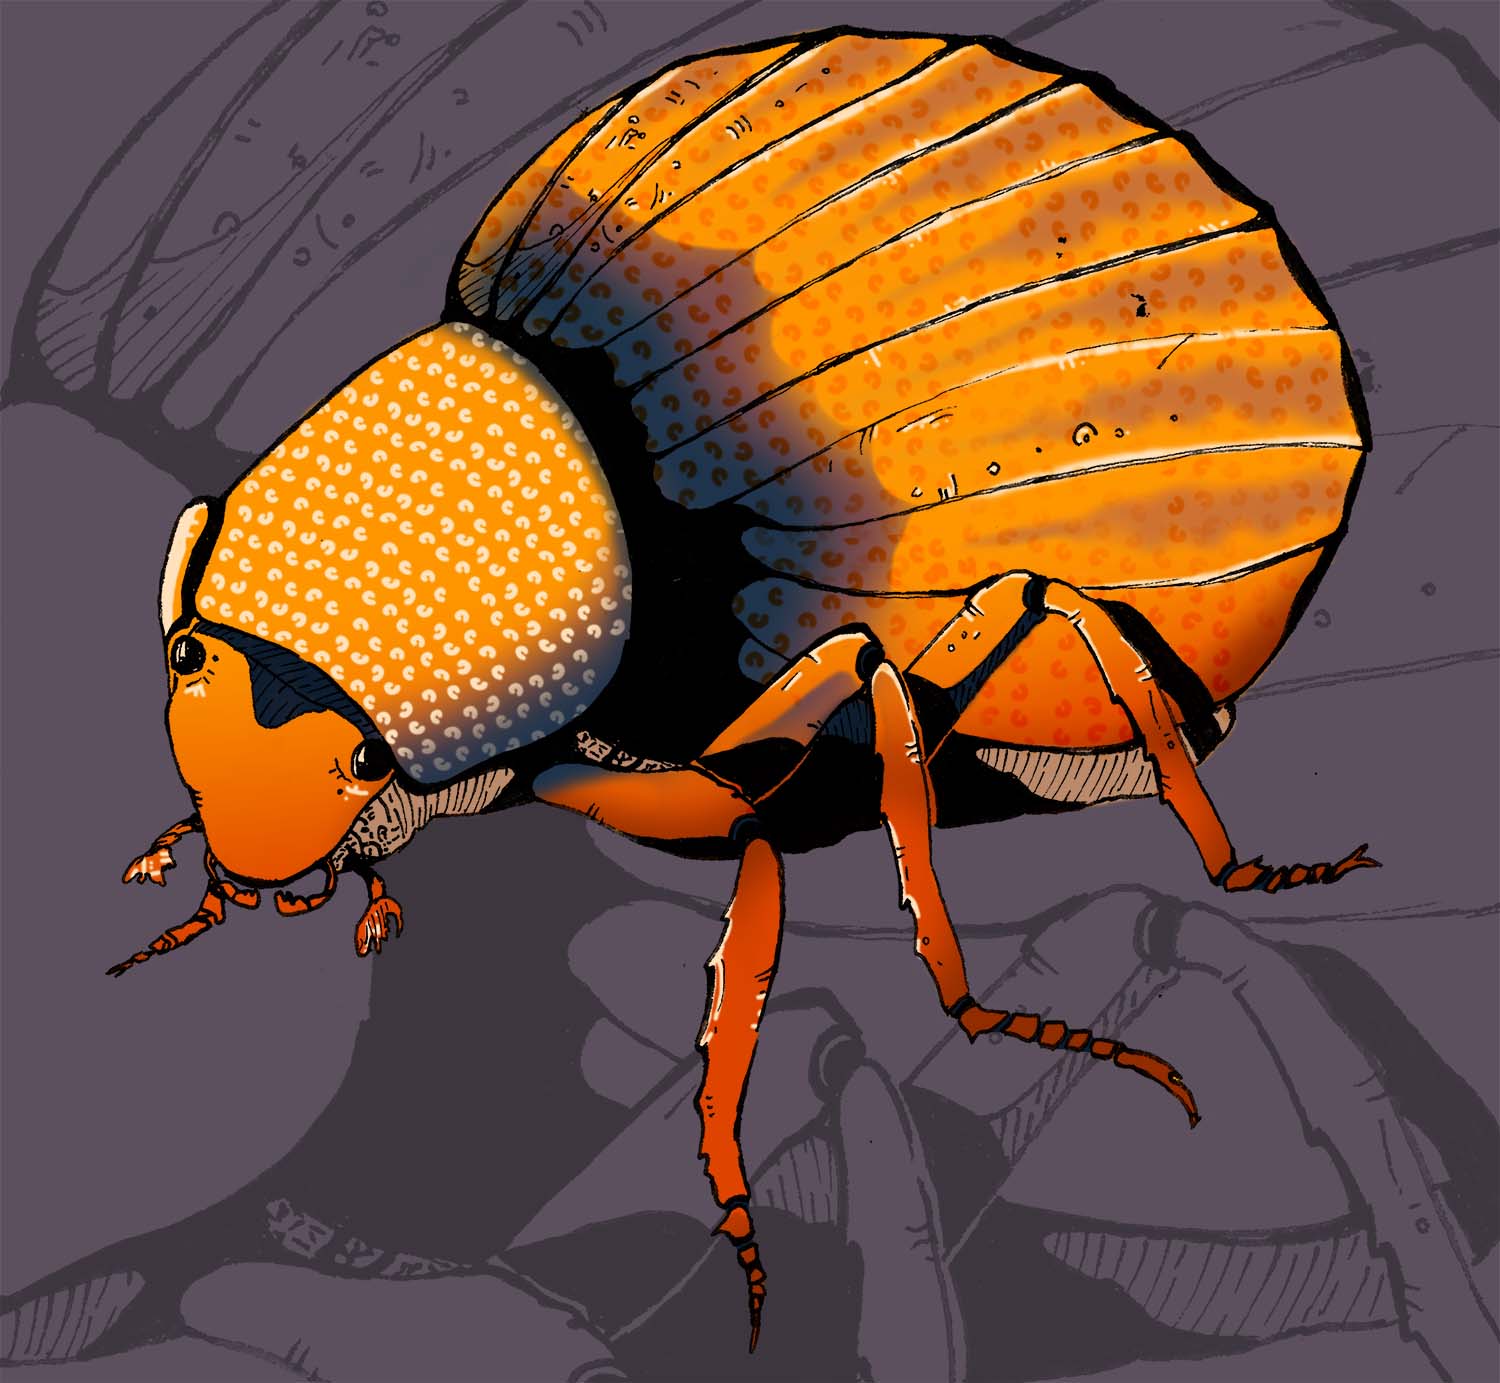
Scarabaeidae In Moebius' Style
I drew a scarab beetle, inked and coloured it digitally in the style of Moebius.

Mark Riddick Case Study
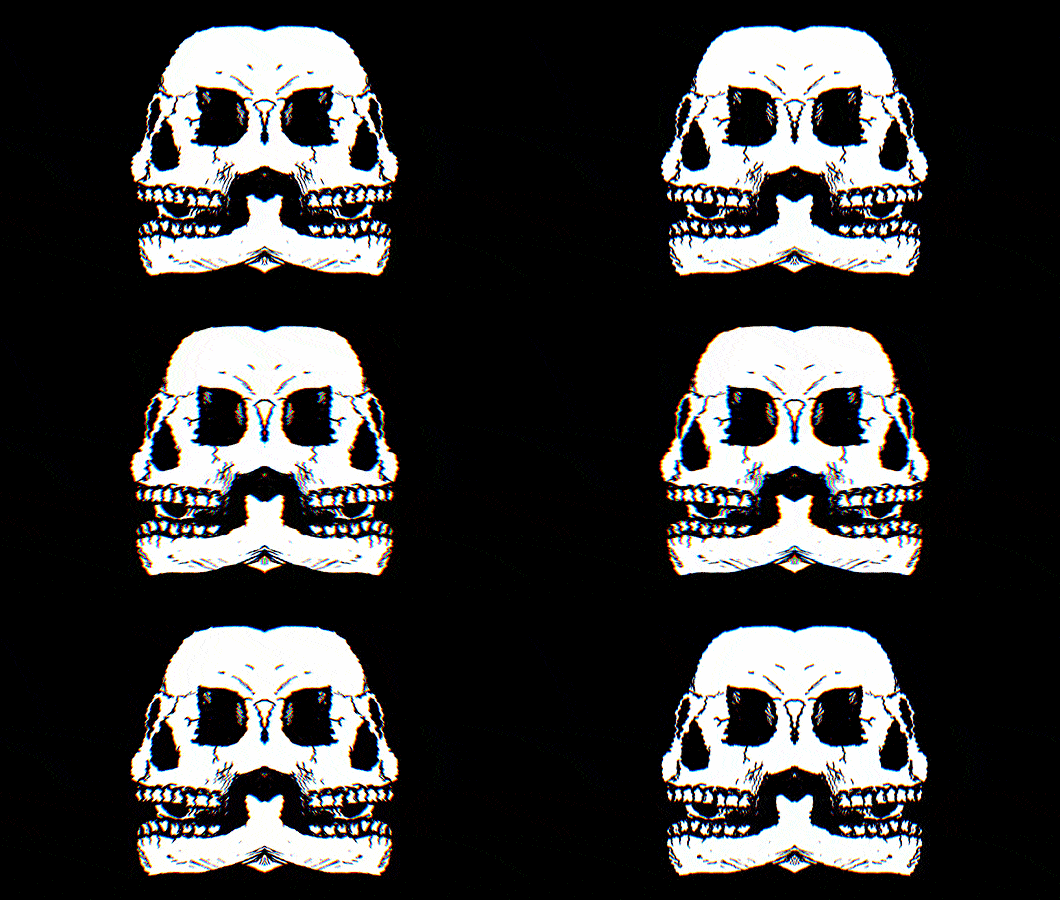
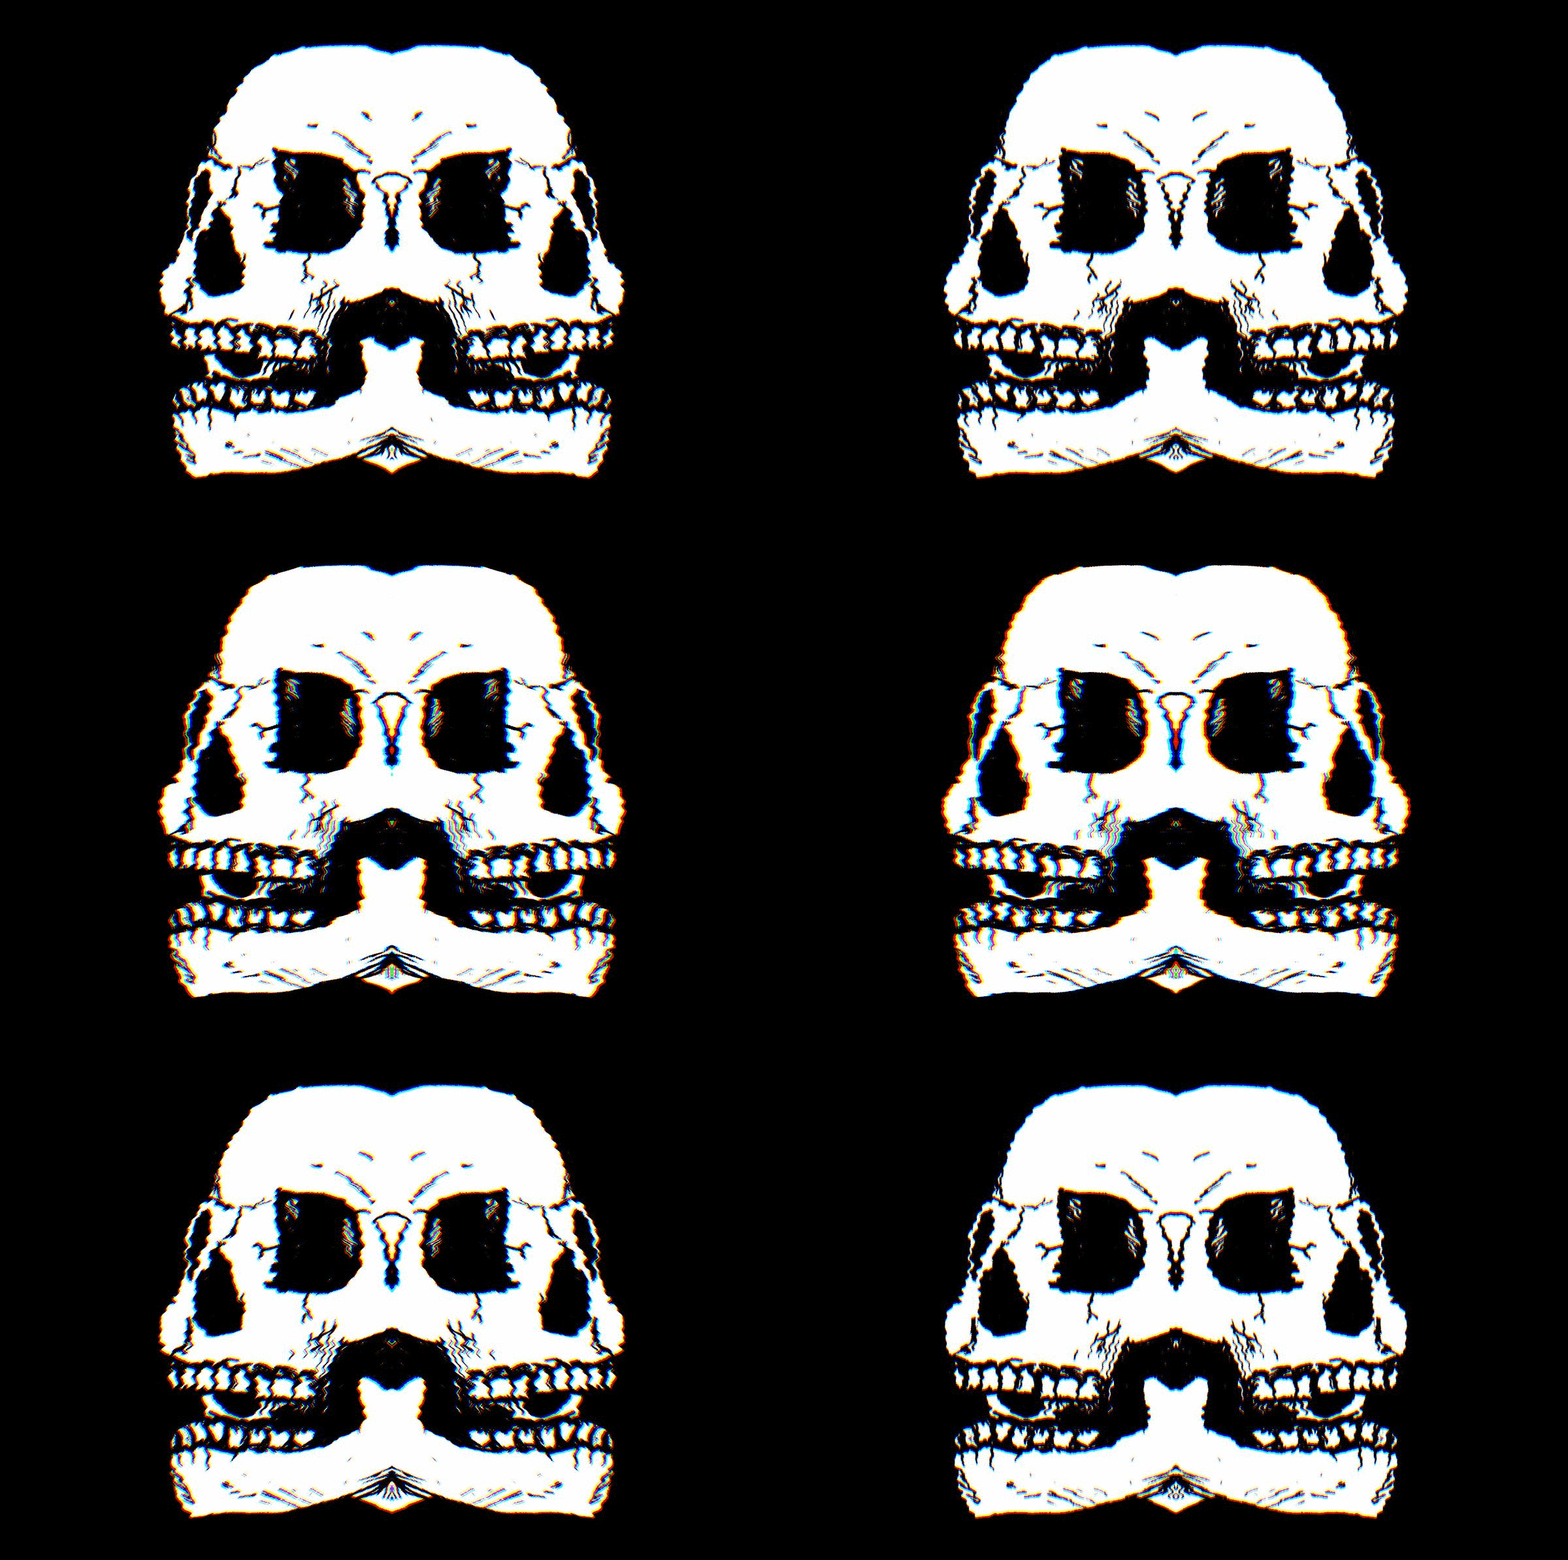
Glitching Human Skull
I drew a human skull then inked it and digitally manipulated and animated it to make it look more interesting.
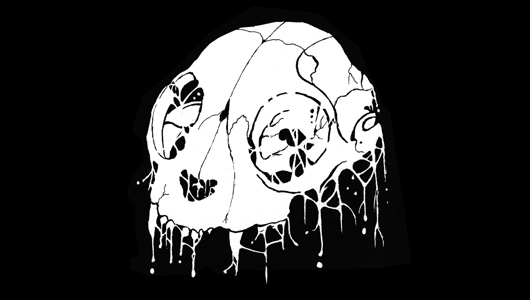
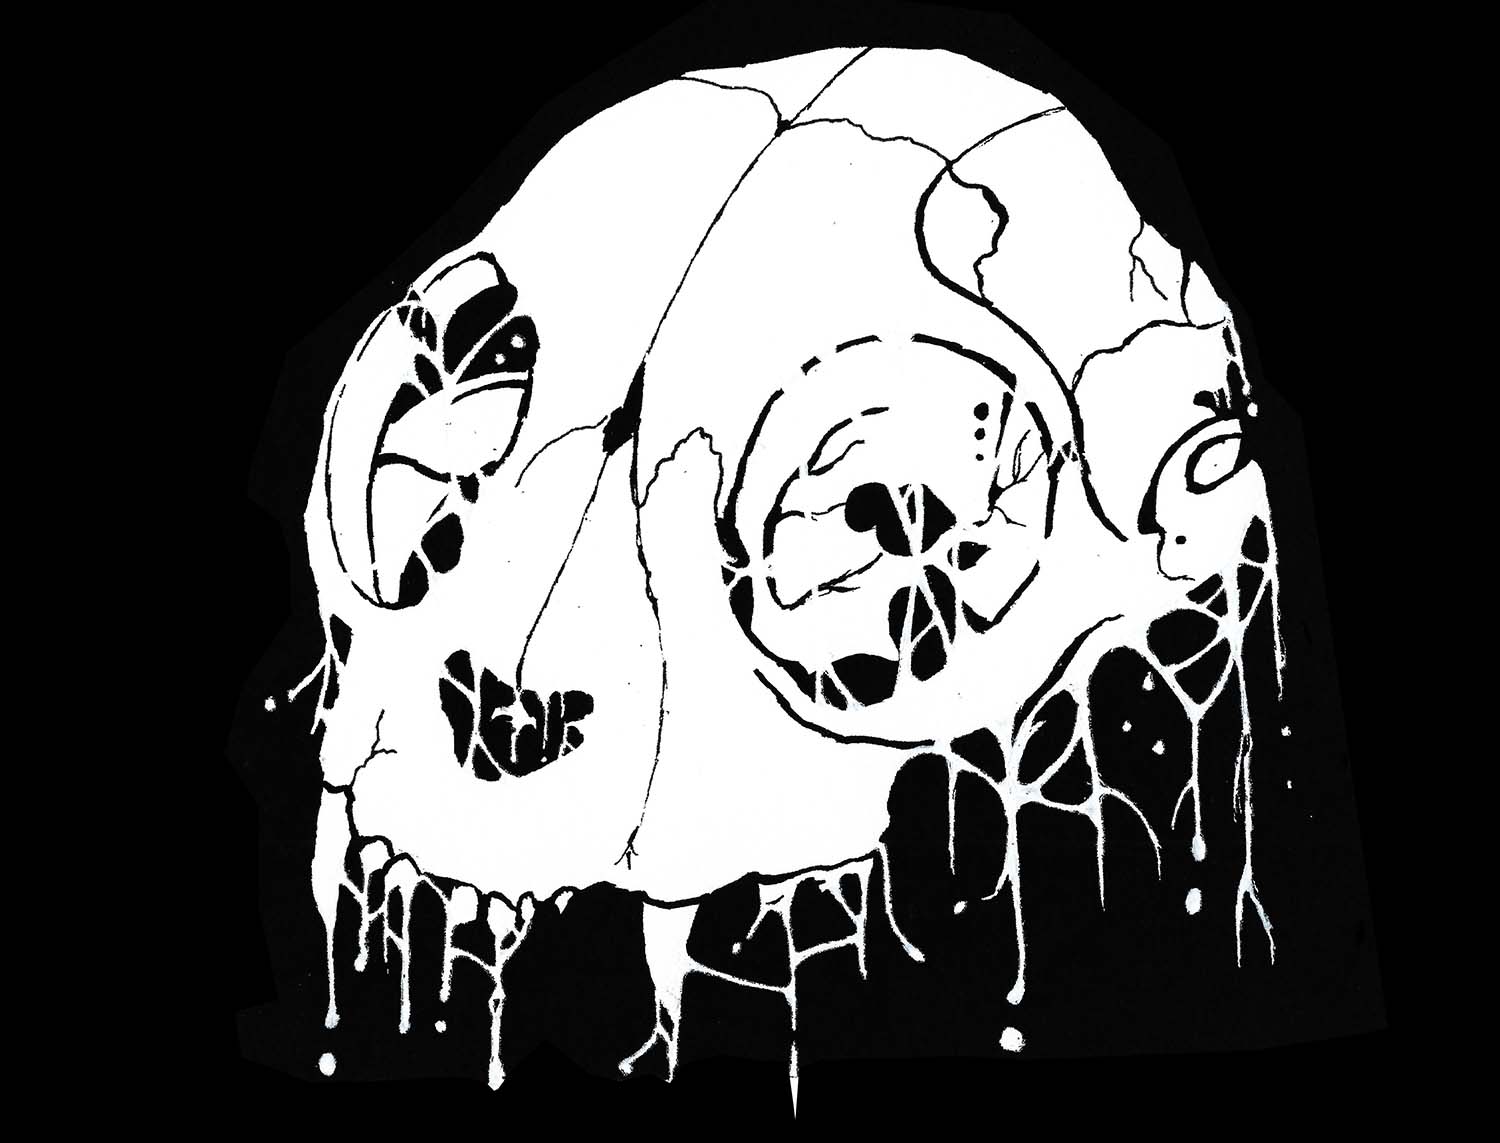
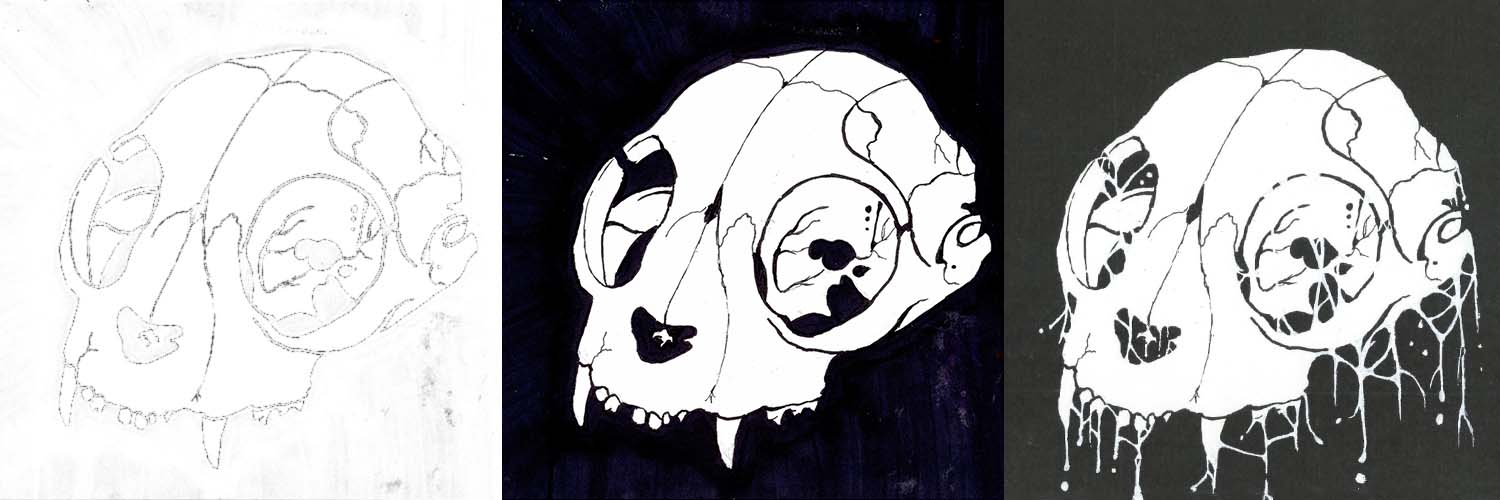
Cat Skull In Mark Riddick's Style
I drew a cat skull then inked it, scanned it and used a white pen over the print-out to draw
web-like tendrils similar to how Mark Riddick produces his art.
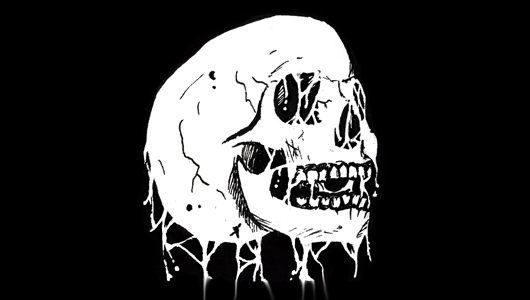
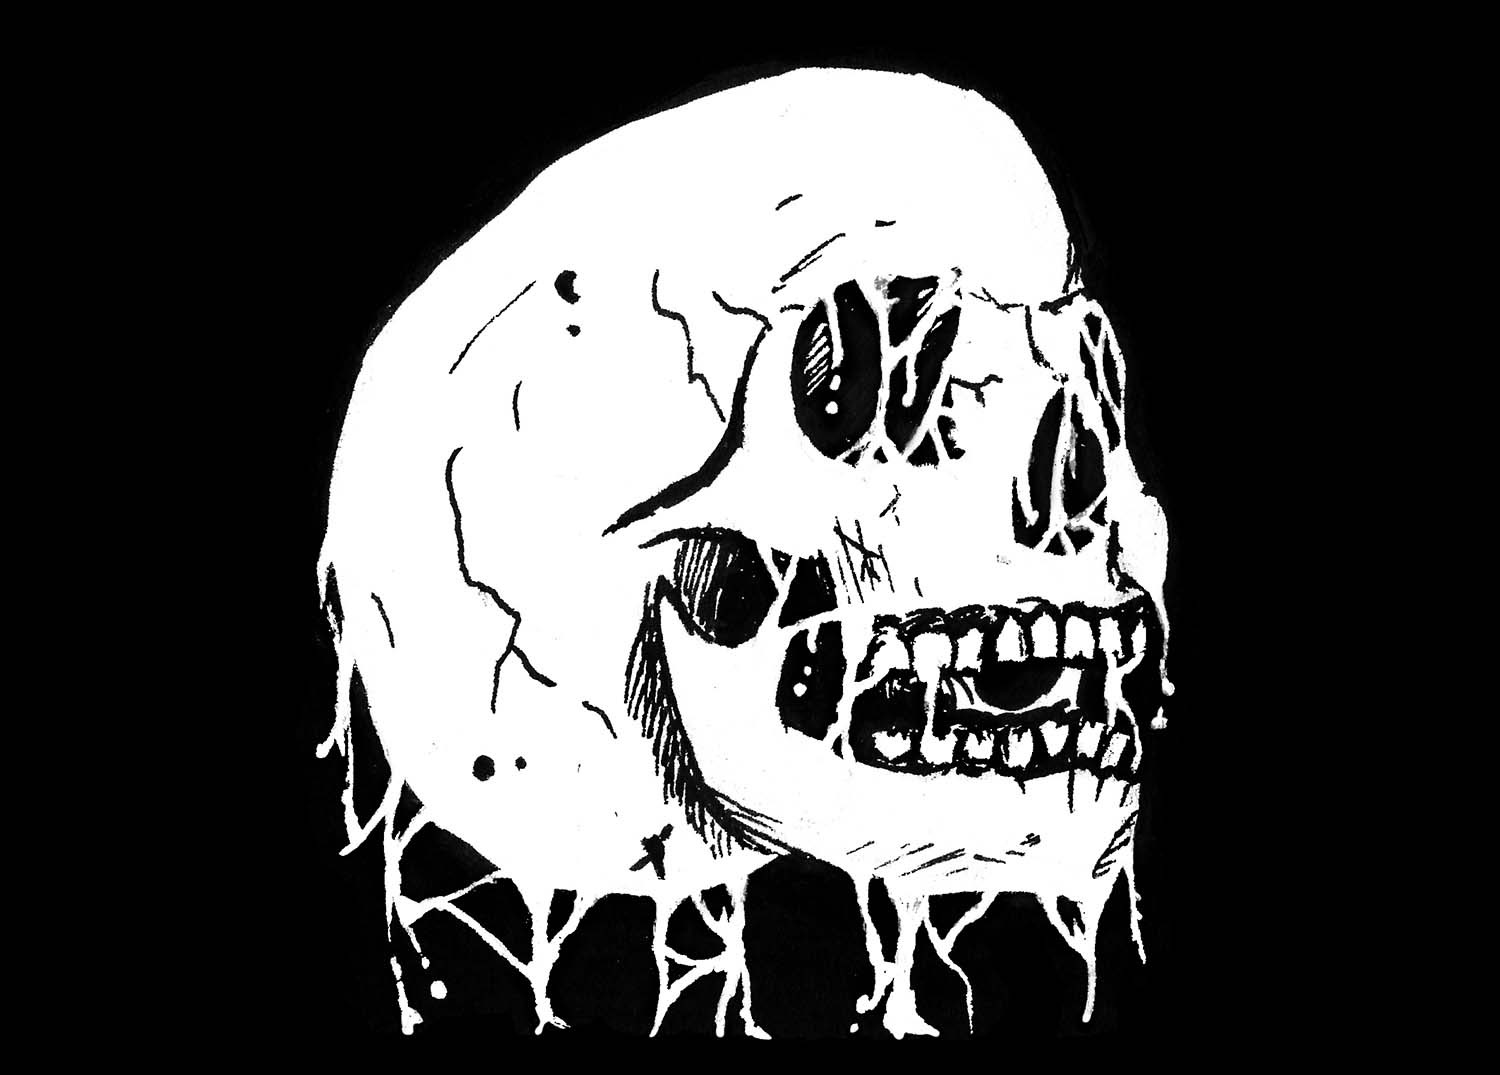
Human Skull In Mark Riddick's Style
I drew a human skull then inked it, scanned it and used a white pen over the print-out to draw
web-like tendrils similar to how Mark Riddick produces his art. I also attempted colouring it digitally.

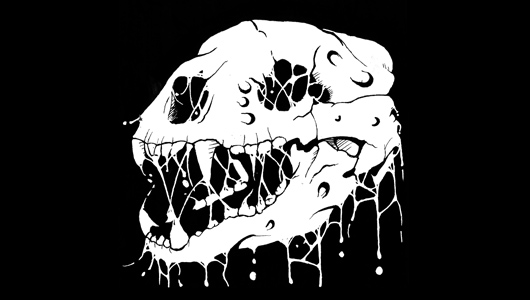
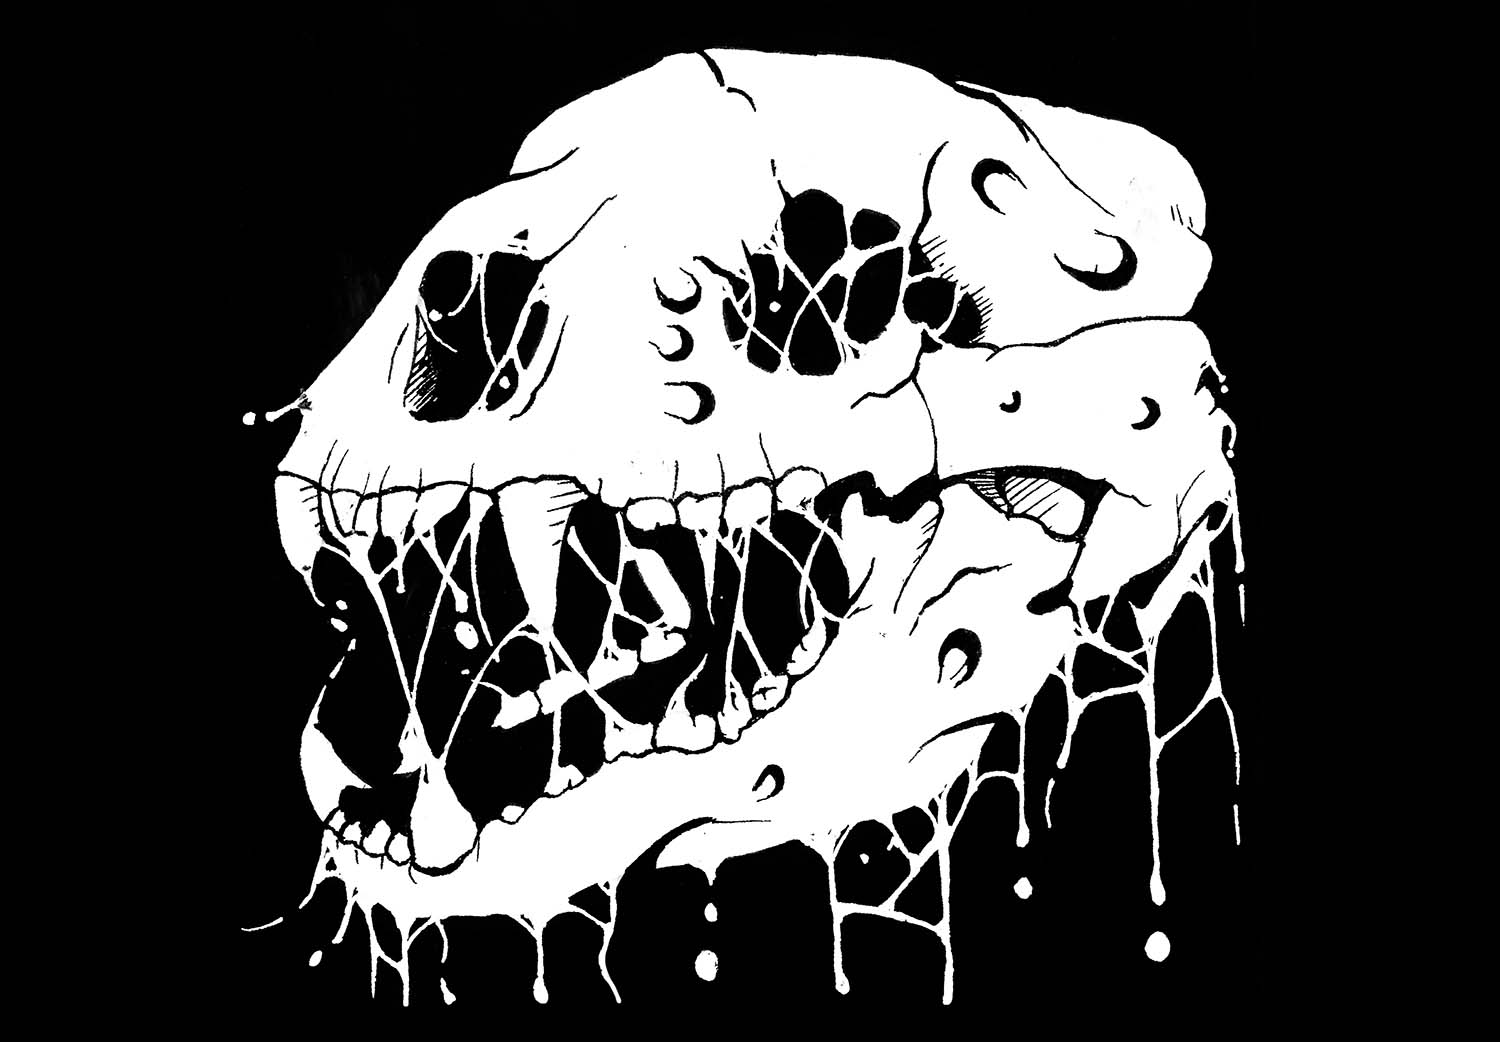
Bear Skull In Mark Riddick's Style
I drew a Bear skull then inked it and used a white pen over the top in the same style.
I tried to make it look more like drool from its jaws.

Frank Miller Case Study
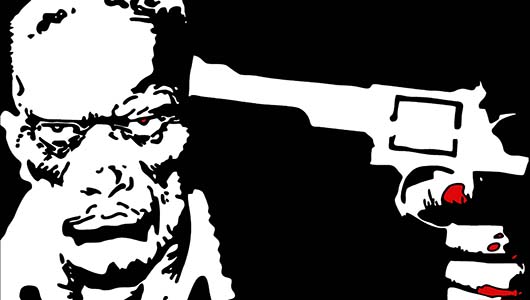
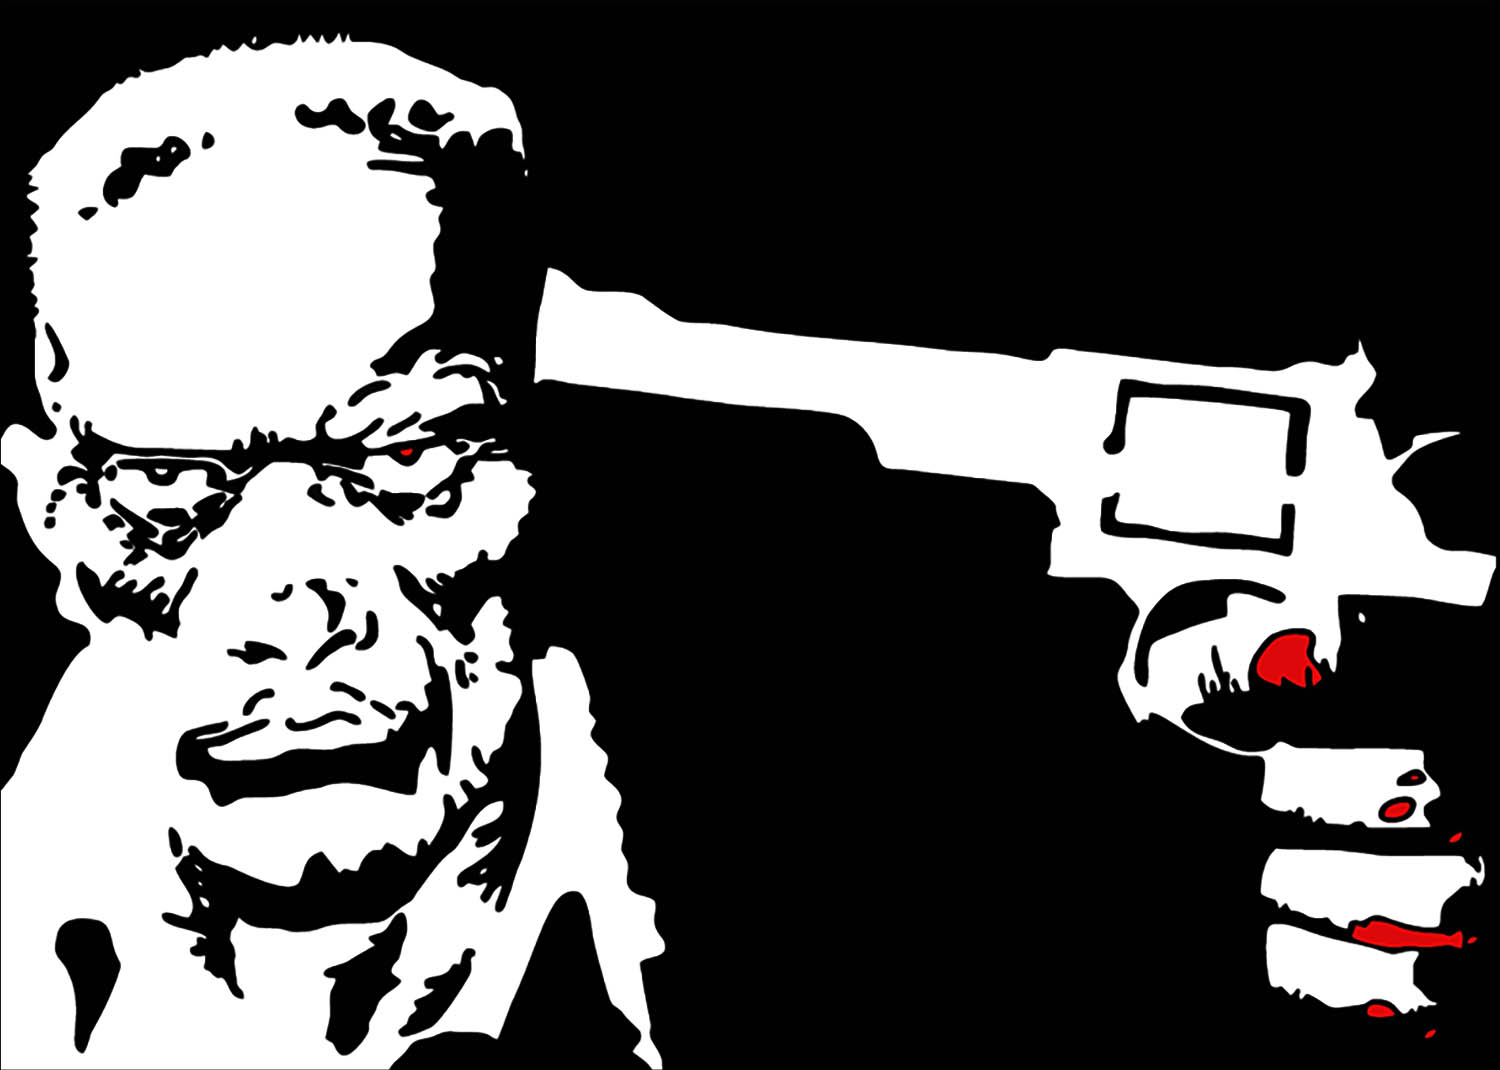
"Sin City's" John Hartigan
I recreated a simplified version of Frank Miller's panel using illustrator and a drawing tablet

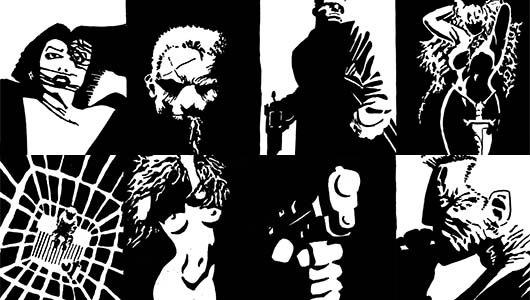
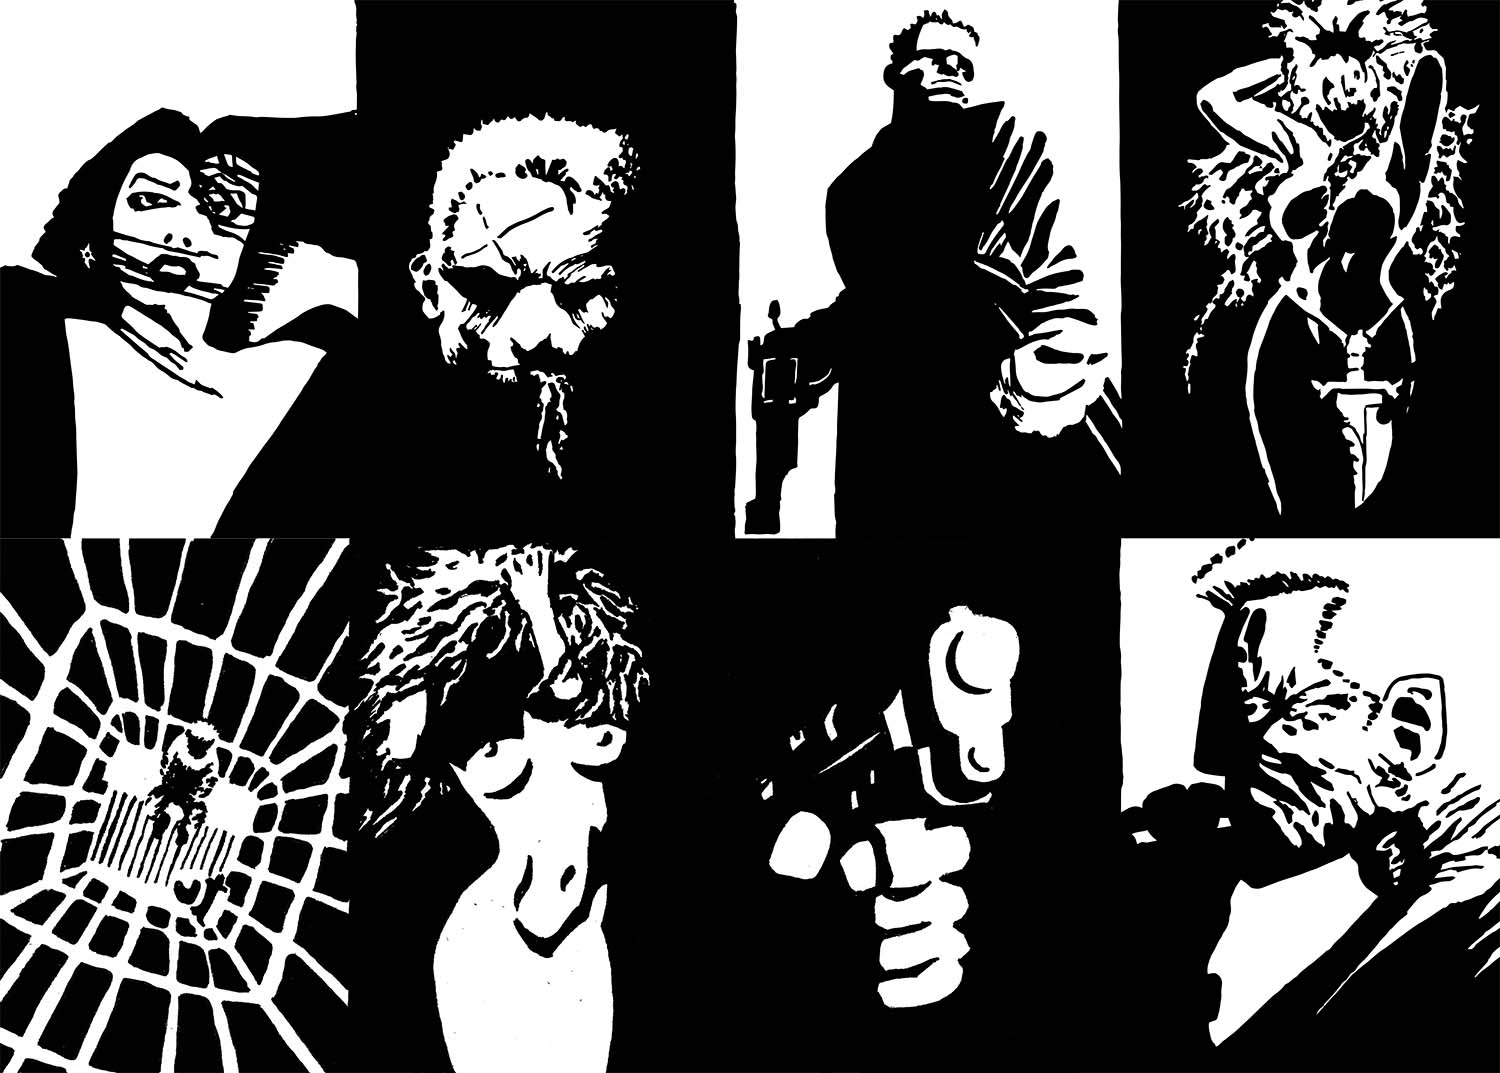
"Sin City" Comic panel experimentation
I recreated panels from the sin city comic much smaller using fine point pens

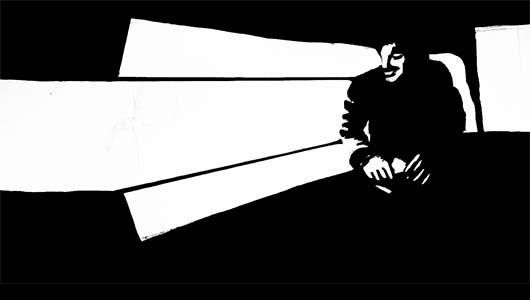
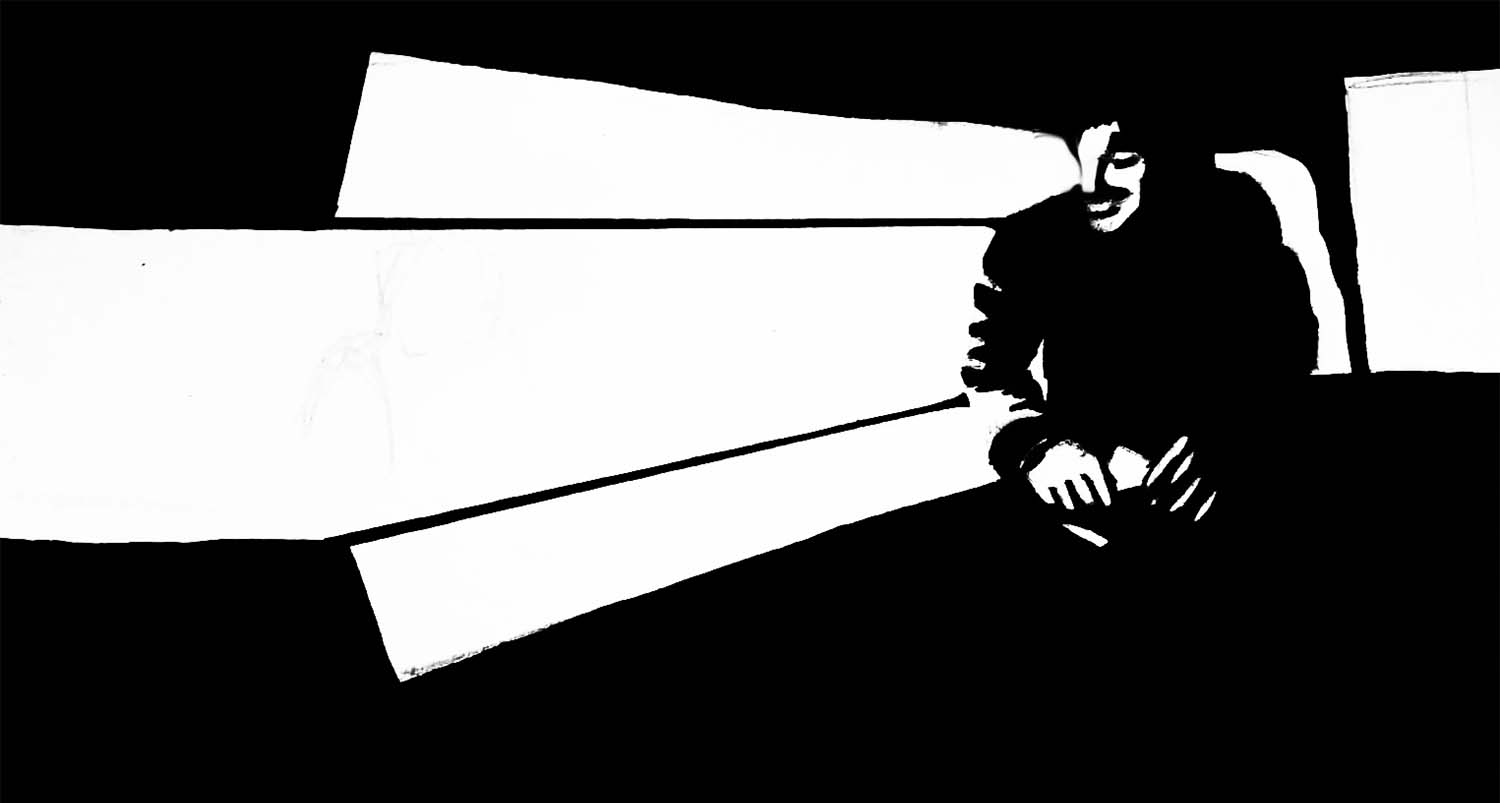
Sin City Style Design using "Blade Runner 2049"
I used a still from Blade Runner 2049 because I thought that the dramatic lighting suited a Frank Miller
style design. It didn't turn out very good as I made a lot of mistakes with the drawing.

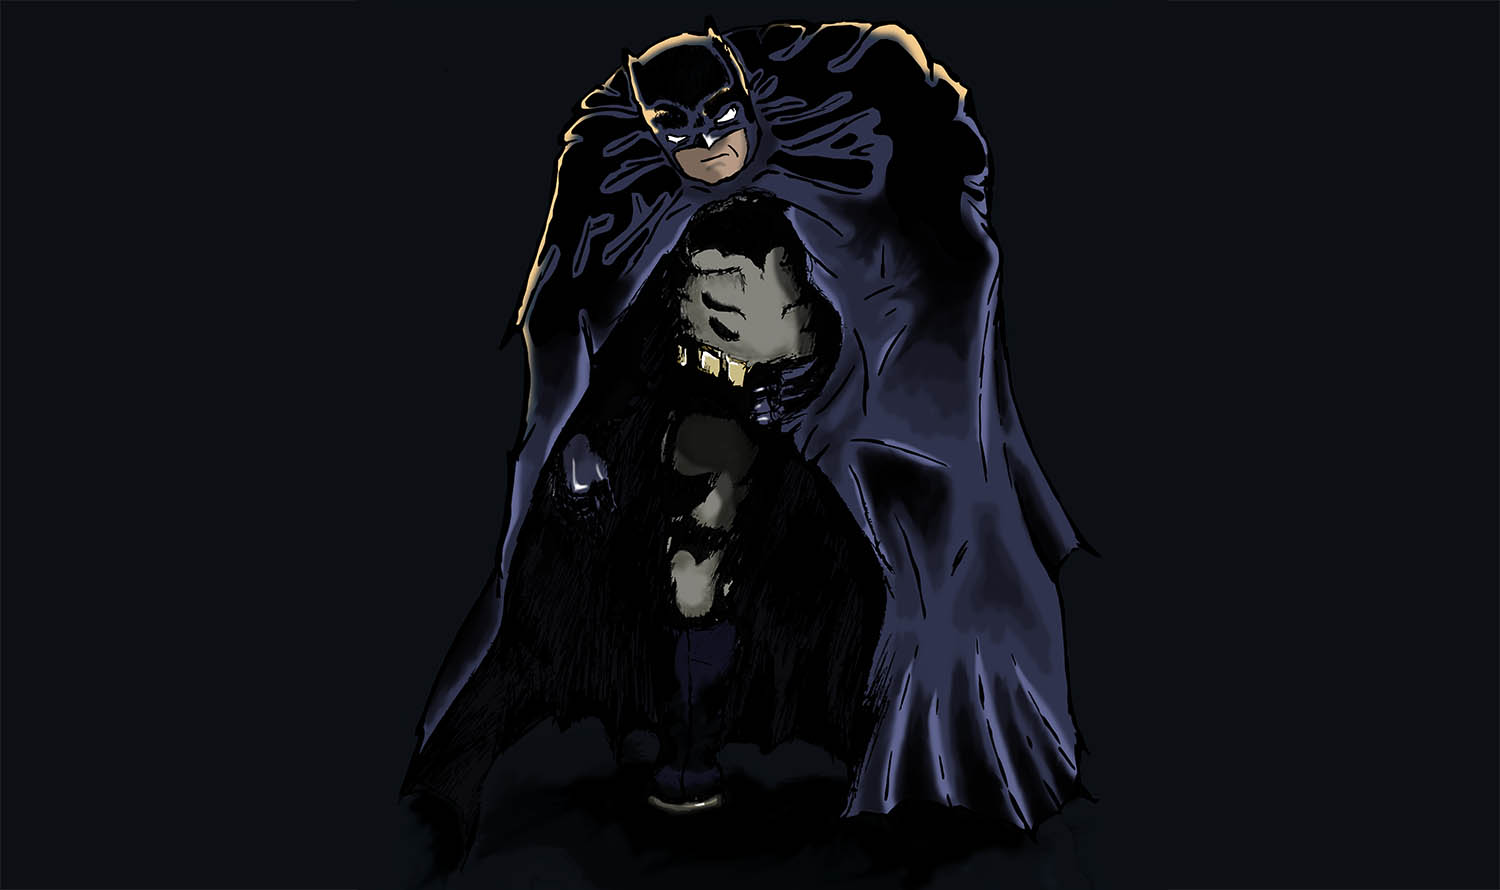
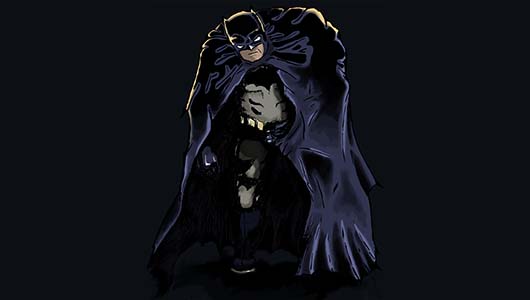
Drawing Batman "Dark Knight Returns" Style
Frank Miller illustrated, the Dark Knight Returns. I had a go at drawing Batman in a similar style.
It was all from memory and freehand so it doesn't look very good but the basics are there.
